Operation, cont’d
by rotating the encoder knob while observing the output and the LCD setting. The brightness can be increased or decreased from 0 to 50 (default is 23).
12Contrast button and LED — This button enables
the adjustment for the contrast, or range of light and dark values, in a video image. When the button is pressed, the Contrast LED lights and the contrast adjustment screen is displayed on the LCD. The contrast is adjusted by rotating the encoder knob while observing the output and the LCD setting. The contrast can be increased or decreased from 0 to 150 (default is 141).
13Top and Bottom Blanking buttons and LEDs —
These buttons enable adjustments to the top and bottom blanking feature. When either button is pressed, the associated LED lights and the blanking adjustment screen is displayed on the LCD. The blanking is adjusted by rotating the encoder knob while observing the output and the LCD setting. Top and bottom blanking can be increased or
decreased from 0 to 16. At 0 or 16, the LCD will indicate MINIMUM or MAXIMUM, respectively.
TOP
MINIMUM
TOP
MAXIMUM
BOTTOM MINIMUM
BOTTOM MAXIMUM
Audio button
14Audio button and LED — This button enables
adjustments to the selected audio input. When the button is pressed, the Audio LED is lit and the LCD displays the audio adjustment screen. The audio
level of the selected input can then be increased or decreased, from
The LCD menus will also indicate when the minimum and maximum audio levels have been attained. The audio level is adjusted by rotating the encoder knob while listening to the output and observing the LCD setting.
Encoder knob
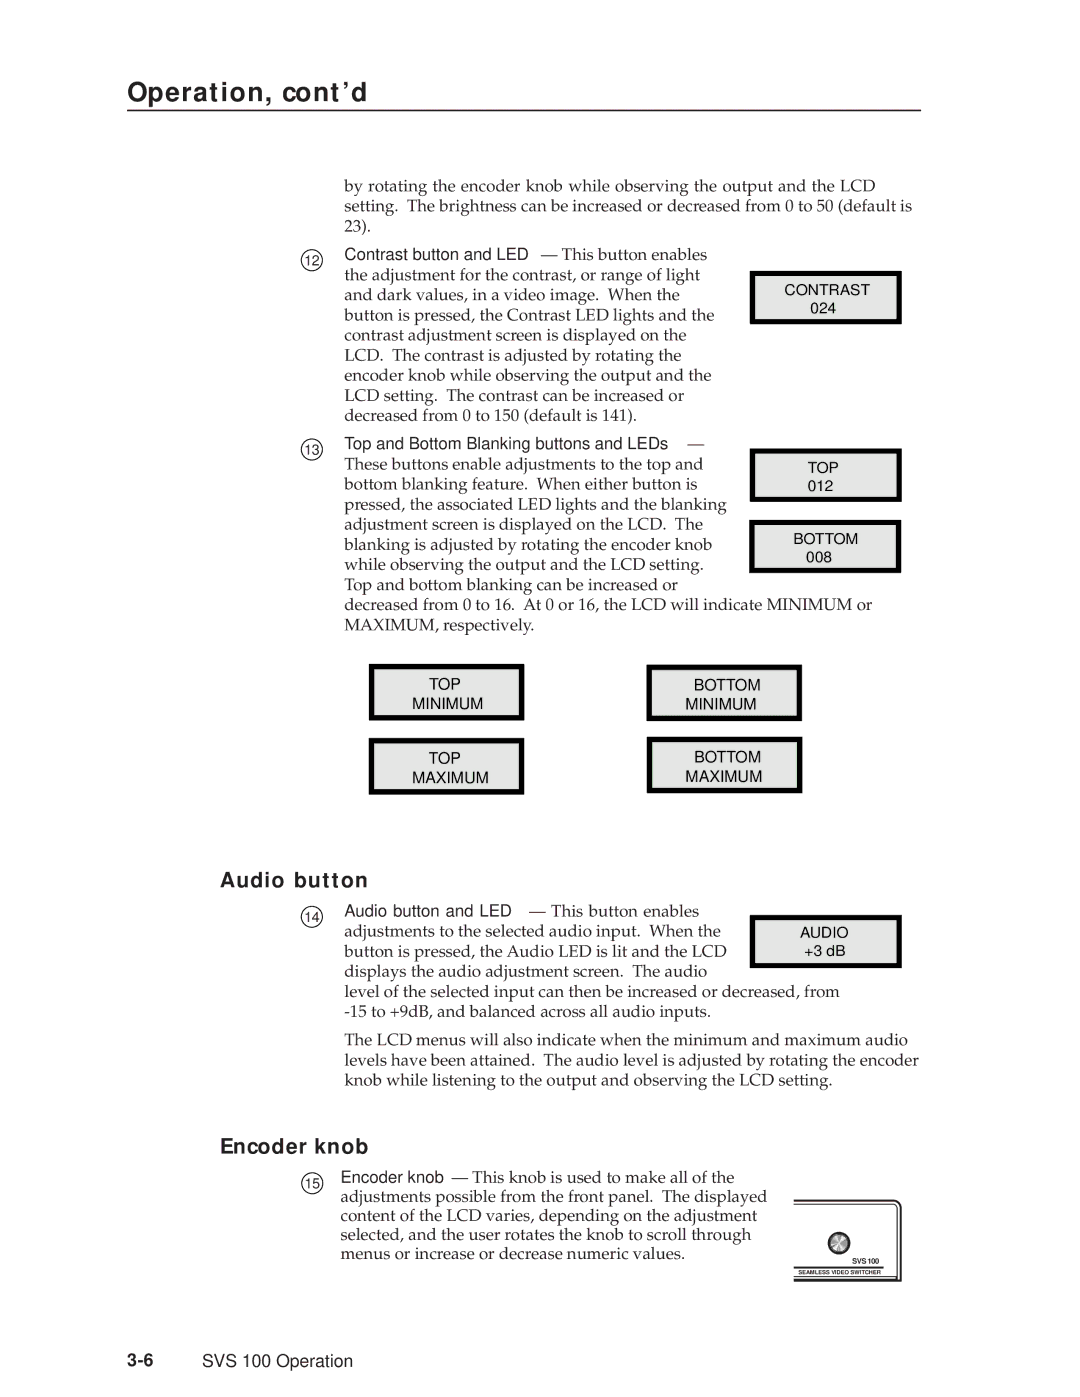
15Encoder knob — This knob is used to make all of the adjustments possible from the front panel. The displayed
content of the LCD varies, depending on the adjustment selected, and the user rotates the knob to scroll through menus or increase or decrease numeric values.
SVS 100
SEAMLESS VIDEO SWITCHER
