Basic Operation
playback
Basic Operation
HDD management
Playback
PLAYBACK Mode
Playback and Record Search
View recorded video on the system through the RECORD SEARCH Menu. To begin playback:
1.There are two ways to access the VIDEO SEARCH menu.
NOTE: When you first open the RECORD SEARCH Menu, it displays the cur- rent month and date.
2.Click PLAYBACK to playback the last minute of recorded video (Quick Search) OR Under CHN select a specific channel or select ALL.
3.Under DATE, enter a date using the Virtual Keyboard (mouse only).
4.Click SEARCH. Recorded events on the system appear in red (alarm events— includes both alarm and motion events) and green (normal recording).
5.Click a date in the Month Grid to search for video files.
6.Click a time block in the Hour Grid to view the video. Playback begins.
7.Move the mouse slightly to display the
On-screen Playback
Controls
To use the
1.Click the
2.Drag the slider to adjust the volume (audio capable camera required, not included). Select the box to mute the audio.
3.Click X to quit playback and return to the Search menu.
|
|
| Month Grid |
|
|
| |
|
| Hour Grid | |
|
| ||
|
|
| |
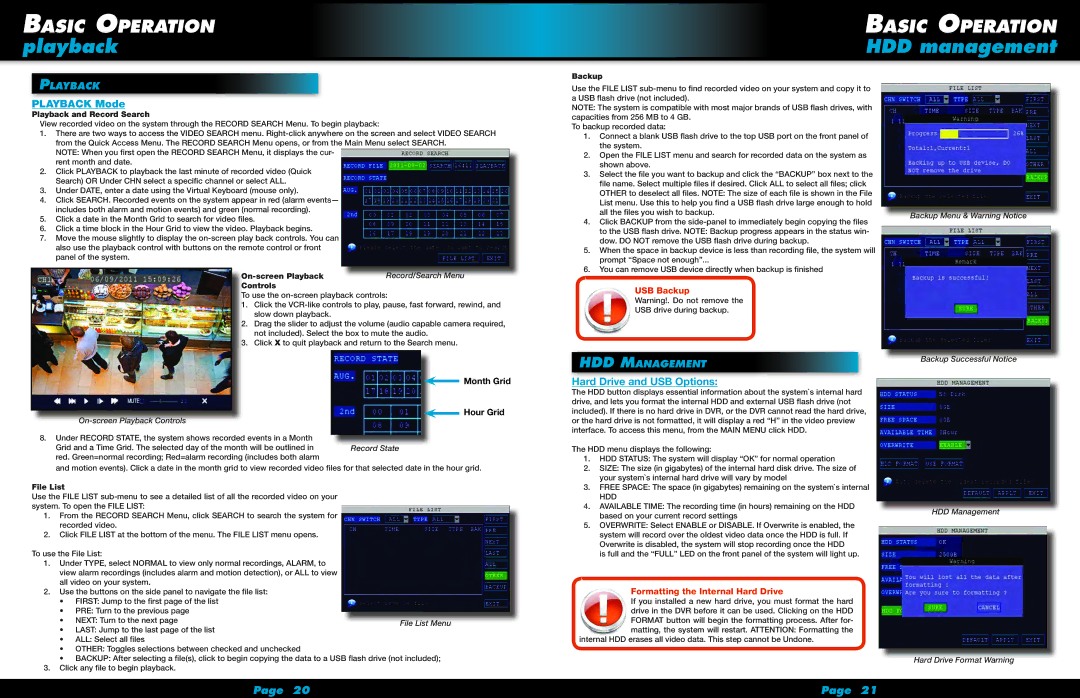
8. Under RECORD STATE, the system shows recorded events in a Month |
|
|
|
Grid and a Time Grid. The selected day of the month will be outlined in |
|
|
|
Record State | |||
red. Green=normal recording; Red=alarm recording (includes both alarm |
|
|
|
and motion events). Click a date in the month grid to view recorded video files for that selected date in the hour grid.
File List
Use the FILE LIST
1.From the RECORD SEARCH Menu, click SEARCH to search the system for recorded video.
2.Click FILE LIST at the bottom of the menu. The FILE LIST menu opens.
To use the File List:
1.Under TYPE, select NORMAL to view only normal recordings, ALARM, to view alarm recordings (includes alarm and motion detection), or ALL to view all video on your system.
2.Use the buttons on the side panel to navigate the file list:
•FIRST: Jump to the first page of the list
•PRE: Turn to the previous page
• | NEXT: Turn to the next page | File List Menu | |
• | LAST: Jump to the last page of the list | ||
|
• ALL: Select all files
• OTHER: Toggles selections between checked and unchecked
• BACKUP: After selecting a file(s), click to begin copying the data to a USB flash drive (not included);
3. Click any file to begin playback.
Backup
Use the FILE LIST
NOTE: The system is compatible with most major brands of USB flash drives, with capacities from 256 MB to 4 GB.
To backup recorded data:
1.Connect a blank USB flash drive to the top USB port on the front panel of the system.
2.Open the FILE LIST menu and search for recorded data on the system as shown above.
3.Select the file you want to backup and click the “BACKUP” box next to the
file name. Select | multiple files if desired. Click ALL to select all files; | click | |||
OTHER to deselect all files. NOTE: The size of each | file is | shown in | the File | ||
List menu. Use this to help you find a USB flash drive | large | enough | to | hold | |
all the files you | wish to backup. |
|
|
|
|
4.Click BACKUP from the
5.When the space in backup device is less than recording file, the system will prompt “Space not enough”...
6.You can remove USB device directly when backup is finished
USB Backup
Warning!. Do not remove the
USB drive during backup.
HDD Management
Hard Drive and USB Options:
The HDD button displays essential information about the system`s internal hard drive, and lets you format the internal HDD and external USB flash drive (not included). If there is no hard drive in DVR, or the DVR cannot read the hard drive, or the hard drive is not formatted, it will display a red “H” in the video preview interface. To access this menu, from the MAIN MENU click HDD.
The HDD menu displays the following:
1.HDD STATUS: The system will display “OK” for normal operation
2.SIZE: The size (in gigabytes) of the internal hard disk drive. The size of your system`s internal hard drive will vary by model
3.FREE SPACE: The space (in gigabytes) remaining on the system`s internal
HDD
4.AVAILABLE TIME: The recording time (in hours) remaining on the HDD based on your current record settings
5.OVERWRITE: Select ENABLE or DISABLE. If Overwrite is enabled, the system will record over the oldest video data once the HDD is full. If Overwrite is disabled, the system will stop recording once the HDD
is full and the “FULL” LED on the front panel of the system will light up.
Formatting the Internal Hard Drive
If you installed a new hard drive, you must format the hard drive in the DVR before it can be used. Clicking on the HDD FORMAT button will begin the formatting process. After for- matting, the system will restart. ATTENTION: Formatting the
internal HDD erases all video data. This step cannot be Undone.
Backup Menu & Warning Notice
Backup Successful Notice
HDD Management
Hard Drive Format Warning
Page 20 | Page 21 |