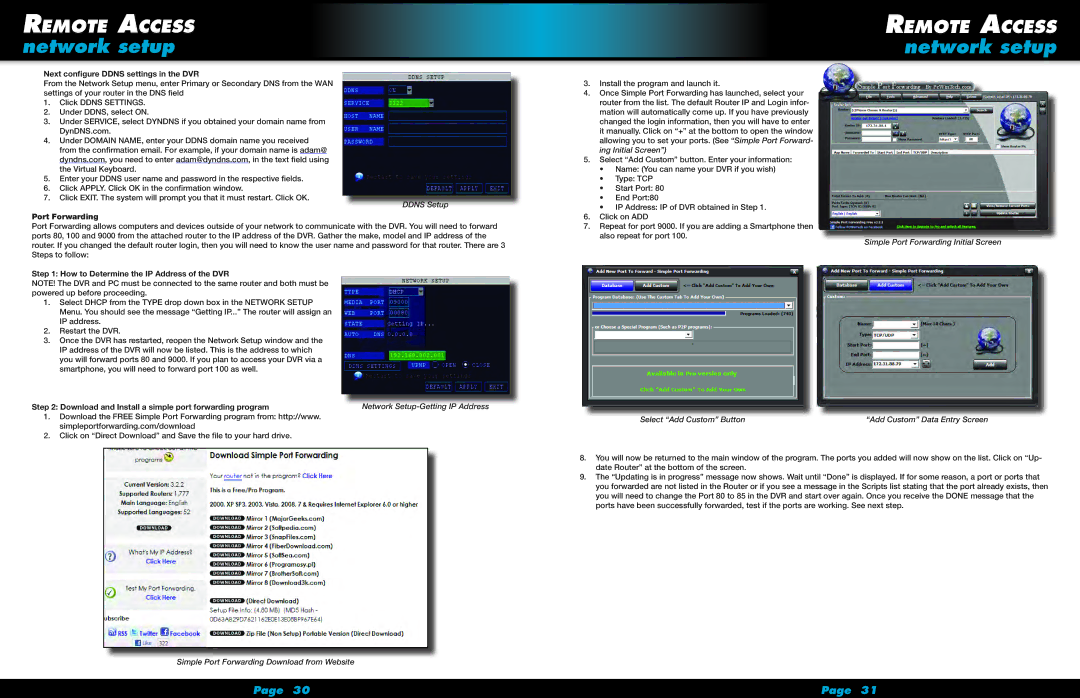
Remote Access network setup
Next configure DDNS settings in the DVR |
|
|
|
|
|
| |||||
|
|
|
|
|
| ||||||
From the Network Setup menu, enter Primary or Secondary DNS from the WAN |
|
| 3. Install the program and launch it. | ||||||||
settings of your router in the DNS field |
|
|
|
| 4. Once Simple Port Forwarding has launched, select your | ||||||
1. | Click DDNS SETTINGS. |
|
|
|
| router from the list. The default Router IP and Login infor- | |||||
2. | Under DDNS, select ON. |
|
|
|
| mation will automatically come up. If you have previously | |||||
3. | Under SERVICE, select DYNDNS if you obtained your domain name from |
|
| changed the login information, then you will have to enter | |||||||
| DynDNS.com. |
|
|
|
| it manually. Click on “+” at the bottom to open the window | |||||
4. | Under DOMAIN NAME, enter your DDNS domain name you received |
|
|
|
| allowing you to set your ports. (See “Simple Port Forward- | |||||
| from the confirmation email. For example, if your domain name is adam@ |
|
| ing Initial Screen”) | |||||||
|
|
|
|
|
|
|
|
|
|
| |
| dyndns.com, you need to enter adam@dyndns.com, in the text field | using |
|
| 5. Select “Add Custom” button. Enter your information: | ||||||
|
|
|
|
|
|
|
|
|
| ||
| the Virtual Keyboard. |
|
|
|
| • Name: (You can name your DVR if you wish) | |||||
5. | Enter your DDNS user name and password in the respective fields. |
|
|
|
| • | Type: TCP | ||||
6. | Click APPLY. Click OK in the confirmation window. |
|
|
|
| • | Start Port: 80 | ||||
7. | Click EXIT. The system will prompt you that it must restart. Click OK. | DDNS Setup |
| • | End Port:80 | ||||||
|
|
|
|
|
|
|
|
| • IP Address: IP of DVR obtained in Step 1. | ||
|
|
|
|
|
|
|
|
|
| ||
Port Forwarding |
|
|
|
| 6. Click on ADD | ||||||
Port Forwarding allows computers and devices outside of your network to communicate with the DVR. You will need to forward |
| 7. Repeat for port 9000. If you are adding a Smartphone then | |||||||||
ports 80, 100 and 9000 from the attached router to the IP address of the DVR. Gather the make, model and IP address of the |
| also repeat for port 100. | |||||||||
router. If you changed the default router login, then you will need to know the user name and password for that router. There are 3 |
|
|
| ||||||||
Steps to follow: |
|
|
|
|
|
| |||||
Step 1: How to Determine the IP Address of the DVR |
|
|
|
|
|
| |||||
|
|
|
|
|
| ||||||
NOTE! The DVR and PC must be connected to the same router and both must be |
|
|
|
| |||||||
powered up before proceeding. |
|
|
|
|
|
| |||||
1. | Select DHCP from the TYPE drop down box in the NETWORK SETUP |
|
|
|
| ||||||
| Menu. You should see the message “Getting IP...” The router will assign an |
|
|
|
| ||||||
| IP address. |
|
|
|
|
|
| ||||
2. | Restart the DVR. |
|
|
|
|
|
| ||||
3. | Once the DVR has restarted, reopen the Network Setup window and the |
|
|
|
| ||||||
| IP address of the DVR will now be listed. This is the address to which |
|
|
|
| ||||||
| you will forward ports 80 and 9000. If you plan to access your DVR via a |
|
|
|
| ||||||
| smartphone, you will need to forward port 100 as well. |
|
|
|
|
|
| ||||
Step 2: Download and Install a simple port forwarding program |
|
| Network |
|
|
| |||||
1. | Download the FREE Simple Port Forwarding program from: http://www. |
|
|
| |||||||
|
| Select “Add Custom” Button | |||||||||
| simpleportforwarding.com/download |
|
|
|
|
| |||||
|
|
|
|
|
|
| |||||
2. | Click on “Direct Download” and Save the file to your hard drive. |
|
|
|
|
|
| ||||
Remote Access
network setup
Simple Port Forwarding Initial Screen
“Add Custom” Data Entry Screen
8.You will now be returned to the main window of the program. The ports you added will now show on the list. Click on “Up- date Router” at the bottom of the screen.
9.The “Updating is in progress” message now shows. Wait until “Done” is displayed. If for some reason, a port or ports that you forwarded are not listed in the Router or if you see a message in the Scripts list stating that the port already exists, then you will need to change the Port 80 to 85 in the DVR and start over again. Once you receive the DONE message that the ports have been successfully forwarded, test if the ports are working. See next step.
Simple Port Forwarding Download from Website
Page 30 | Page 31 |
