Manuals
/
Fisher & Paykel
/
Laundry Appliance
/
Clothes Dryer
Fisher & Paykel
installation instructions
DE62T27C, DG62T27C
Models:
DG62T27C
DE62T27C
1
1
124
124
Download
124 pages
34.3 Kb
1
2
3
4
5
6
7
8
Troubleshooting
Install
Alarm Beeps
Symbols
Connecting by direct wire
Warranty
Dimension
Duct configurations
Solving operating problems
To access Lifestyle cycles
Page 1
Image 1
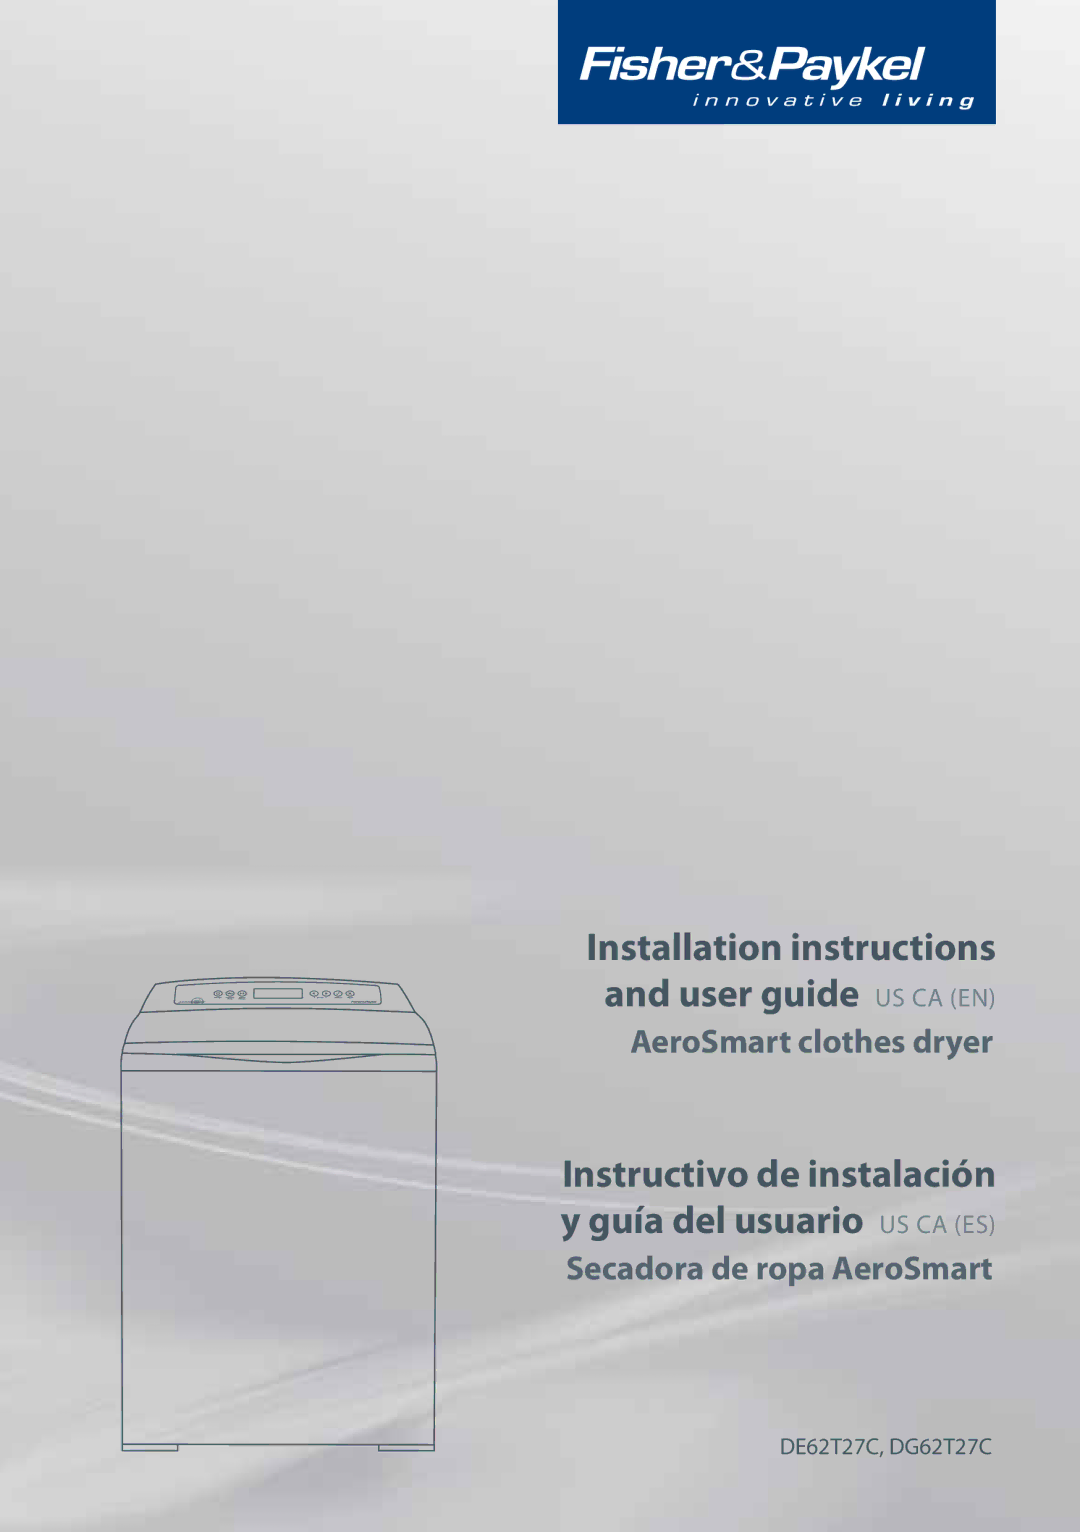
Installation instructions and user guide
US CA (EN)
AeroSmart clothes dryer
Instructivo de instalación y guía del usuario
US CA (ES)
Secadora de ropa AeroSmart
DE62T27C, DG62T27C
Page 1
Page 2
Page 1
Image 1
Page 1
Page 2
Contents
DE62T27C, DG62T27C
Instructivo de instalación y guía del usuario US CA ES
English Español Pág 64
Contents
Welcome to AeroSmart
Introduction
Symbols
Important safety instructions
Important safety precautions
Fire Hazard
Important safety instructions
Accessories
Installation instructions
Tools required
Parts supplied
It is your responsibility to
To the installer
Location requirements
Alcove or closet installation
Installation instructions
Exhaust outlet location
Dimensions
Outside Wall
Mobile home installation
Exhaust hood minimum ground clearance
Exhausting
Mobile Home Installation Kit is available see Accessories
Mobile Home Installations
Determine vent duct length
Different types of vent arrangements are shown below
Maximum length of exhaust duct
Duct configurations
When you have a 2 ½ 60 mm Hood
When you have a 4 100 mm Hood
Maximum length of exhaust duct Preferred 4 Hoods
Acceptable 2 ½ Hood
Close-clearance installation
Alternative installation for close clearances
Exhaust venting
Exhaust venting dimensions
Unpacking
Installation
Remove packaging
Parts and literature are packaged inside the dryer drum
Fit a rubber insert to each plastic foot as shown
Fitting the front feet
Grounding instructions for gas and electric dryers
Refer to pages 21 27 for wiring details for electric dryers
Grounding for a cord-connected appliance
208V requirements
Electrical requirements for electric models only
Grounding for a direct wired appliance
Connecting by direct wire
If your outlet looks like this
For 3-wire connections by direct wiring
For 3-wire connections by power cords
Electrical connections electric models only
For 4-wire connections by direct wiring
For 4-wire connections by power cords
Inserting the power cord
Wire connections
Refitting terminal block and tightening screws
Wire connections plus separate grounding connector
Connecting wiring
Gas type
Gas requirements gas models only
Natural gas
LP gas conversion
Connecting to the gas supply
Connecting gas to your dryer gas models only
Gas ignition
Gas supply line should be ½ inch
Use wrenches to tighten all joints but do not over tighten
Completing the connection
Levelling the dryer
Final installation check list
Additionally for electric dryer models only, check
Additionally for gas dryer models only, check
Customizing your AeroSmart dryer
First time you turn your dryer on
Features
Operating instructions
Getting started quickly
Sorting
Loading
Easy touch buttons and LCD screen
Touch Power to activate your AeroSmart dryer
These buttons require only a gentle touch to activate
AeroSmart controls
Wrinkle Free mode
Display screen
Scroll
Sorting
Using your dryer
Loading
General rule is one wash load = one dryer load
Removing lint bucket
Viewing the drying cycles
Choosing your drying cycle
To select a drying cycle
Changing the drying cycle options
Auto Sensing
Cycle options
Timed Dry
Damp+ Damp/Dry
Drying cycle progress
Temperature
Air Low Medium High
Robust, everyday
Drying cycles explained
Comforters / Sleeping Bags / Pillows
Bulky
Blankets / Throws
Labelled tumble with a medium heat
Casual
Air Dry
Suitcase or drawer
Lifestyle cycles
To access Lifestyle cycles
No experience necessary
Lifestyle Cycles
Special Care
Comforter
Family
Feather Comforters
Synthetic Comforters
Shirts
Allergy
Towels
Soft Toys
Sportswear Light
Sports
Sportswear Heavy
Outdoor Wear
Care labels
Lid Lock
Power Failure
To access the Settings Menu
Settings Menu
Alarm Beeps
Key Lock mode
Remove Delicates Early
Reminders
Add Softener Sheets
Empty Lint Bucket
Trouble Shooting
Service Contacts
Reset Defaults
Replay Intro
Caring for your Aerosmart dryer
Machine is beeping and … I can’t Lock the LID
Need Service message and fault number
Close the lid and press START/PAUSE
Machine is beeping and… I can’t Close the Drum
Solving operating problems
Solving drying problems
How long does this limited warranty last?
Limited warranty
Fisher & Paykel undertakes to
This warranty does not cover
Commercial use
How to get service
No other warranties
Toll Free 1 888 9 FNP USA 1 888 9 367 Canada
Page
QUÉ Hacer SI Huele a GAS
Contenido
Bienvenido a AeroSmart
Introducción
Símbolos
Instrucciones de seguridad importantes
¡ADVERTENCIA
Instrucciones de seguridad importantes
Guarde Este Instructivo
Herramientas necesarias
Instructivo de instalación
Piezas suministradas
Accesorios
Es su responsabilidad
Para el instalador
Requisitos de ubicación
Regularmente para mantenerla libre de pelusa
Instalación en un nicho o clóset
Espacios libres mayores
Ubicación del ducto de salida
Dimensiones
Exterior pared
Instalación para coches-casa
Una malla por delante del orificio de extracción
Extracción
Instalación en coches-casa
Determine la longitud del ducto de ventilación
Longitud máxima del ducto de extracción
Si utiliza una campana de 4 pulgadas 100 mm
Campana aceptable de 2 ½ pulgadas
Si utiliza una campana de 2 ½ pulgadas 60 mm
Anillo giratorio
Opciones de instalación para espacios reducidos
Conducto de extracción
Desempaque
Instalación
Retire el empaque
Cómo colocar las patas delanteras
Advertencia
Especificaciones para
Corriente Conexión por medio de un cable directo
Para conexiones de 3 alambres por medio de cableado directo
Conexiones Eléctricas modelos eléctricos únicamente
Para conexiones de 4 alambres por medio de cableado directo
Apriete los tornillos del protector
Conexiones de 3 alambres
Extraiga el tornillo central del bloque de conexión
Conexiones de 3 alambres, más conector a tierra por separado
Dibujo 32 Conectar el cableado
Conexiones de 4 alambres
Tipo de gas
Especificaciones para Gas modelos a gas únicamente
Gas natural
Conversión a gas LP
Encendido del gas
Conexión de gas para su secadora modelos a gas únicamente
Cómo conectarla al suministro de gas
Cómo completar la conexión
Lista final de comprobación de la instalación
Nivelación de la secadora
Personalizar su secadora AeroSmart
La primera vez que encienda su secadora
Características
Instrucciones de operación
Inicio rápido
Clasificar
Cargar
START/PAUSE inicio/pausa
Botones de fácil pulsación y pantalla LCD
Controles de pulsación fácil
Controles AeroSmart
La pantalla
Cargar
Clasificar
102
Cómo utilizar Su Secadora
Cómo ver los ciclos de secado
Elegir su ciclo de secado
Para seleccionar el ciclo de secado
104
Modificar las opciones del ciclo de secado
Opciones de los ciclos
Temperatura
Avance del ciclo de secado
Aire Bajo Medio Alto
Los ciclos de secado explicados
Edredón Almohadas
Gruesos
Cobertor Manta Saco ZZz Bag
Para todos los artículos voluminosos
Usual
109
Medio Nivel de secado Seco
Sec. Aire
No necesita experiencia
Ciclos Lifestyle
Ciclos Lifestyle
Para acceder a los ciclos Lifestyle
Fallo de Alimentación Eléctrica
Traba de la Tapa
Lock traba de la tapa e iniciará el ciclo de secado
Ahora puede extraer artículos del tambor de la secadora
Para acceder al Menú de Configuración
Menú de configuración
112
Cómo sacar la tapa
Limpieza
Aerosoles de Tratamiento previo
Manchas
114
Antes de llamar al servicio técnico
La máquina emite pitidos y … No puedo Trabar Tapa
La máquina emite pitidos y … No puedo Cerrar EL Tambor
Resolver problemas operativos
Resolver problemas de secado
Fisher & Paykel se compromete a
Garantia limitada
¿Cuánto dura esta garantía limitada?
117
118
Esta garantia no cubre
Uso comercial
Cómo obtener servicio técnico
Ninguna otra garantía
Llamada SIN Costo 1 888 9 FNP USA 1 888 9 367 Canadá
Page
Page
US CA
Top
Page
Image
Contents