freeView IP 800 User’s Manual
Step 2
Find a convenient place to put the unit. Its 19” rack mount form factor makes it ideal for mounting on a 19” rack. When mounting to a rack, attach the included brackets to the sides of the unit. Take note of the length of your cables so that your computers, KVM Switch, keyboard, mouse and monitor are distanced properly.
Step 3
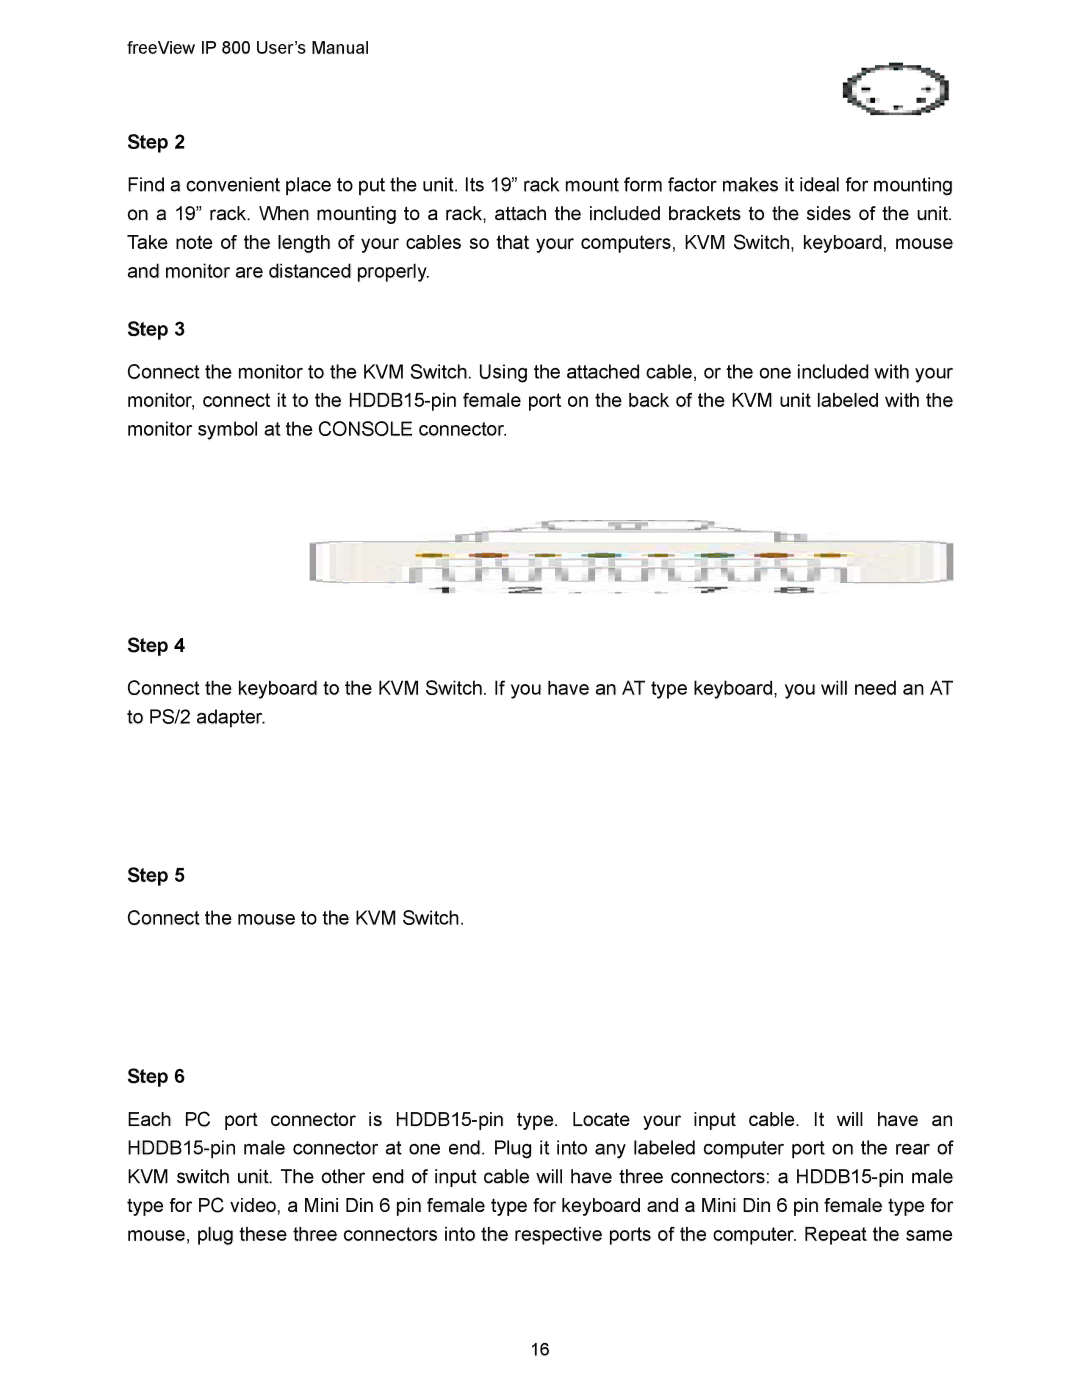
Connect the monitor to the KVM Switch. Using the attached cable, or the one included with your monitor, connect it to the
Step 4
Connect the keyboard to the KVM Switch. If you have an AT type keyboard, you will need an AT to PS/2 adapter.
Step 5
Connect the mouse to the KVM Switch.
Step 6
Each PC port connector is
16