2. INSTALLATION
2.6Initial Settings
Follow the procedures in this section to enter initial settings.
![]() NOTICE
NOTICE
Improper menu settings may stop output of data and display the message "RATE ERROR." Be sure to enter correct data.
2.6.1Confirming satellite status; choosing mounting method
1. Turn on the processor unit and press the [MENU] key to show the menu.
MAIN MENU
|
|
| SATELLITE |
ALARMS |
|
| |
MESSAGES |
|
| DGPS |
GPS SETUP |
| I/O SETUP | |
SYS SETUP |
| INST MENU | |
SOFT VER. |
| ERASE | |
OTHERS |
| TRIP MENU | |
| |||
Main menu
2. Use the Omnipad (![]() ) to choose “INST MENU” and press the [ENT] key.
) to choose “INST MENU” and press the [ENT] key.
![]() INSTALLATION SETUP
INSTALLATION SETUP ![]()
MOUNTING : FLOOR
DIRECTION : A
LANGUAGE : ENG
Installation setup menu
3.Confirm that “MOUNTING” is selected and press the [ENT] key.
4.Use the Omnipad to choose the mounting method: “FLOOR”, “WALL” or “INVERT” as appropriate.
5.Press the [ENT] key.
6.Choose “DIRECTION” and press the [ENT] key.
7.Use the Omnipad to choose mounting direction (“A ”, “B ”, “C” or “D”) as appropriate. Refer to section 2.3.1.
8.Press the [ENT] key.
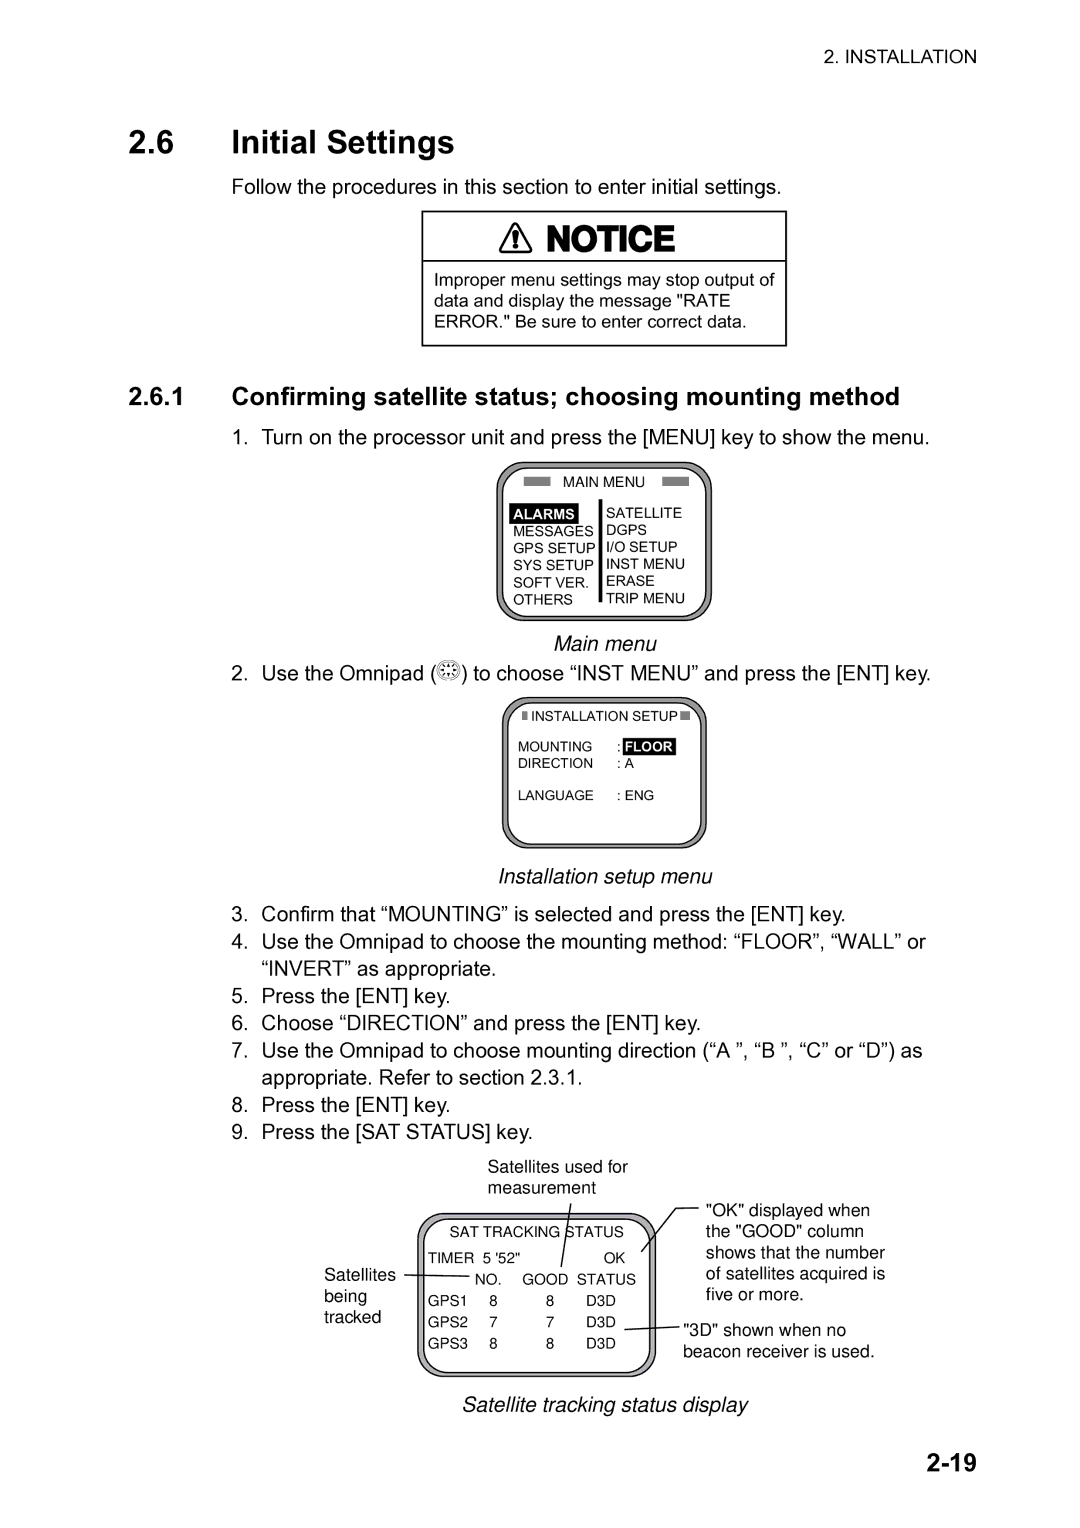
9.Press the [SAT STATUS] key.
|
| Satellites used for | ||
|
| measurement | ||
| SAT TRACKING STATUS | |||
Satellites | TIMER 5 '52" |
| OK | |
| NO. GOOD STATUS | |||
being | GPS1 | 8 | 8 | D3D |
tracked | GPS2 | 7 | 7 | D3D |
| GPS3 | 8 | 8 | D3D |
"OK" displayed when the "GOOD" column shows that the number of satellites acquired is five or more.
"3D" shown when no beacon receiver is used.