Actiontec USB/Ethernet DSL Gateway User Manual
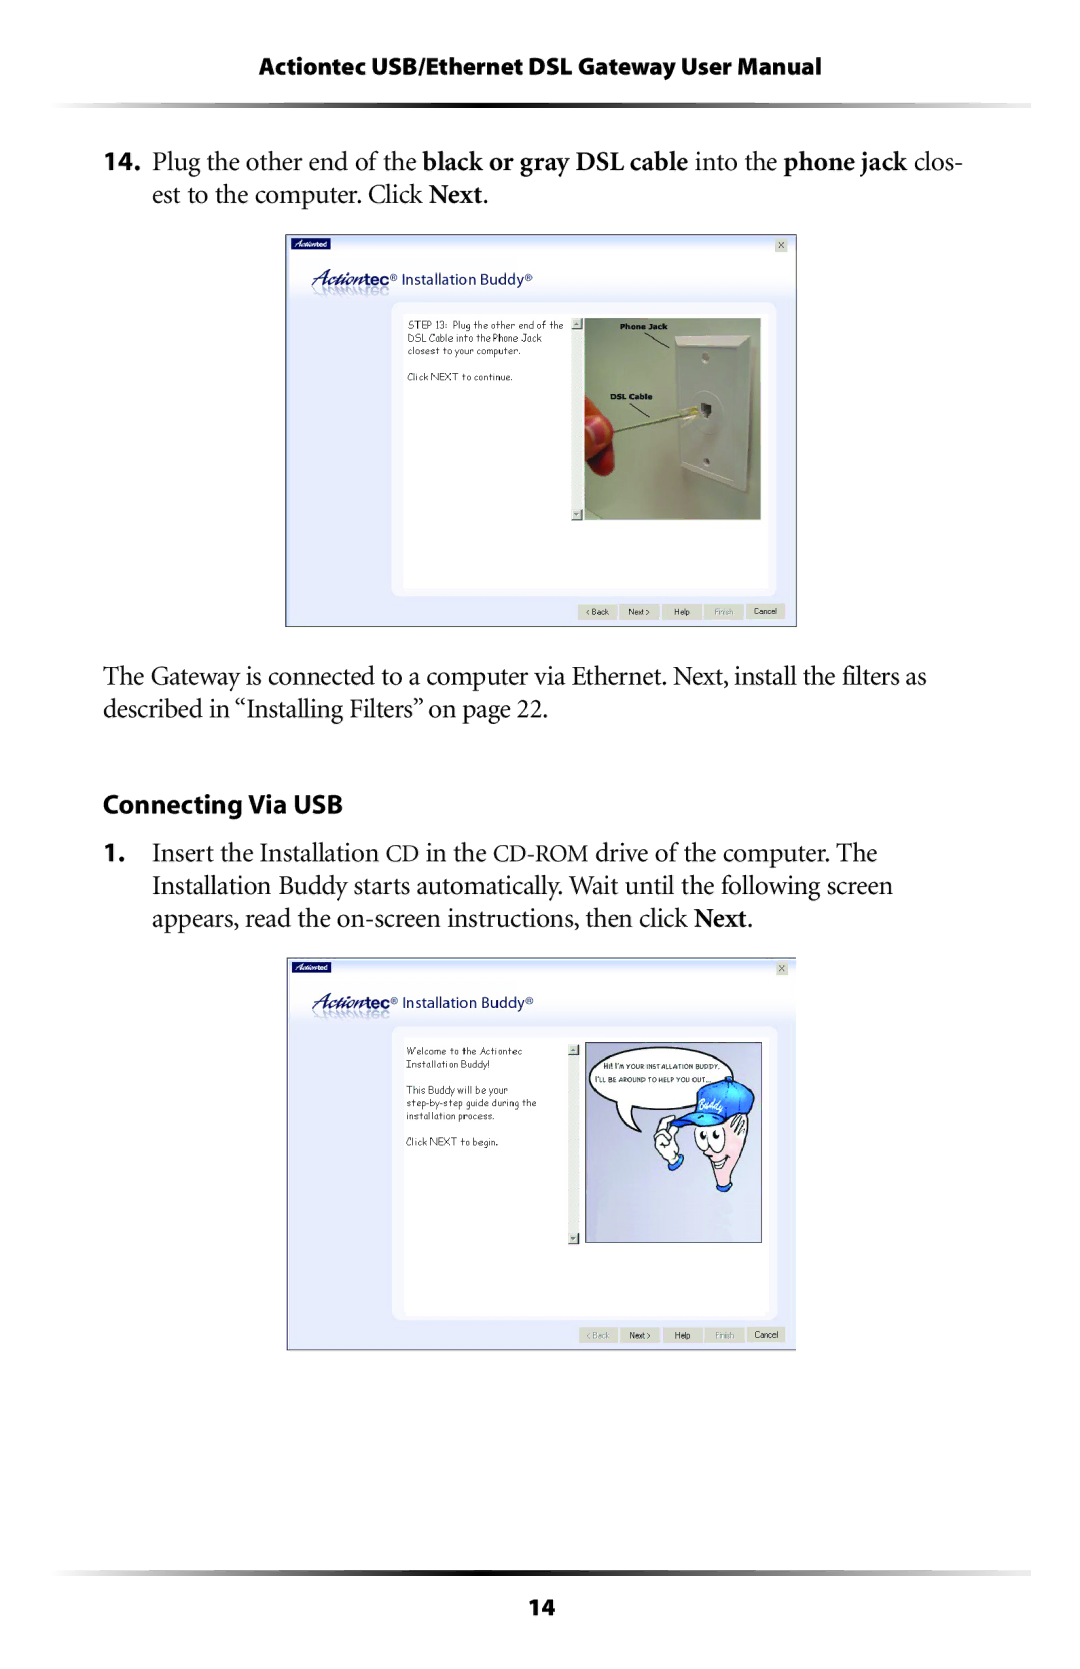
14.Plug the other end of the black or gray DSL cable into the phone jack clos- est to the computer. Click Next.
The Gateway is connected to a computer via Ethernet. Next, install the filters as described in “Installing Filters” on page 22.
Connecting Via USB
1.Insert the Installation CD in the
14