Chapter 5 Viewing the Gateway’s Status
In the menu on the left side, there are other Status options available: Routing Table, ARP Table, WAN Status, LAN Status, and Active User List. Click to gen- erate the Status option of choice.
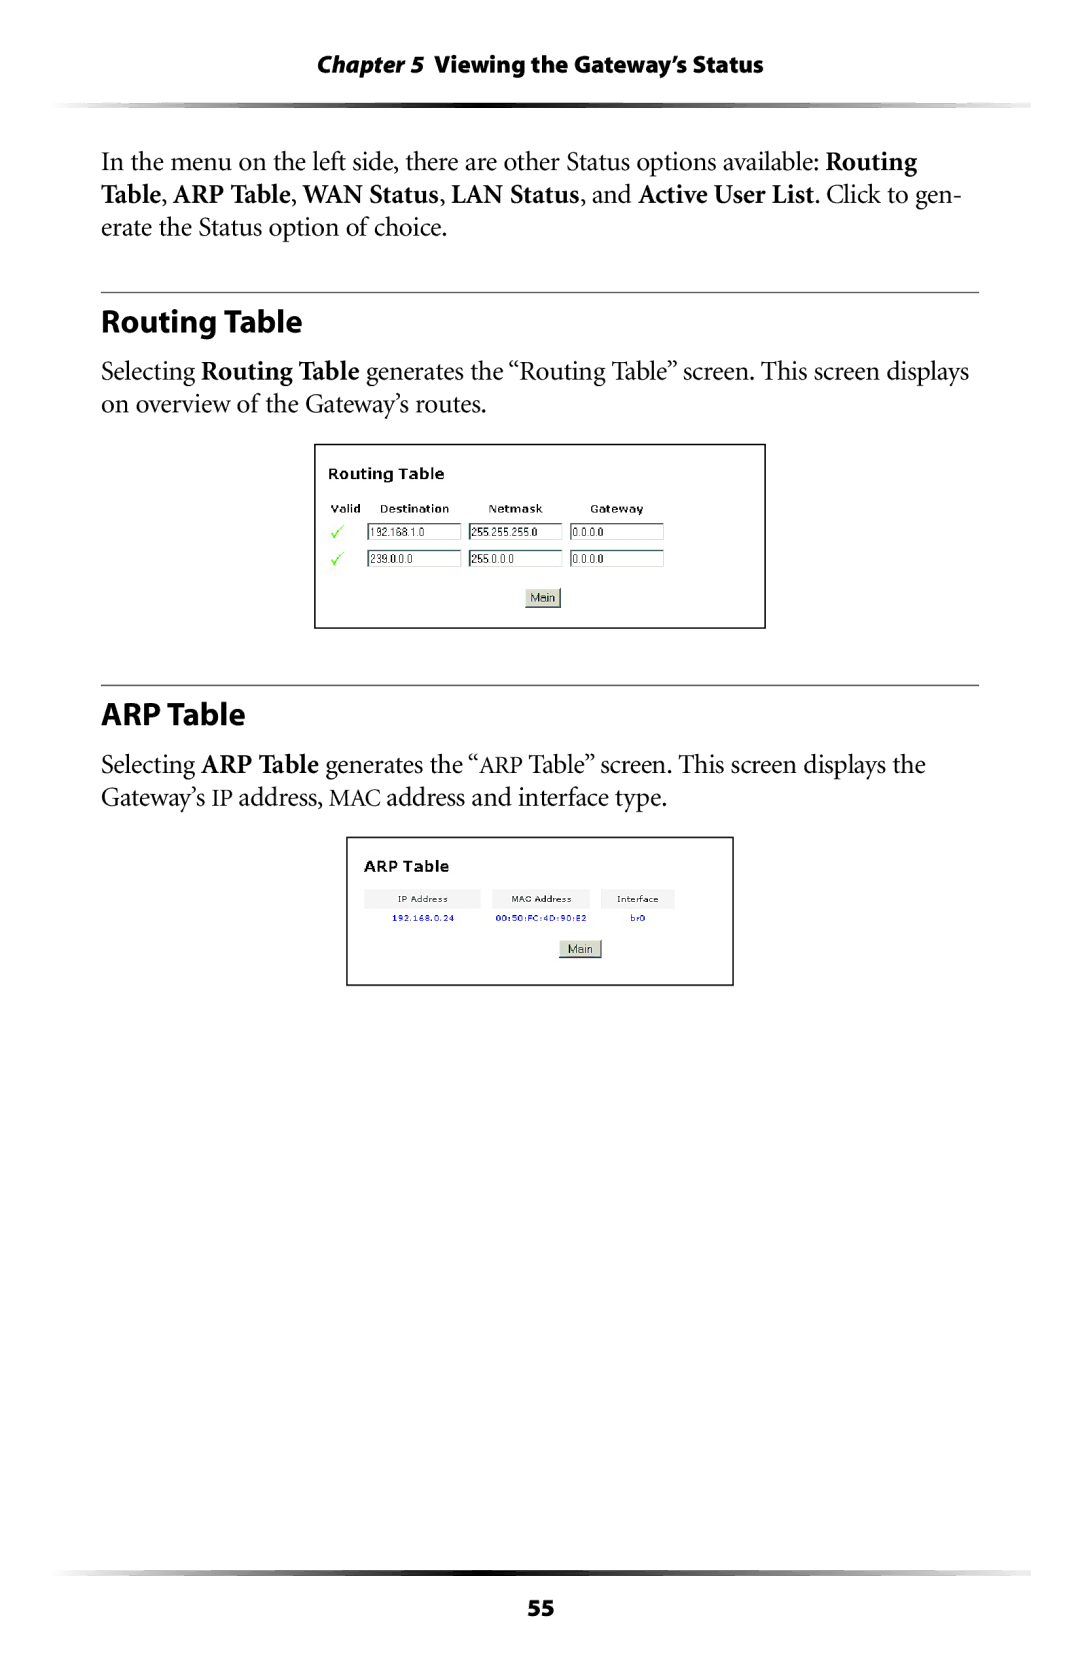
Routing Table
Selecting Routing Table generates the “Routing Table” screen. This screen displays on overview of the Gateway’s routes.
ARP Table
Selecting ARP Table generates the “ARP Table” screen. This screen displays the Gateway’s IP address, MAC address and interface type.
55