Chapter 4 Using Advanced Setup
Firewall
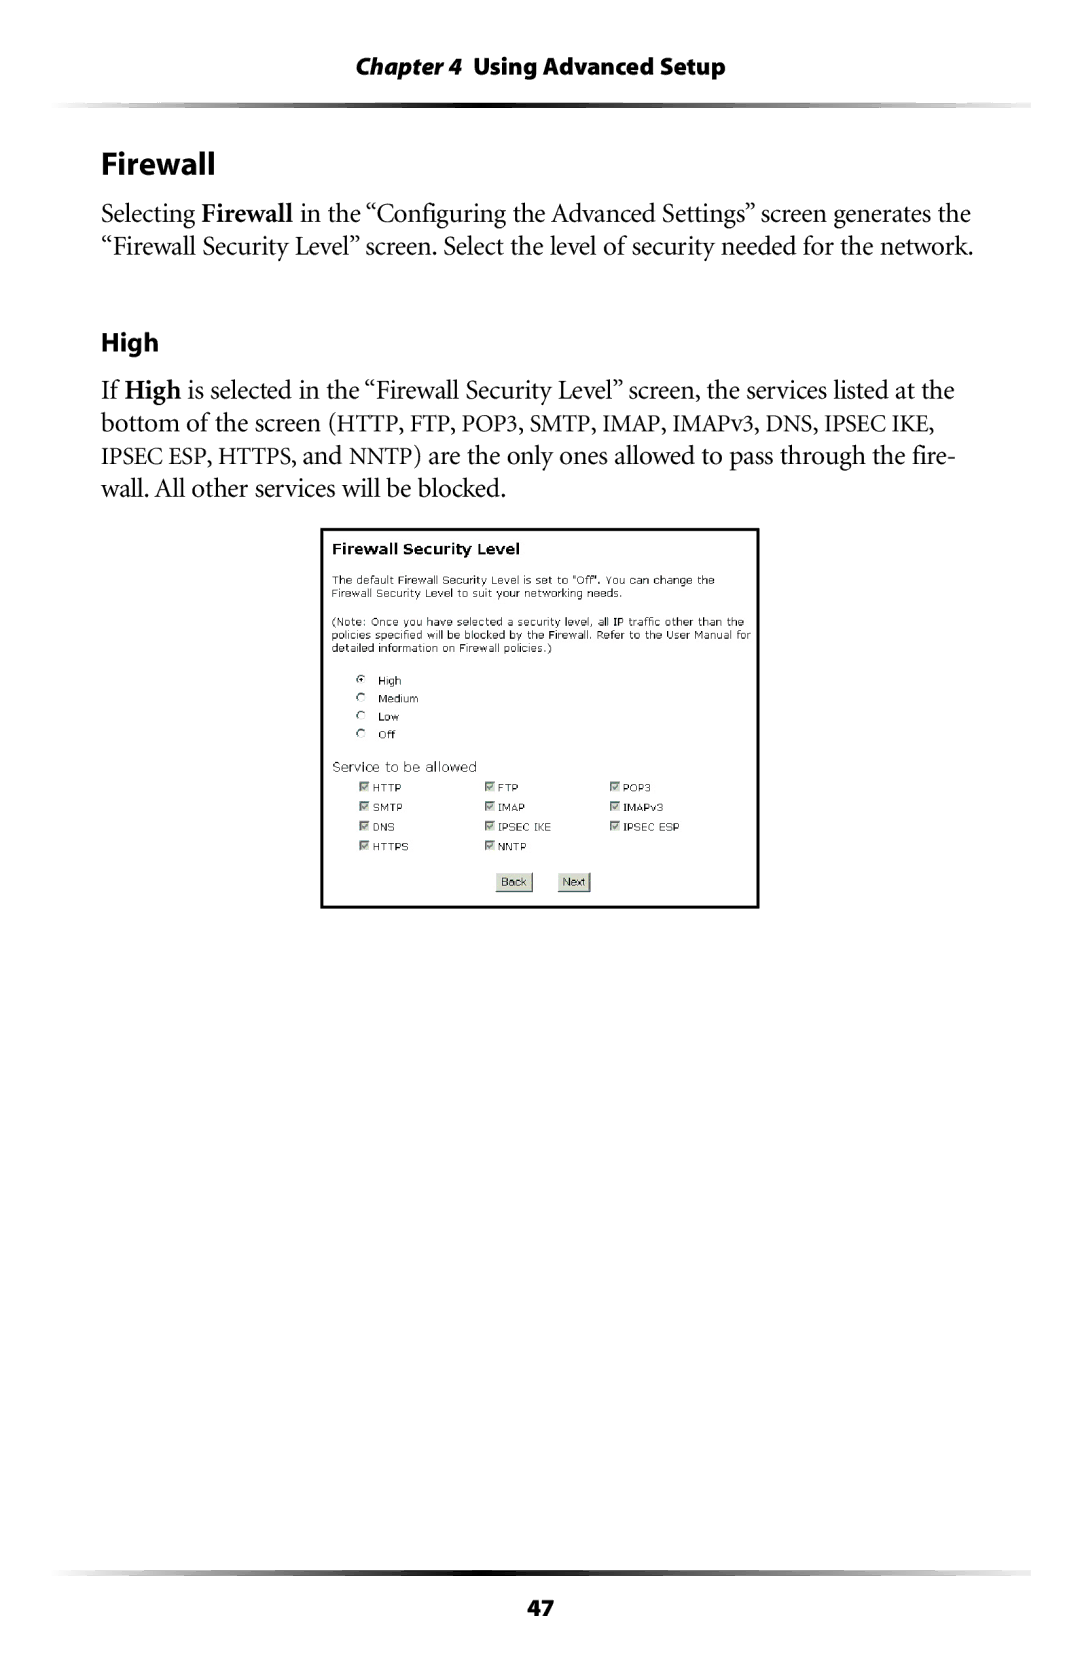
Selecting Firewall in the “Configuring the Advanced Settings” screen generates the “Firewall Security Level” screen. Select the level of security needed for the network.
High
If High is selected in the “Firewall Security Level” screen, the services listed at the bottom of the screen (HTTP, FTP, POP3, SMTP, IMAP, IMAPv3, DNS, IPSEC IKE, IPSEC ESP, HTTPS, and NNTP) are the only ones allowed to pass through the fire- wall. All other services will be blocked.
47