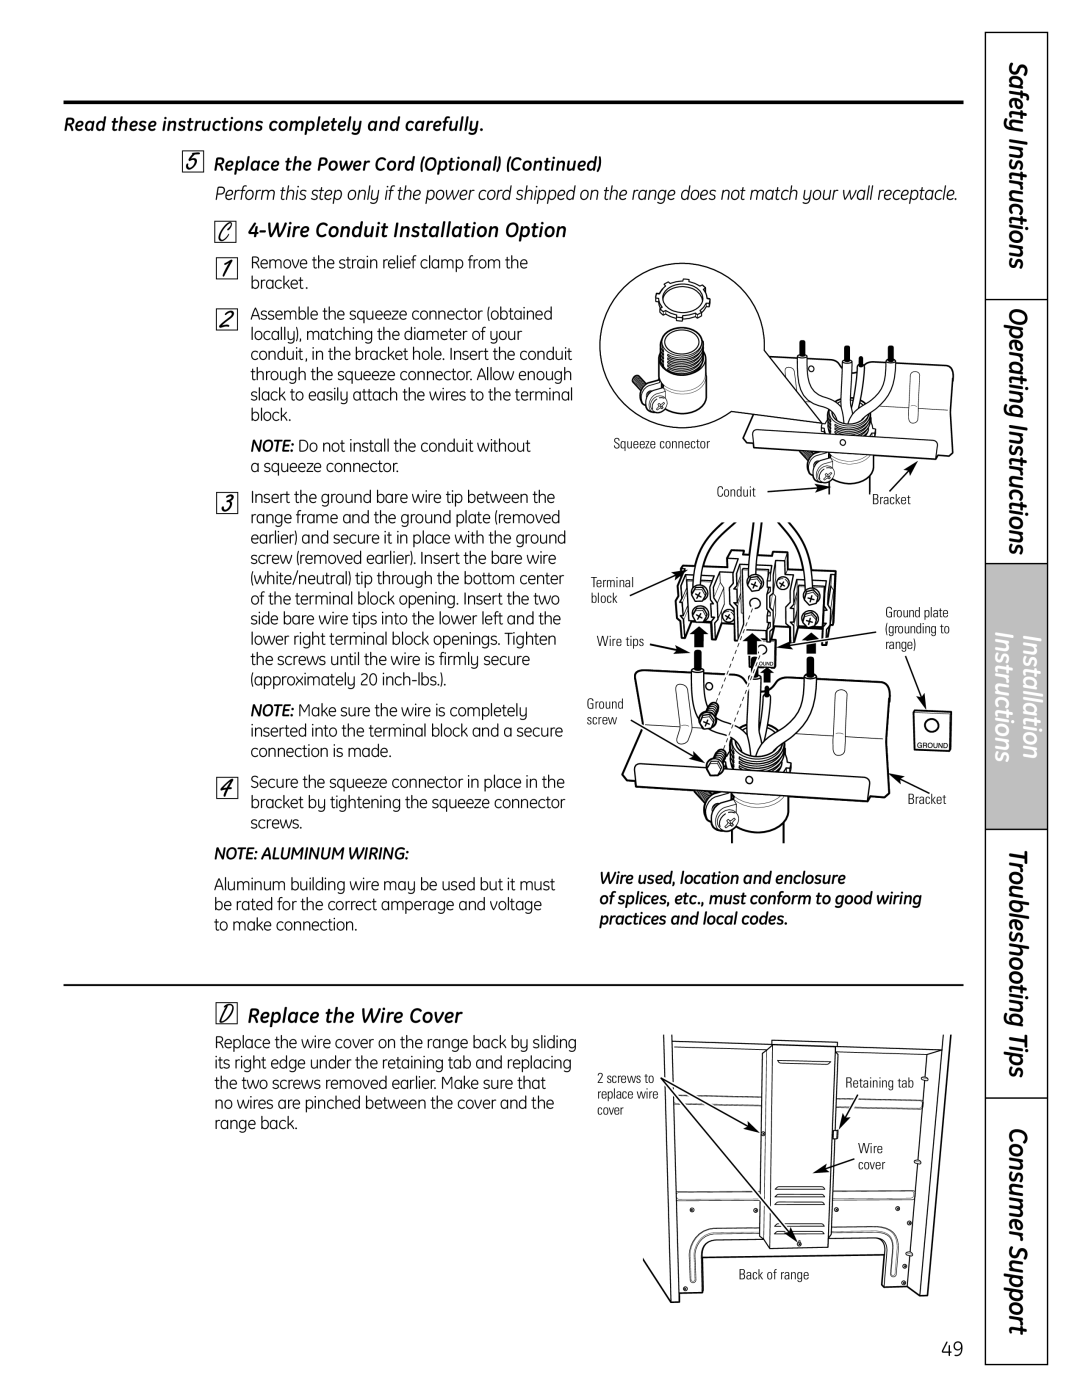
183D5580P249, 49-85167-1, 04-09 JR, C2S980 specifications
The GE C2S980,04-09 JR,49-85167-1,183D5580P249 is a sophisticated control system utilized in various industrial applications, specifically designed for enhancing efficiency and reliability. This model exemplifies advanced technologies and systems integration, catering to the needs of modern industries.One of the main features of the GE C2S980 is its flexibility, allowing it to be integrated seamlessly into different types of systems. This adaptability makes it suitable for manufacturing plants, power generation facilities, and other industrial environments. The device is engineered for mobility and can be quickly deployed or modified according to the operational requirements of the facility.
A notable technology embedded within the GE C2S980 is its robust data acquisition capabilities. It can gather and process large volumes of data in real-time, which is crucial for effective monitoring and control. This feature enables operators to make informed decisions based on accurate and up-to-date information regarding equipment performance and system health.
Additionally, the GE C2S980 is equipped with advanced diagnostic tools. These tools assist in identifying faults and inefficiencies within the system, thereby reducing maintenance costs and minimizing downtime. Its built-in analytics engine helps in predictive maintenance, enabling industries to foresee potential issues before they escalate into serious problems.
The C2S980 also prioritizes user experience, featuring an intuitive interface that simplifies the navigation of complex controls. This user-friendly design reduces the learning curve for operators, enhancing overall productivity.
Another critical characteristic is its compliance with industry standards, ensuring safety and reliability in various applications. The system is designed to operate in challenging conditions and is built to withstand environmental factors, thus guaranteeing longevity and consistent performance.
In terms of connectivity, the GE C2S980 supports various protocols, facilitating interoperability with other devices and systems. This connectivity is essential for industries that rely on integrating multiple technologies into their operations.
Overall, the GE C2S980,04-09 JR,49-85167-1,183D5580P249 stands out due to its combination of advanced technology, user-centric design, and adaptability to diverse industrial environments, making it an invaluable asset for enhancing operational efficiencies.

