Design Information
CONTENTS
Design Information |
| Installation Instructions |
| |
Product Clearances | 4 | Step 1, Install Hood Liner | 17 | |
Product Dimensions | ||||
Step 2, Connect Electrical | 18 | |||
Advance Planning |
| Step 3, Install Insert Sleeve | 19 | |
Advance Planning | 9 | Step 4, Install Damper Plate | 20 | |
Remote Mounting of the Control (Wired) | 9 | Step 5, Install Blower Motor | 21 | |
Power Supply | 9 | Step 6, Connect Wiring Harness | 21 | |
Duct Fittings | 10 | Step 7, Install Filters | 22 | |
Installation Preparation |
| Step 8, Finalize Installation | 22 | |
Tools and Materials Required | 11 |
|
| |
Remove the Packaging | 11 |
|
| |
Parts Provided | 12 |
|
| |
Ductwork, Wiring Locations | 13 |
|
| |
Construct Ceiling Support | 14 |
|
| |
Remote Mounting of the Control – Wired | 15, 16 |
|
|
PRODUCT CLEARANCES
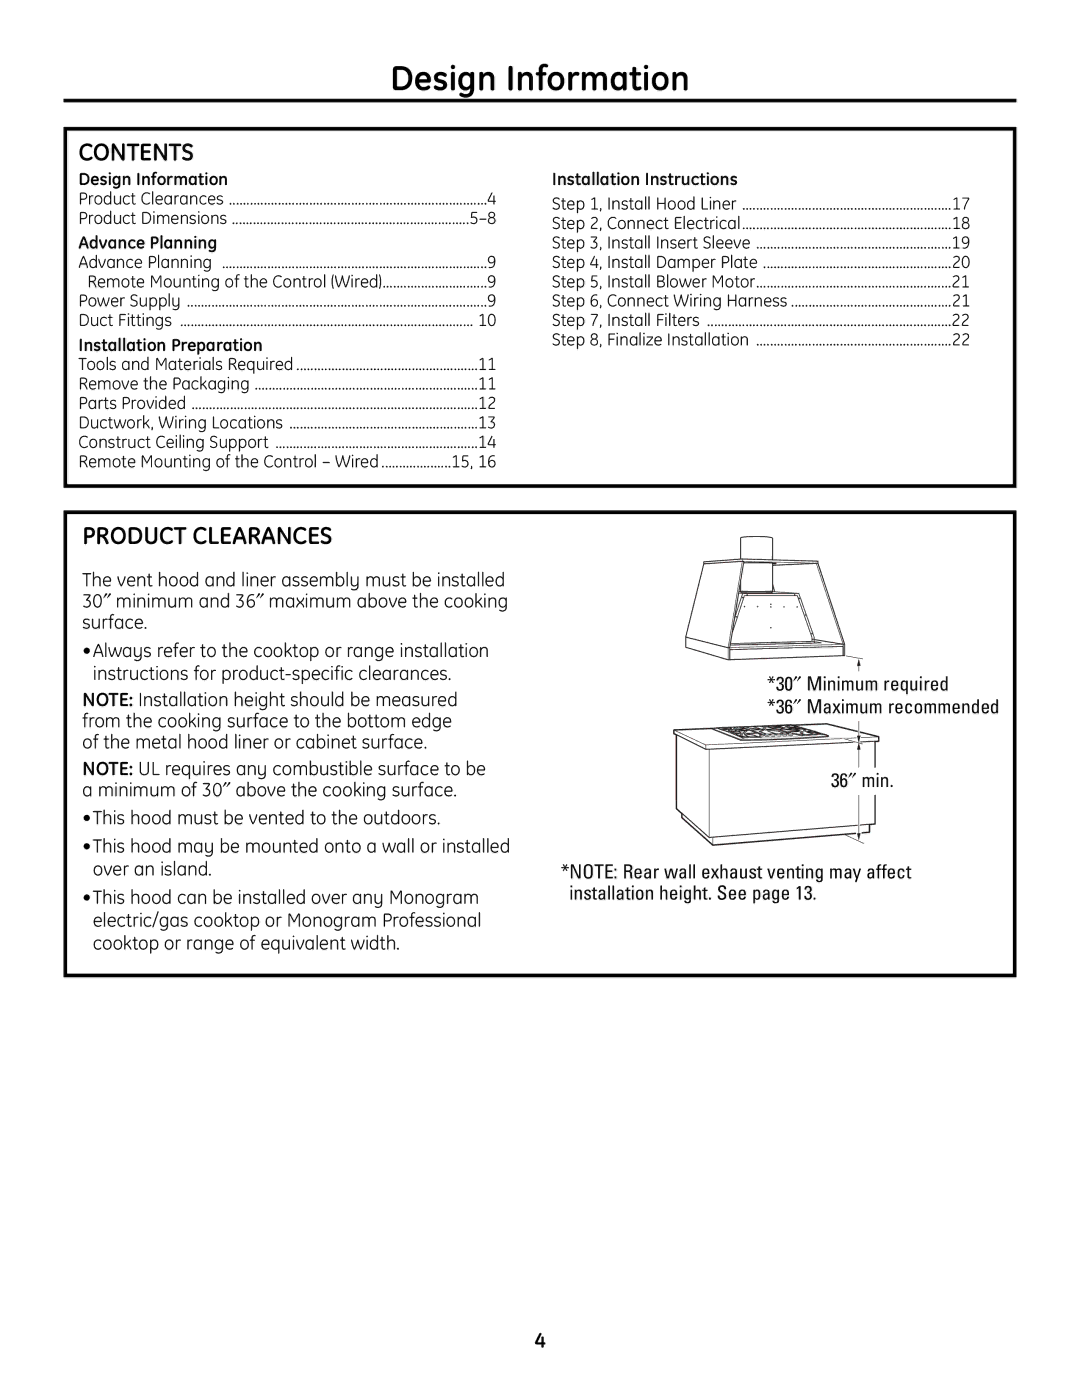
The vent hood and liner assembly must be installed 30″ minimum and 36″ maximum above the cooking surface.
•Always refer to the cooktop or range installation instructions for
NOTE: Installation height should be measured from the cooking surface to the bottom edge of the metal hood liner or cabinet surface.
NOTE: UL requires any combustible surface to be a minimum of 30″ above the cooking surface.
•This hood must be vented to the outdoors.
•This hood may be mounted onto a wall or installed over an island.
•This hood can be installed over any Monogram electric/gas cooktop or Monogram Professional cooktop or range of equivalent width.
*30″ Minimum required
*36″ Maximum recommended
36″ min.
*NOTE: Rear wall exhaust venting may affect installation height. See page 13.
4