Menu Descriptions
Delete All
Deletes all
Memory Monitor
This percentage represents memory used for personal Phone Book entries.
Helpful hints for using the 9p23 Phone Book menu Prefix Edit
The Missed Calls, Received No., Dialed No. and
Edit a Phone Book entry
Add, replace or delete digits and letters to entries stored in the 9p23 Local Phone Book.
1.Select Search in the Phone Book menu.
2.Enter a name and use the Left Soft key to select Confirm to display the corresponding entry. Browse other entries by pressing the Scroll key.
3.Press the Left Soft key to choose Options, scroll to Edit then choose Select.
4.Use the keypad to add letters at the end of the name.
5.To replace letters within the name, press the up arrow of the Scroll key to erase letters, then enter the new letters.
6.Press the Left Soft key to confirm and save changes or to accept the current entry.
Delete a Phone Book entry
1.Select Search in the Phone Book menu.
2.Enter a name and press the Left Soft key to select Confirm. Use the Scroll key to browse other memory entries.
3.Press the Left Soft key to choose Options then select Delete. The display will prompt “Delete Entry?” Press the Left Soft key to select Confirm.
26
Central Phone Book entries are only available when configured by the system administrator. Entries cannot be edited or deleted and are indicated by the Locked icon below the name.
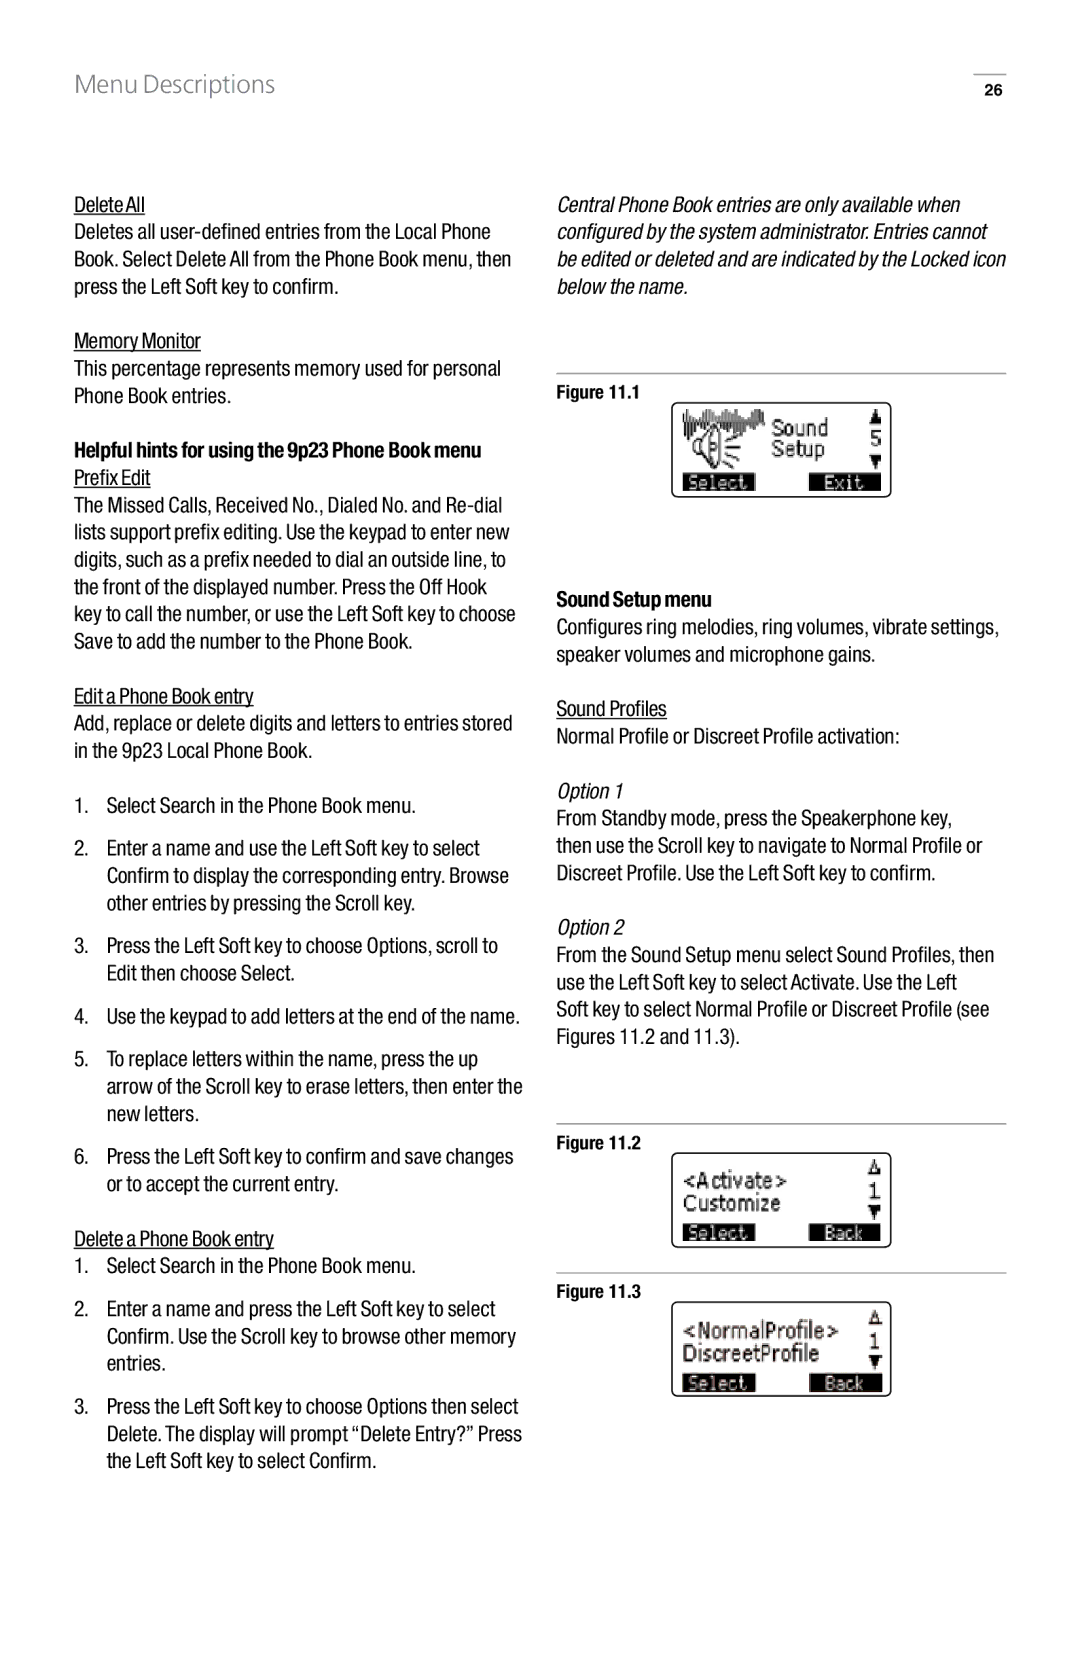
Figure 11..1
Sound Setup menu
Configures ring melodies, ring volumes, vibrate settings, speaker volumes and microphone gains.
Sound Profiles
Normal Profile or Discreet Profile activation:
Option 1
From Standby mode, press the Speakerphone key, then use the Scroll key to navigate to Normal Profile or Discreet Profile. Use the Left Soft key to confirm.
Option 2
From the Sound Setup menu select Sound Profiles, then use the Left Soft key to select Activate. Use the Left Soft key to select Normal Profile or Discreet Profile (see Figures 11.2 and 11.3).
Figure 11..2
Figure 11..3
