Fence to Jointer
To install the fence on the jointer unit:
1.Place the fence on the jointer unit as it was before you removed it for clean up. Make sure the key on the fence support lines up with the keyway on the fence.
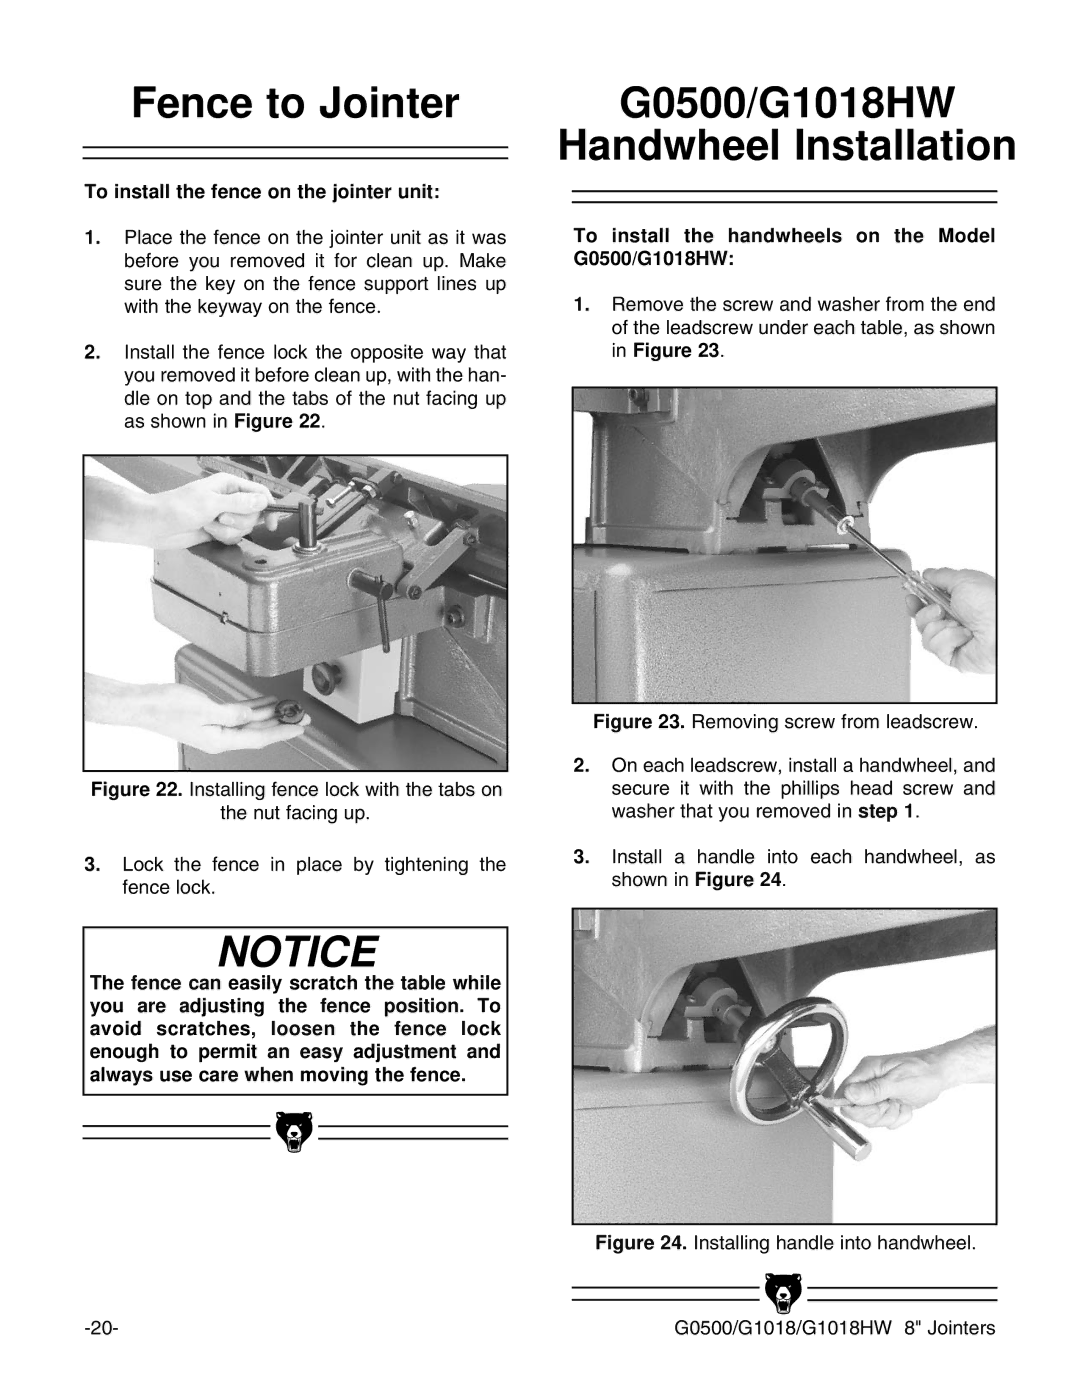
2.Install the fence lock the opposite way that you removed it before clean up, with the han- dle on top and the tabs of the nut facing up as shown in Figure 22.
Figure 22. Installing fence lock with the tabs on
the nut facing up.
3.Lock the fence in place by tightening the fence lock.
G0500/G1018HW
Handwheel Installation
To install the handwheels on the Model G0500/G1018HW:
1.Remove the screw and washer from the end of the leadscrew under each table, as shown in Figure 23.
Figure 23. Removing screw from leadscrew.
2.On each leadscrew, install a handwheel, and secure it with the phillips head screw and washer that you removed in step 1.
3.Install a handle into each handwheel, as shown in Figure 24.
NOTICE
The fence can easily scratch the table while you are adjusting the fence position. To avoid scratches, loosen the fence lock enough to permit an easy adjustment and always use care when moving the fence.
Figure 24. Installing handle into handwheel.
|
|
|
|
|
|
|
|
|
|
|
|
G0500/G1018/G1018HW 8" Jointers | |||
