Bevel Cutting
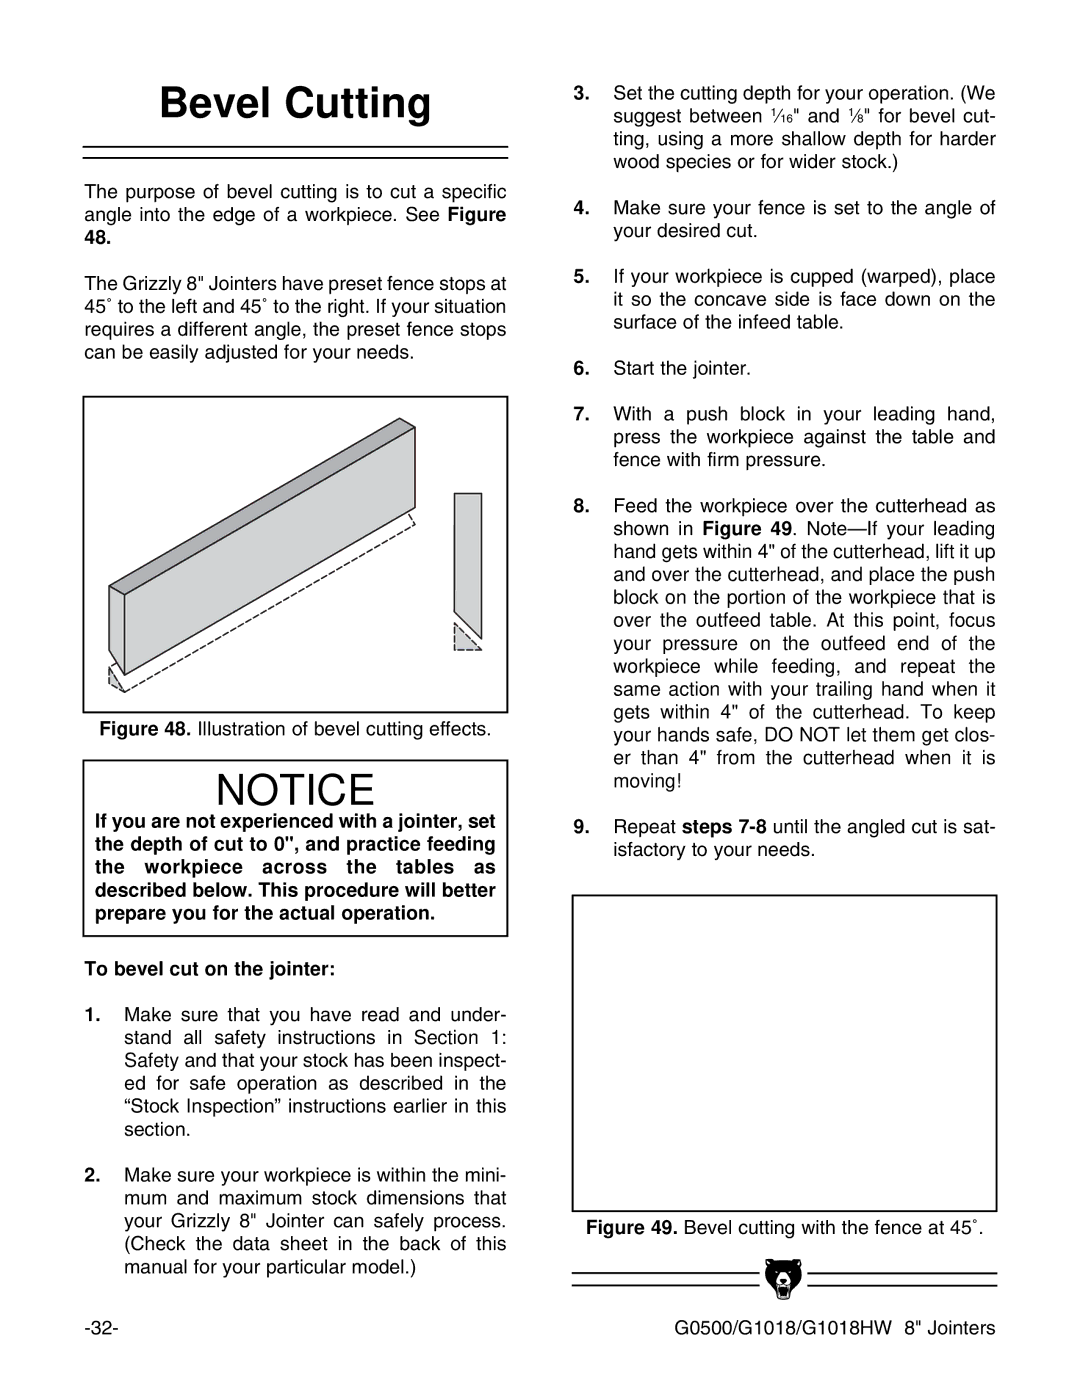
The purpose of bevel cutting is to cut a specific angle into the edge of a workpiece. See Figure 48.
The Grizzly 8" Jointers have preset fence stops at 45˚ to the left and 45˚ to the right. If your situation requires a different angle, the preset fence stops can be easily adjusted for your needs.
Figure 48. Illustration of bevel cutting effects.
NOTICE
If you are not experienced with a jointer, set the depth of cut to 0", and practice feeding the workpiece across the tables as described below. This procedure will better prepare you for the actual operation.
To bevel cut on the jointer:
1.Make sure that you have read and under- stand all safety instructions in Section 1: Safety and that your stock has been inspect- ed for safe operation as described in the “Stock Inspection” instructions earlier in this section.
2.Make sure your workpiece is within the mini- mum and maximum stock dimensions that your Grizzly 8" Jointer can safely process. (Check the data sheet in the back of this manual for your particular model.)
3.Set the cutting depth for your operation. (We suggest between 1⁄16" and 1⁄8" for bevel cut- ting, using a more shallow depth for harder wood species or for wider stock.)
4.Make sure your fence is set to the angle of your desired cut.
5.If your workpiece is cupped (warped), place it so the concave side is face down on the surface of the infeed table.
6.Start the jointer.
7.With a push block in your leading hand, press the workpiece against the table and fence with firm pressure.
8.Feed the workpiece over the cutterhead as shown in Figure 49.
9.Repeat steps
Figure 49. Bevel cutting with the fence at 45˚.
G0500/G1018/G1018HW 8" Jointers |