4.To raise the left side, loosen the lock nuts on the conveyor adjustment bolts on the left side and tighten the adjustment bolts. Do the same procedure to the right side bolts to raise the right side.
5.Tighten the lock nuts on the adjustment bolts and tighten the conveyor mounting bolts.
6.Connect the resaw to the power, and repeat steps 1 and 2.
7.Loosen the cap screw shown in Figure 61.
Adjusting Nut
Cap Screw
Figure 61. Conveyor fine adjustment.
8.The adjusting nut shown in Figure 61 raises, or lowers, the non-drive side of the bandsaw blade (the side opposite the motor). Insert the pry tool into the adjusting nut.
—Rotate the adjusting nut to the right to raise the bandsaw blade.
—Rotate the adjusting nut to the left to lower the bandsaw blade.
9.Retighten the cap screws, connect the resaw to the power, and repeat steps 1 and 2. —If the measurements are close to correct,
but need fine tuning, continue to step 6.
—If large adjustments are necessary, repeat steps 3 and 4.
To adjust the conveyor table front to back:
1.Disconnect the resaw from the power source!
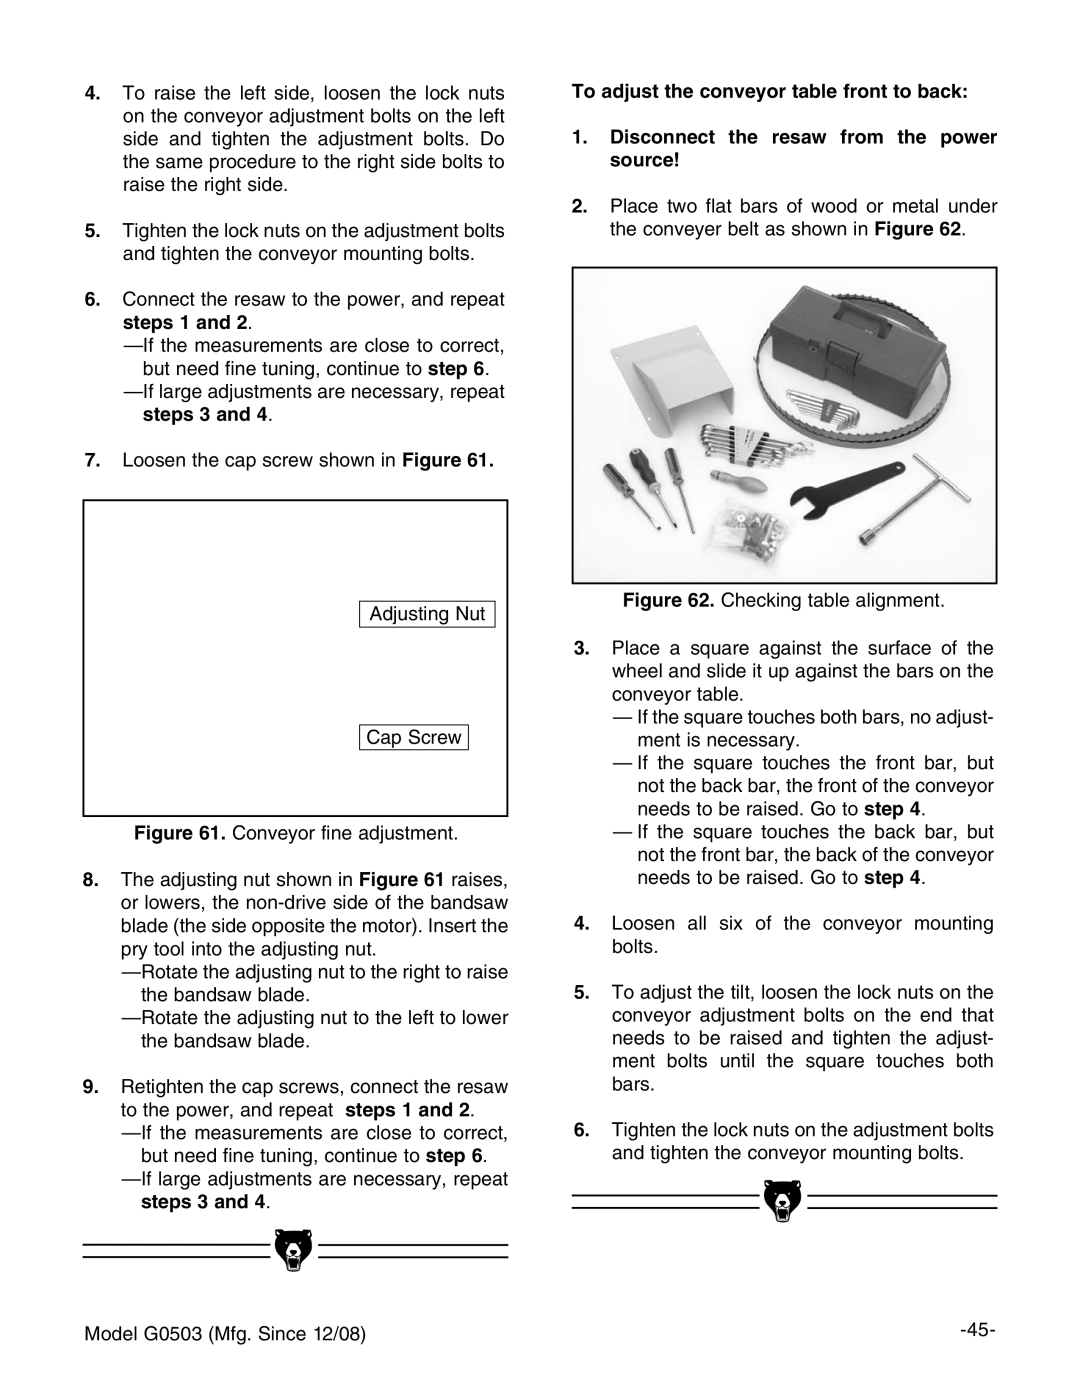
2.Place two flat bars of wood or metal under the conveyer belt as shown in Figure 62.
Figure 62. Checking table alignment.
3.Place a square against the surface of the wheel and slide it up against the bars on the conveyor table.
—If the square touches both bars, no adjust- ment is necessary.
—If the square touches the front bar, but not the back bar, the front of the conveyor needs to be raised. Go to step 4.
—If the square touches the back bar, but not the front bar, the back of the conveyor needs to be raised. Go to step 4.
4.Loosen all six of the conveyor mounting bolts.
5.To adjust the tilt, loosen the lock nuts on the conveyor adjustment bolts on the end that needs to be raised and tighten the adjust- ment bolts until the square touches both bars.
6.Tighten the lock nuts on the adjustment bolts and tighten the conveyor mounting bolts.
Model G0503 (Mfg. Since 12/08) |
