Blade Guides
The blade guides have a basic factory adjustment, but due to shipping, storage, and wear, we recom- mend that you
CUTTING HAZARD!
Blades are sharp! Put on heavy leather gloves when handling a blade or making adjustments near a blade or cutter!
To adjust the blade guides:
1.Make sure the blade is oiled, tensioned, and tracking correctly.
2.Raise the bow to the upmost position.
3.DISCONNECT BANDSAW FROM POWER!
4.Extend the blade guide as far as possible and lock it in place (Figure 53).
Blade Guide
Figure 53. Blade guide extended.
G0664 Heavy Duty Metal-Cutting Bandsaw
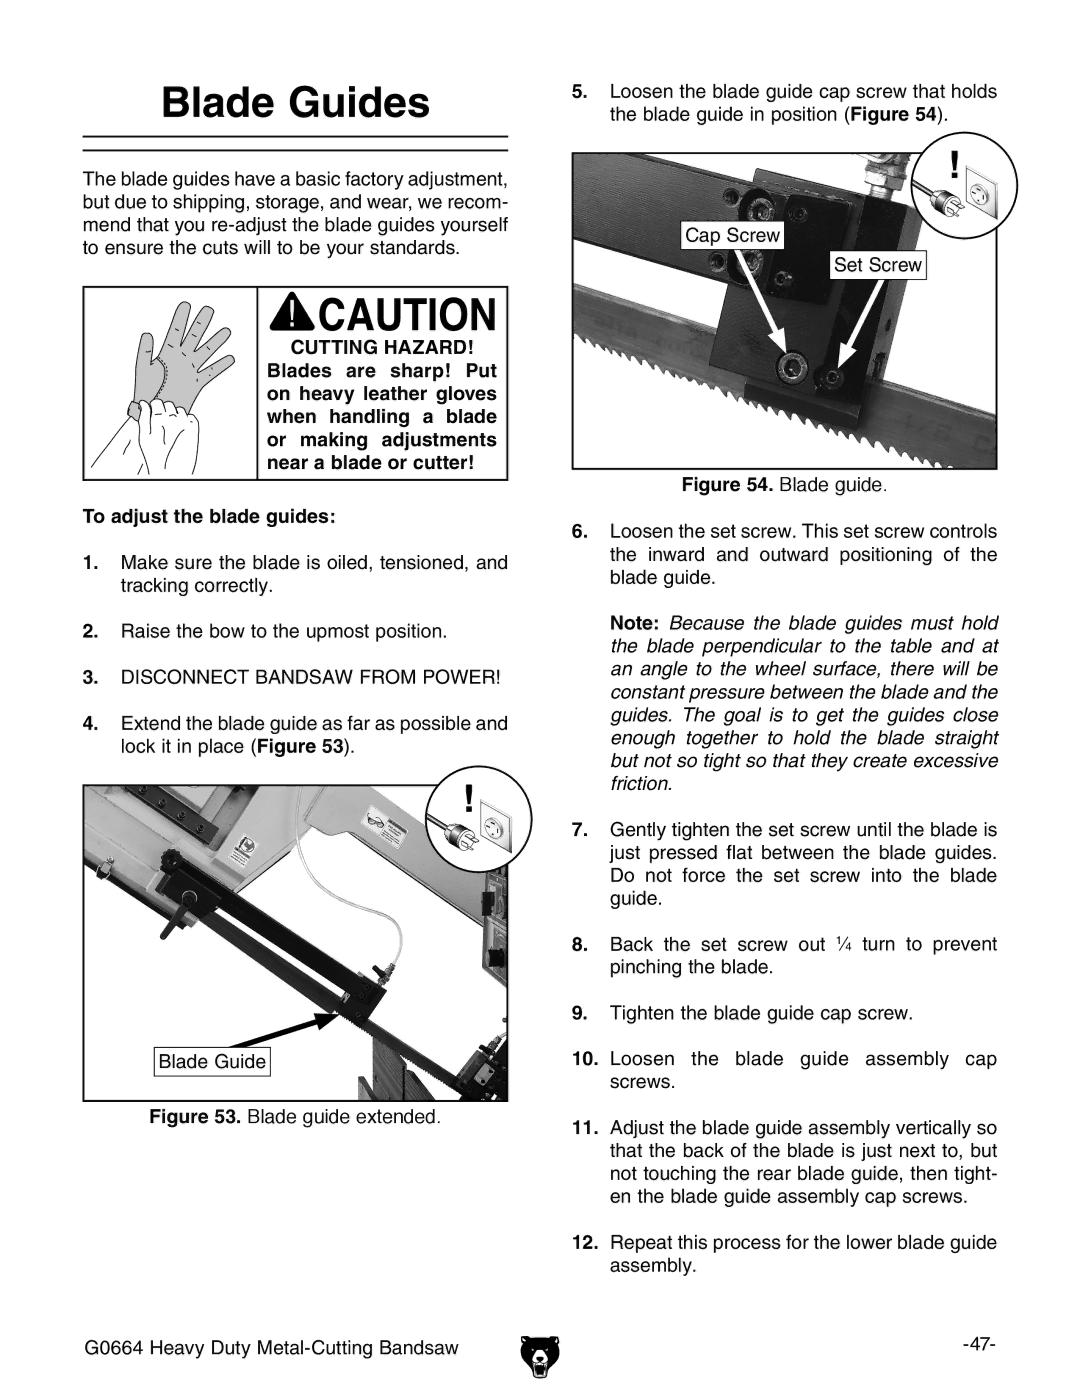
5.Loosen the blade guide cap screw that holds the blade guide in position (Figure 54).
Cap Screw
Set Screw
Figure 54. Blade guide.
6.Loosen the set screw. This set screw controls the inward and outward positioning of the blade guide.
Note: Because the blade guides must hold the blade perpendicular to the table and at an angle to the wheel surface, there will be constant pressure between the blade and the guides. The goal is to get the guides close enough together to hold the blade straight but not so tight so that they create excessive friction.