Auto-Downfeed
When using the
To use the auto-downfeed:
1.Make sure the spindle is completely stopped.
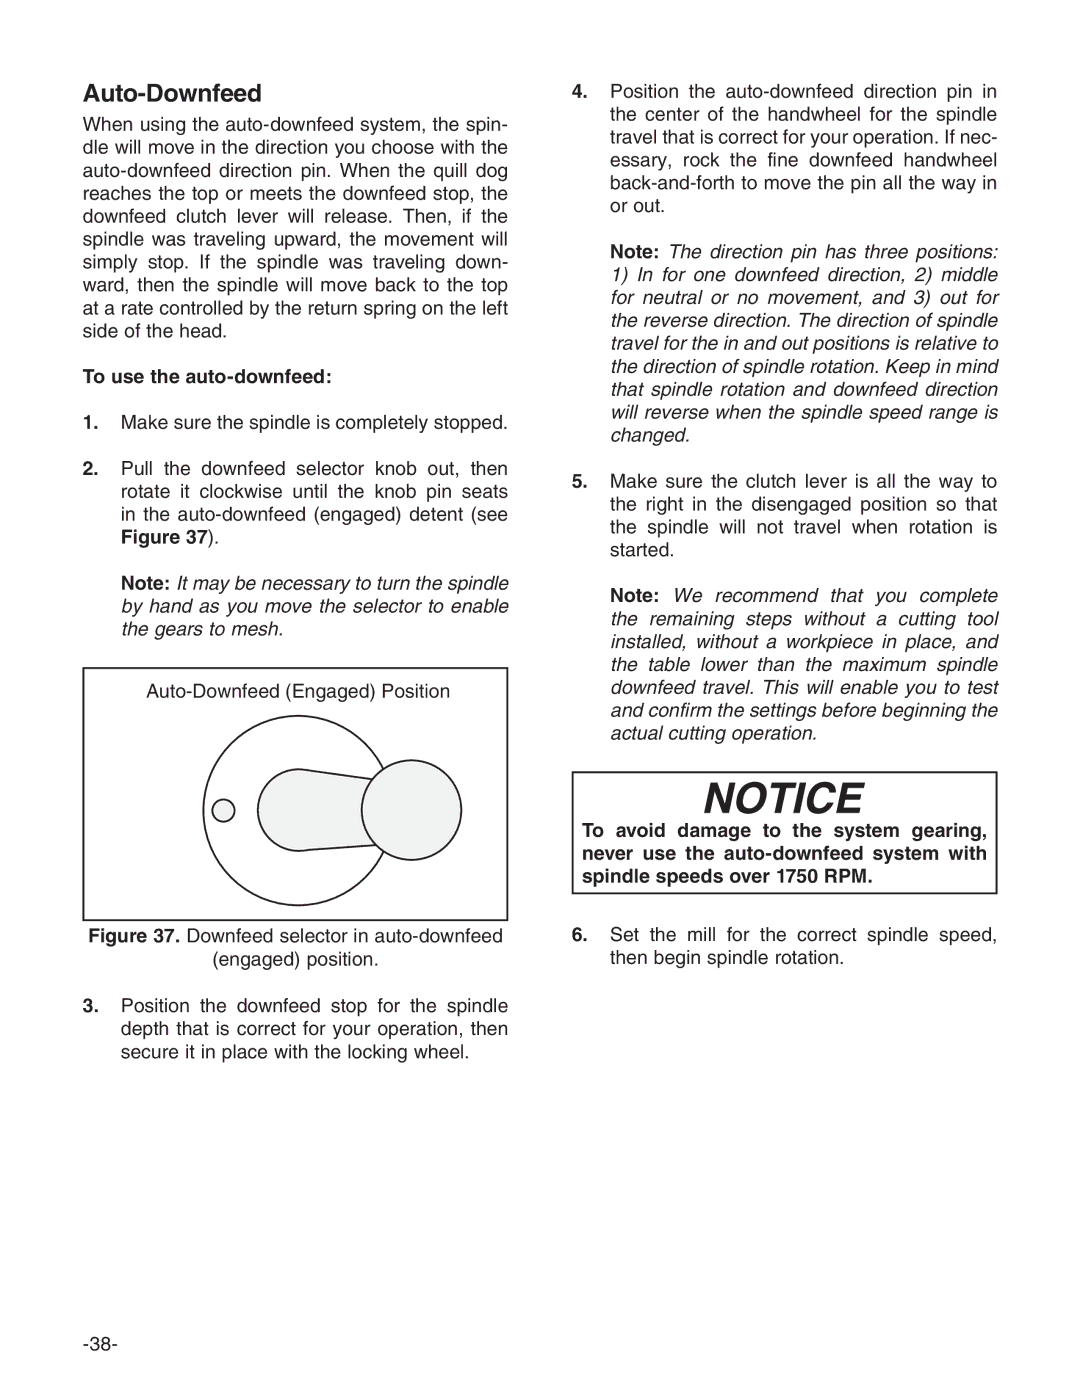
2.pull the downfeed selector knob out, then rotate it clockwise until the knob pin seats in the
Note: It may be necessary to turn the spindle by hand as you move the selector to enable the gears to mesh.
Figure 37. Downfeed selector in auto-downfeed
(engaged) position.
3.position the downfeed stop for the spindle depth that is correct for your operation, then secure it in place with the locking wheel.
4.position the auto-downfeed direction pin in the center of the handwheel for the spindle travel that is correct for your operation. If nec- essary, rock the fine downfeed handwheel back-and-forth to move the pin all the way in or out.
Note: The direction pin has three positions:
1)In for one downfeed direction, 2) middle for neutral or no movement, and 3) out for the reverse direction. The direction of spindle travel for the in and out positions is relative to the direction of spindle rotation. Keep in mind that spindle rotation and downfeed direction will reverse when the spindle speed range is changed.
5.Make sure the clutch lever is all the way to the right in the disengaged position so that the spindle will not travel when rotation is started.
Note: We recommend that you complete the remaining steps without a cutting tool installed, without a workpiece in place, and the table lower than the maximum spindle downfeed travel. This will enable you to test and confirm the settings before beginning the actual cutting operation.
To avoid damage to the system gearing, never use the
6.set the mill for the correct spindle speed, then begin spindle rotation.
Model G0747/G0748 (Mfg. Since 8/12)