4.3 Installation Procedure
1.Unpack all of the contents from the network camera’s package and verify that all the items listed in the “Package Contents” chapter have been included.
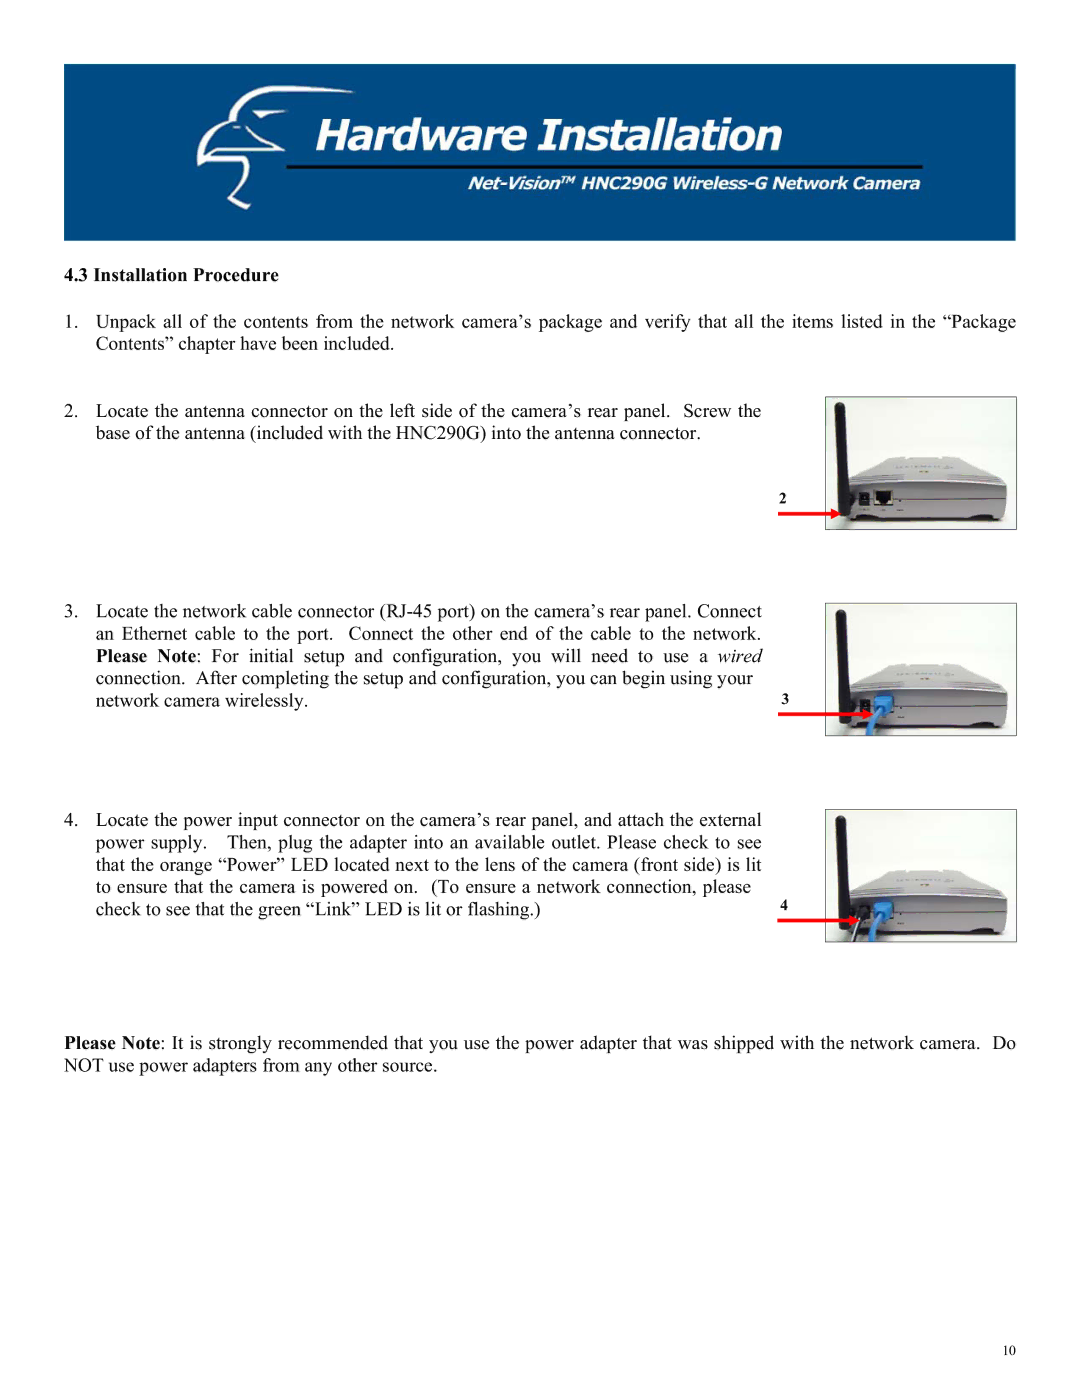
2.Locate the antenna connector on the left side of the camera’s rear panel. Screw the base of the antenna (included with the HNC290G) into the antenna connector.
2
3.Locate the network cable connector
Please Note: For initial setup and configuration, you will need to use a wired |
|
connection. After completing the setup and configuration, you can begin using your |
|
network camera wirelessly. | 3 |
4.Locate the power input connector on the camera’s rear panel, and attach the external power supply. Then, plug the adapter into an available outlet. Please check to see
that the orange “Power” LED located next to the lens of the camera (front side) is lit |
|
to ensure that the camera is powered on. (To ensure a network connection, please | 4 |
check to see that the green “Link” LED is lit or flashing.) |
Please Note: It is strongly recommended that you use the power adapter that was shipped with the network camera. Do NOT use power adapters from any other source.
10