The steps outlined below will help you install your camera behind a router:
1.Camera Identification
Open the camera’s web page by typing its IP address in your web browser, and click on “Network Setting”. If you intend to install multiple cameras, it is recommended that you give each camera a unique “Camera Name” in the field provided.
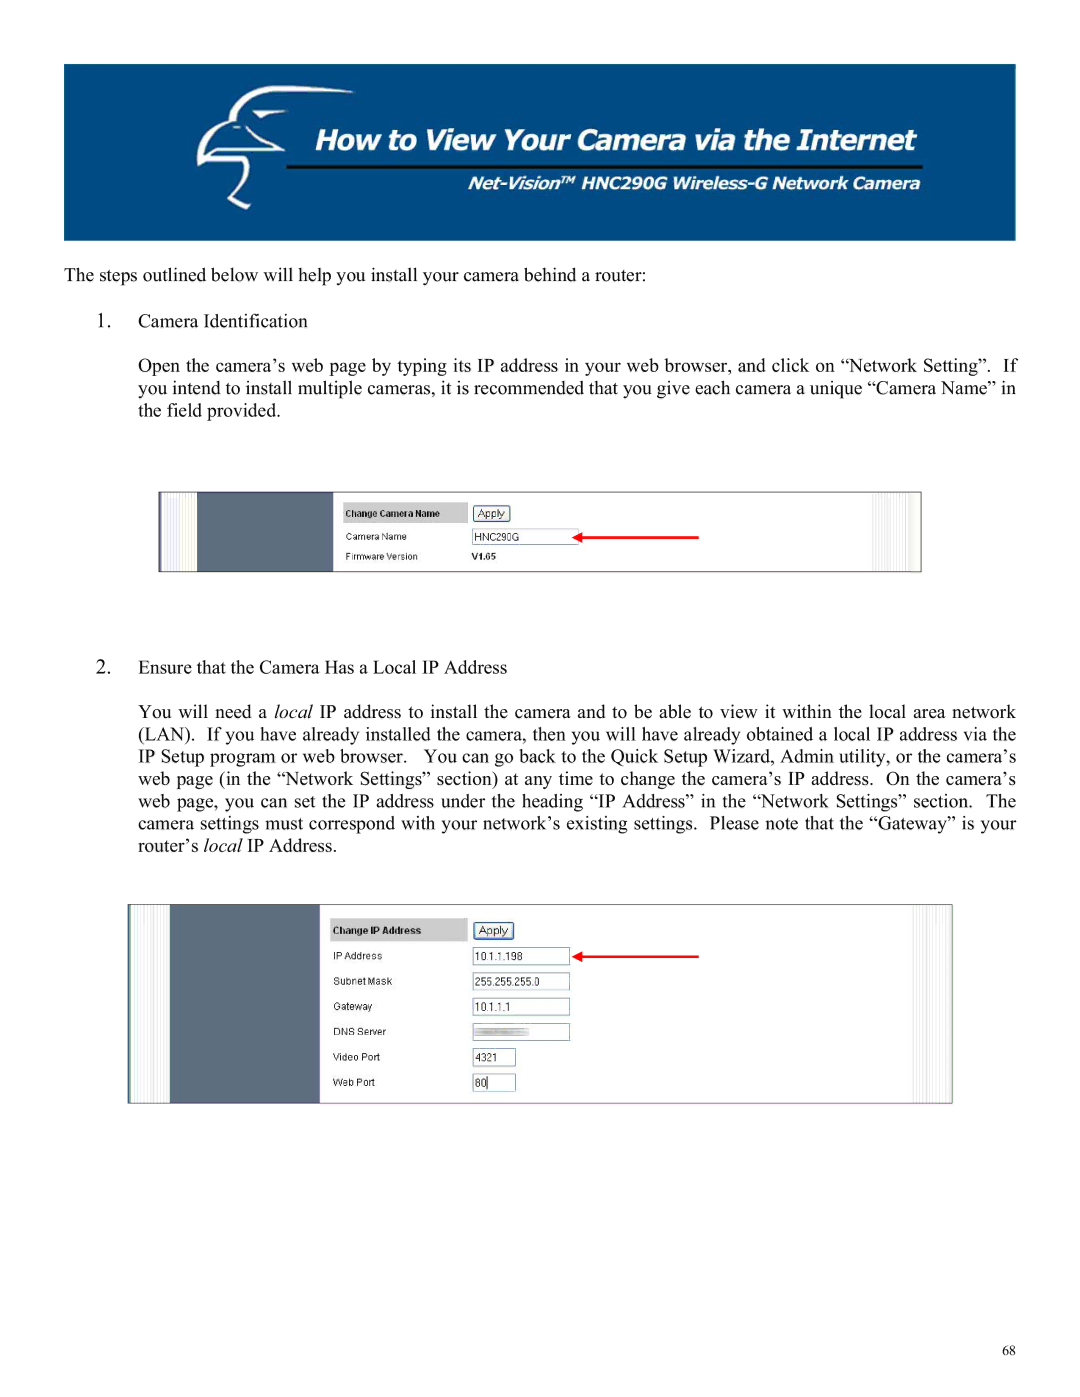
2.Ensure that the Camera Has a Local IP Address
You will need a local IP address to install the camera and to be able to view it within the local area network (LAN). If you have already installed the camera, then you will have already obtained a local IP address via the IP Setup program or web browser. You can go back to the Quick Setup Wizard, Admin utility, or the camera’s web page (in the “Network Settings” section) at any time to change the camera’s IP address. On the camera’s web page, you can set the IP address under the heading “IP Address” in the “Network Settings” section. The camera settings must correspond with your network’s existing settings. Please note that the “Gateway” is your router’s local IP Address.
68