Model
2-18. HEATING CONTACTORS (ELECTRIC) Continued)
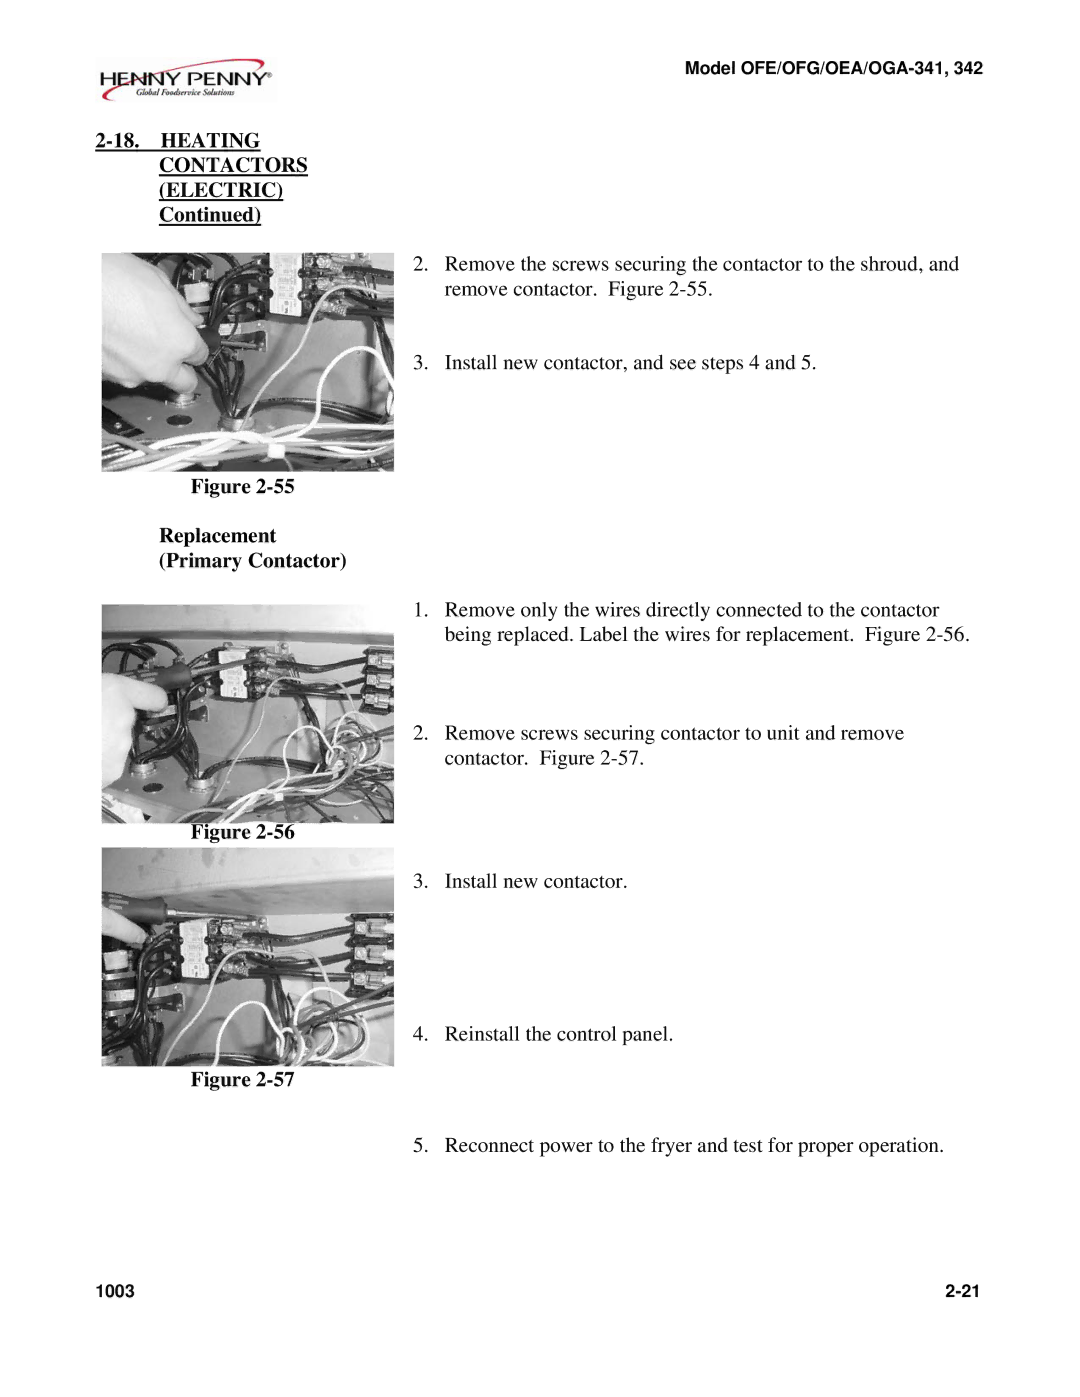
2.Remove the screws securing the contactor to the shroud, and remove contactor. Figure
3.Install new contactor, and see steps 4 and 5.
Figure
Replacement
(Primary Contactor)
1.Remove only the wires directly connected to the contactor being replaced. Label the wires for replacement. Figure
2.Remove screws securing contactor to unit and remove contactor. Figure
Figure
3.Install new contactor.
4.Reinstall the control panel.
Figure
5. Reconnect power to the fryer and test for proper operation.
1003 |
