8 Click “Write” to create a
Check “Create disc”, perform setting for write, such as choosing DVD write drive, and then set a blank
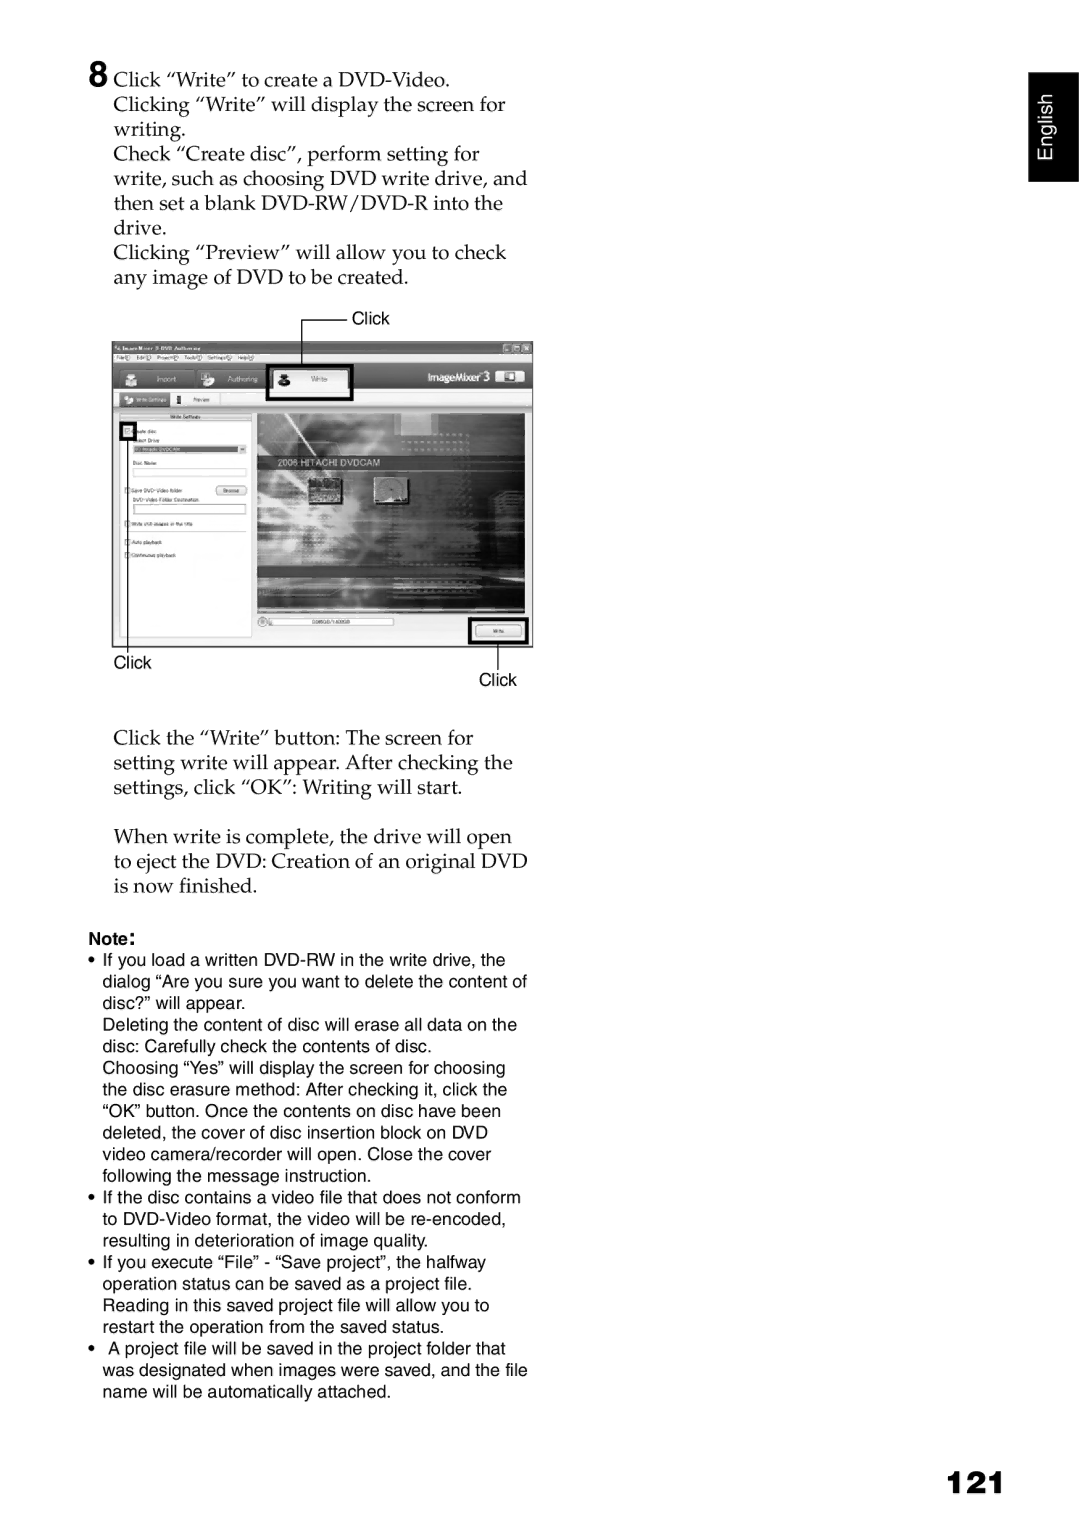
Clicking “Preview” will allow you to check any image of DVD to be created.
Click
Click
Click
Click the “Write” button: The screen for setting write will appear. After checking the settings, click “OK”: Writing will start.
When write is complete, the drive will open to eject the DVD: Creation of an original DVD is now finished.
Note:
•If you load a written
Deleting the content of disc will erase all data on the disc: Carefully check the contents of disc.
Choosing “Yes” will display the screen for choosing the disc erasure method: After checking it, click the “OK” button. Once the contents on disc have been deleted, the cover of disc insertion block on DVD video camera/recorder will open. Close the cover following the message instruction.
•If the disc contains a video file that does not conform to
•If you execute “File” - “Save project”, the halfway operation status can be saved as a project file. Reading in this saved project file will allow you to restart the operation from the saved status.
•A project file will be saved in the project folder that was designated when images were saved, and the file name will be automatically attached.