English
1<>2/3
Recording using LED Light (for DZ-GX5080A only)
You can use the LED light to illuminate a subject to be recorded in a dark place.
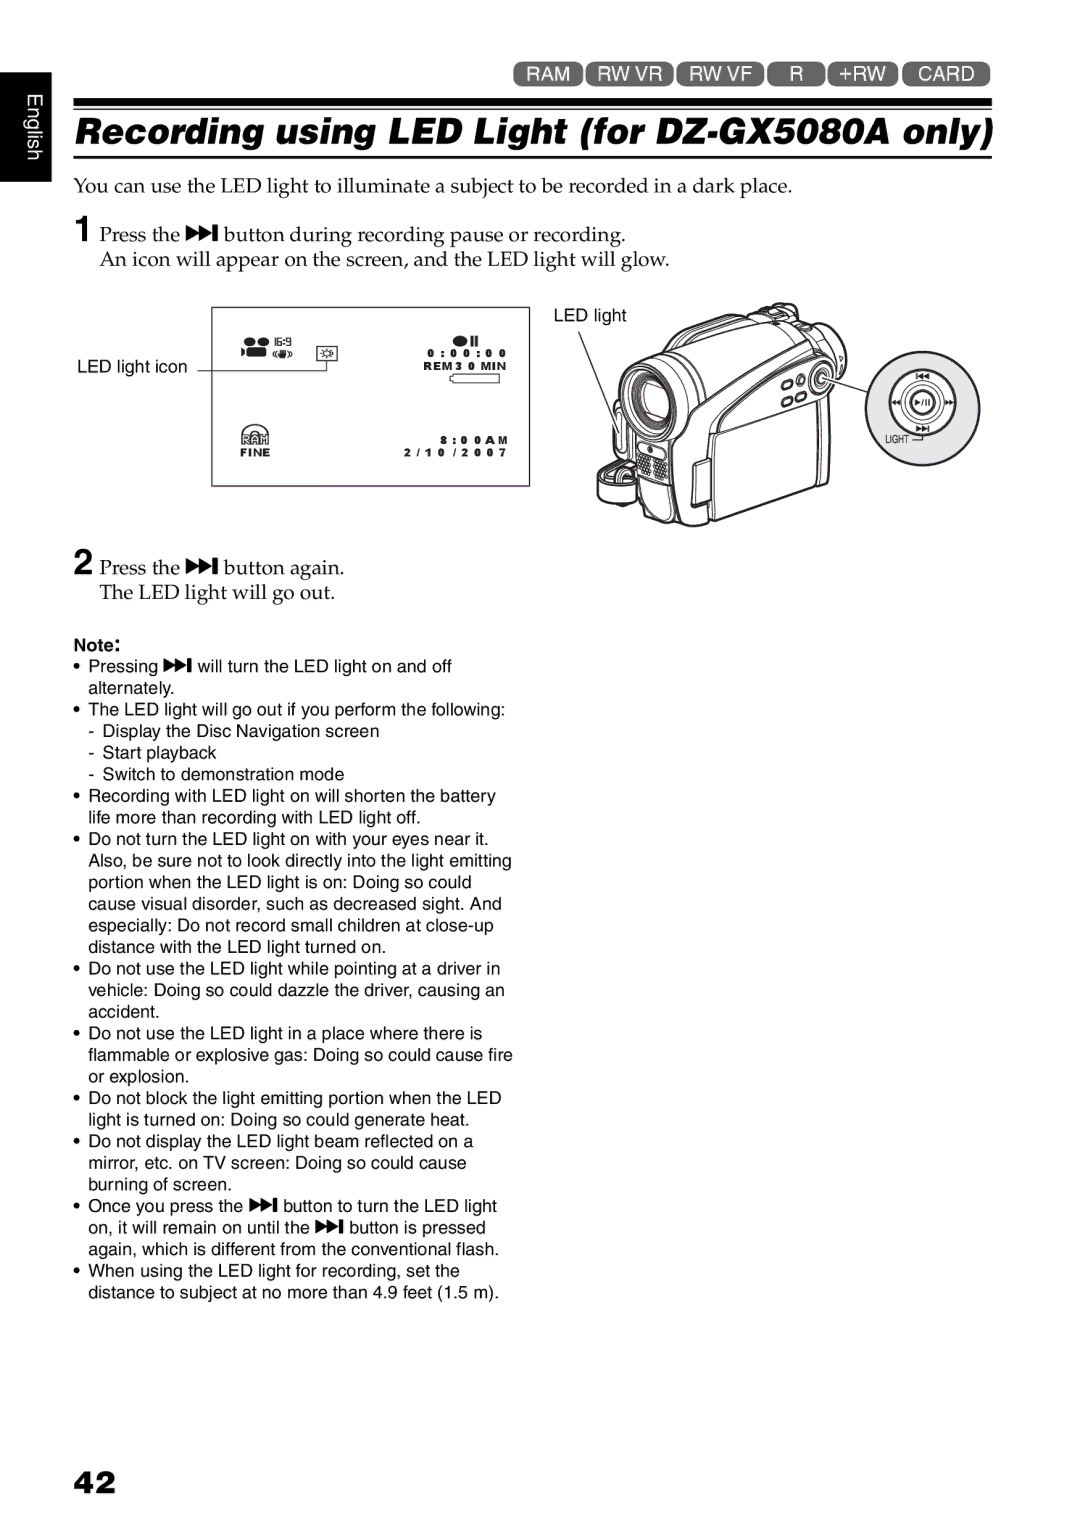
1 Press the ebutton during recording pause or recording.
An icon will appear on the screen, and the LED light will glow.
LED light
LED light icon |
|
|
| 0 : 0 0 : 0 0 | ||
|
|
| ||||
|
|
| REM 3 0 MIN | |||
|
|
| ||||
|
|
|
|
|
| |
| FINE | 8 : | 0 0 A M | |||
| 2 / 1 0 / | 2 0 0 7 | ||||
2 Press the ebutton again. The LED light will go out.
Note:
•Pressing ewill turn the LED light on and off alternately.
•The LED light will go out if you perform the following:
-Display the Disc Navigation screen
-Start playback
-Switch to demonstration mode
•Recording with LED light on will shorten the battery life more than recording with LED light off.
•Do not turn the LED light on with your eyes near it. Also, be sure not to look directly into the light emitting portion when the LED light is on: Doing so could cause visual disorder, such as decreased sight. And especially: Do not record small children at
•Do not use the LED light while pointing at a driver in vehicle: Doing so could dazzle the driver, causing an accident.
•Do not use the LED light in a place where there is flammable or explosive gas: Doing so could cause fire or explosion.
•Do not block the light emitting portion when the LED light is turned on: Doing so could generate heat.
•Do not display the LED light beam reflected on a mirror, etc. on TV screen: Doing so could cause burning of screen.
•Once you press the ebutton to turn the LED light on, it will remain on until the ebutton is pressed again, which is different from the conventional flash.
•When using the LED light for recording, set the distance to subject at no more than 4.9 feet (1.5 m).
42