B. Removal and Replacement of Refrigeration Unit
1)Turn off the power supply, and unplug the unit.
2)Remove the front panel, then remove the wire guard located below the display panel.
3)Unhook the wiring connectors at the control box, then remove the two
4)Very carefully slide out the refrigeration unit. Support the evaporator as it clears the evaporator case.
5)Replace the removed parts in the reverse order of which they were removed.
6)Replace the front panel and all other guards in their correct positions.
7)Plug in the unit, and turn on the power supply.
CAUTION
1.To avoid a gas leak, be sure to prevent the refrigeration piping from coming into contact with the body when taking out and returning the refrigeration unit to its original position.
2.Do not let the fan motor or high pressure pipe touch wires.
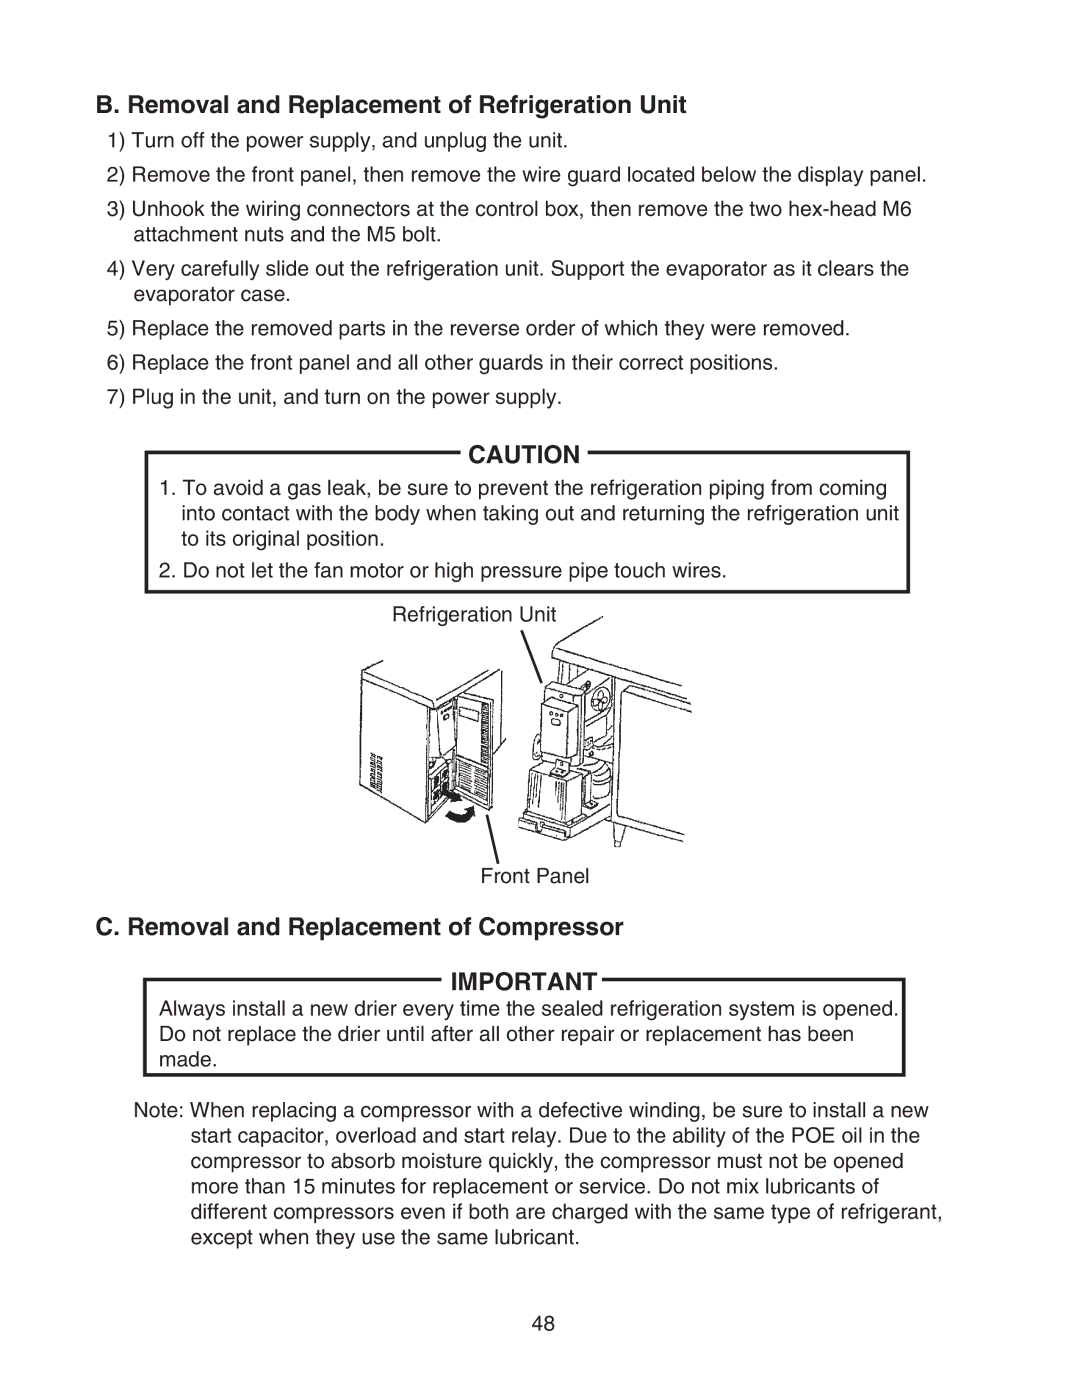
Refrigeration Unit
Front Panel
C. Removal and Replacement of Compressor
IMPORTANT
Always install a new drier every time the sealed refrigeration system is opened. Do not replace the drier until after all other repair or replacement has been made.
Note: When replacing a compressor with a defective winding, be sure to install a new start capacitor, overload and start relay. Due to the ability of the POE oil in the compressor to absorb moisture quickly, the compressor must not be opened more than 15 minutes for replacement or service. Do not mix lubricants of different compressors even if both are charged with the same type of refrigerant, except when they use the same lubricant.
48