Printing Paper in Tray 2 (Optional Tray)
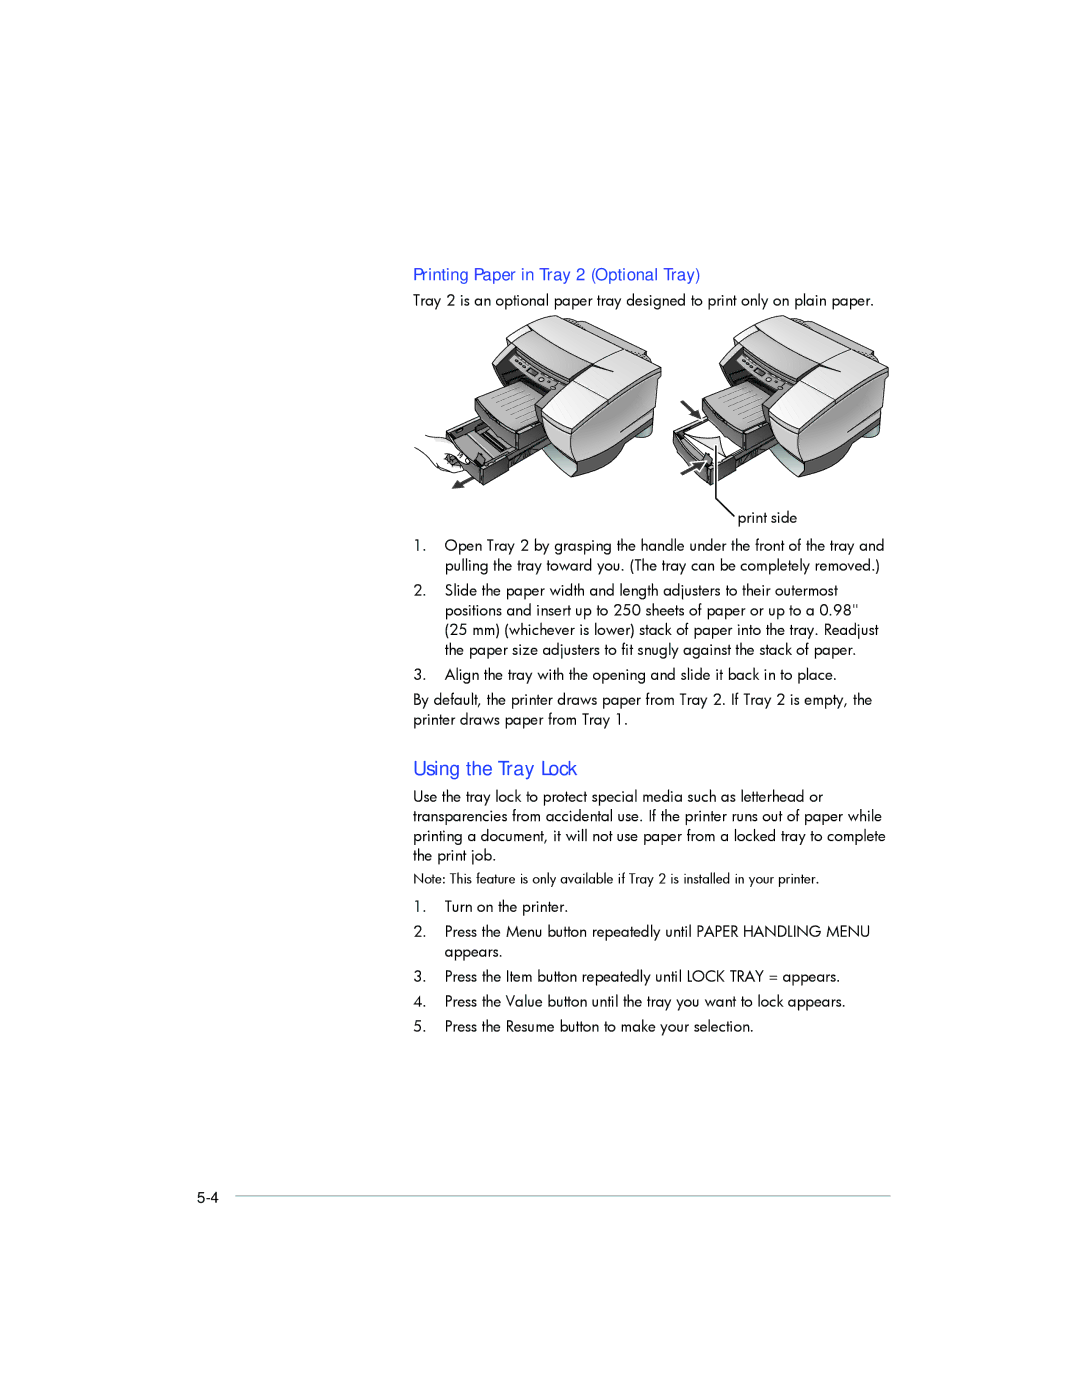
Tray 2 is an optional paper tray designed to print only on plain paper.
print side
1.Open Tray 2 by grasping the handle under the front of the tray and pulling the tray toward you. (The tray can be completely removed.)
2.Slide the paper width and length adjusters to their outermost positions and insert up to 250 sheets of paper or up to a 0.98" (25 mm) (whichever is lower) stack of paper into the tray. Readjust the paper size adjusters to fit snugly against the stack of paper.
3.Align the tray with the opening and slide it back in to place.
By default, the printer draws paper from Tray 2. If Tray 2 is empty, the printer draws paper from Tray 1.
Using the Tray Lock
Use the tray lock to protect special media such as letterhead or transparencies from accidental use. If the printer runs out of paper while printing a document, it will not use paper from a locked tray to complete the print job.
Note: This feature is only available if Tray 2 is installed in your printer.
1.Turn on the printer.
2.Press the Menu button repeatedly until PAPER HANDLING MENU appears.
3.Press the Item button repeatedly until LOCK TRAY = appears.
4.Press the Value button until the tray you want to lock appears.
5.Press the Resume button to make your selection.