Step 2: Connect the power cord
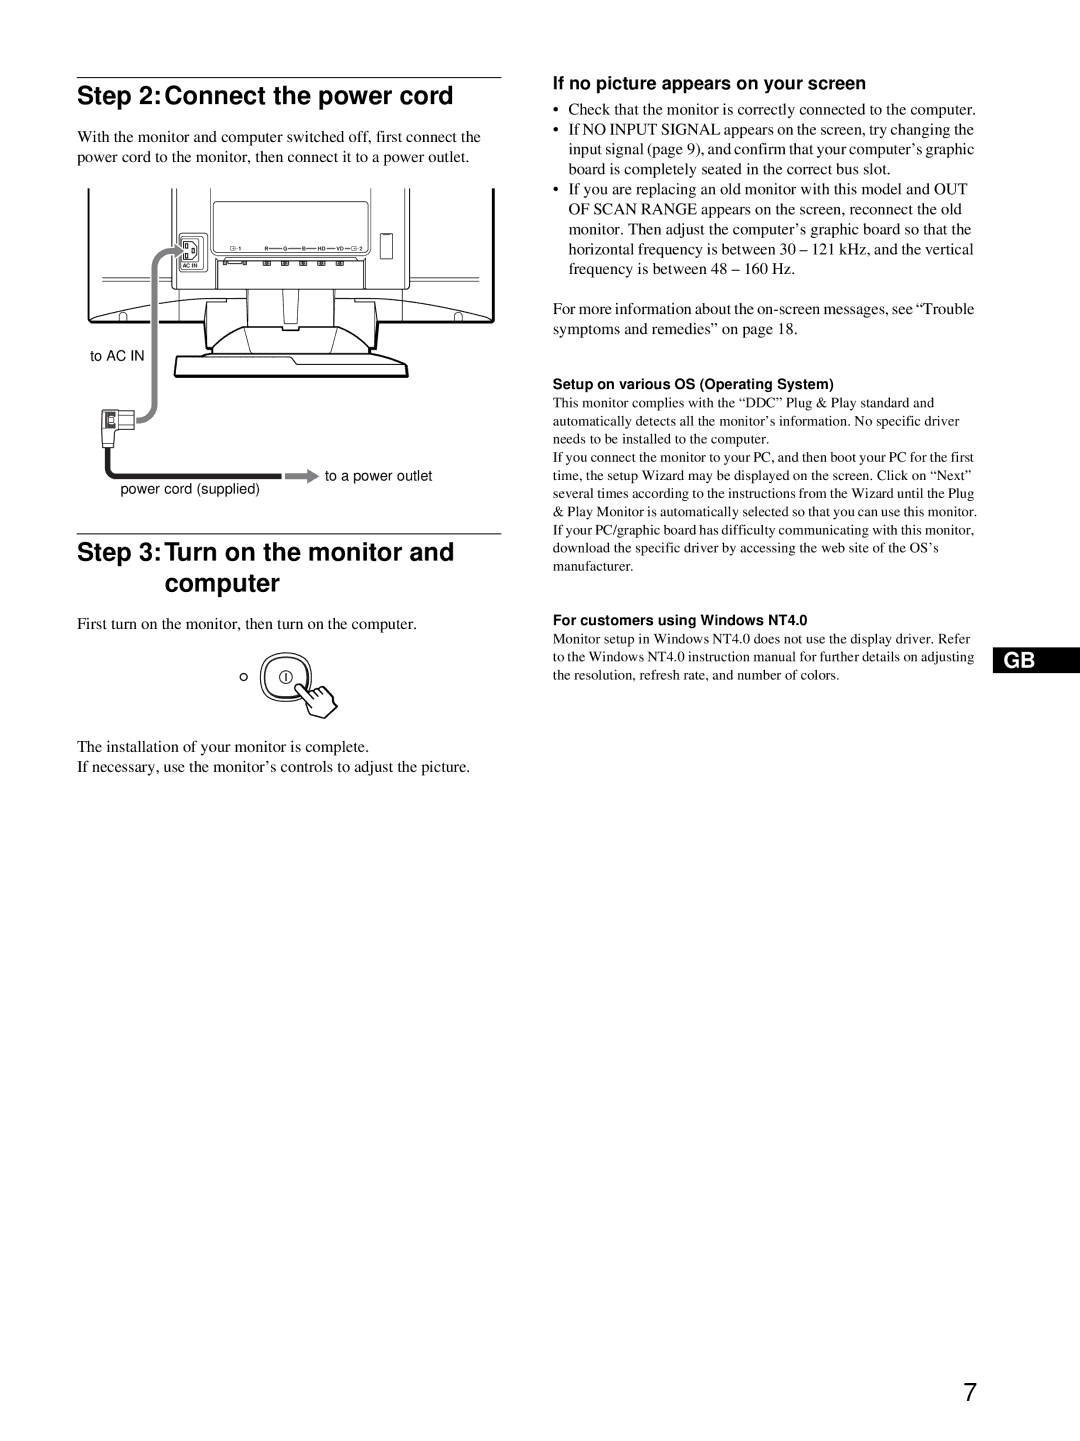
With the monitor and computer switched off, first connect the power cord to the monitor, then connect it to a power outlet.
1 | R | G | B HD VD | 2 |
AC IN
to AC IN
to a power outlet
power cord (supplied)
Step 3: Turn on the monitor and computer
First turn on the monitor, then turn on the computer.
The installation of your monitor is complete.
If necessary, use the monitor’s controls to adjust the picture.
If no picture appears on your screen
•Check that the monitor is correctly connected to the computer.
•If NO INPUT SIGNAL appears on the screen, try changing the input signal (page 9), and confirm that your computer’s graphic board is completely seated in the correct bus slot.
•If you are replacing an old monitor with this model and OUT OF SCAN RANGE appears on the screen, reconnect the old monitor. Then adjust the computer’s graphic board so that the horizontal frequency is between 30 – 121 kHz, and the vertical frequency is between 48 – 160 Hz.
For more information about the
Setup on various OS (Operating System)
This monitor complies with the “DDC” Plug & Play standard and automatically detects all the monitor’s information. No specific driver needs to be installed to the computer.
If you connect the monitor to your PC, and then boot your PC for the first time, the setup Wizard may be displayed on the screen. Click on “Next” several times according to the instructions from the Wizard until the Plug
&Play Monitor is automatically selected so that you can use this monitor. If your PC/graphic board has difficulty communicating with this monitor, download the specific driver by accessing the web site of the OS’s manufacturer.
For customers using Windows NT4.0
Monitor setup in Windows NT4.0 does not use the display driver. Refer
to the Windows NT4.0 instruction manual for further details on adjusting GB the resolution, refresh rate, and number of colors.
7