USER GUIDE FOR HP 6 COLOR PLUGIN
To add a print device, do the following:
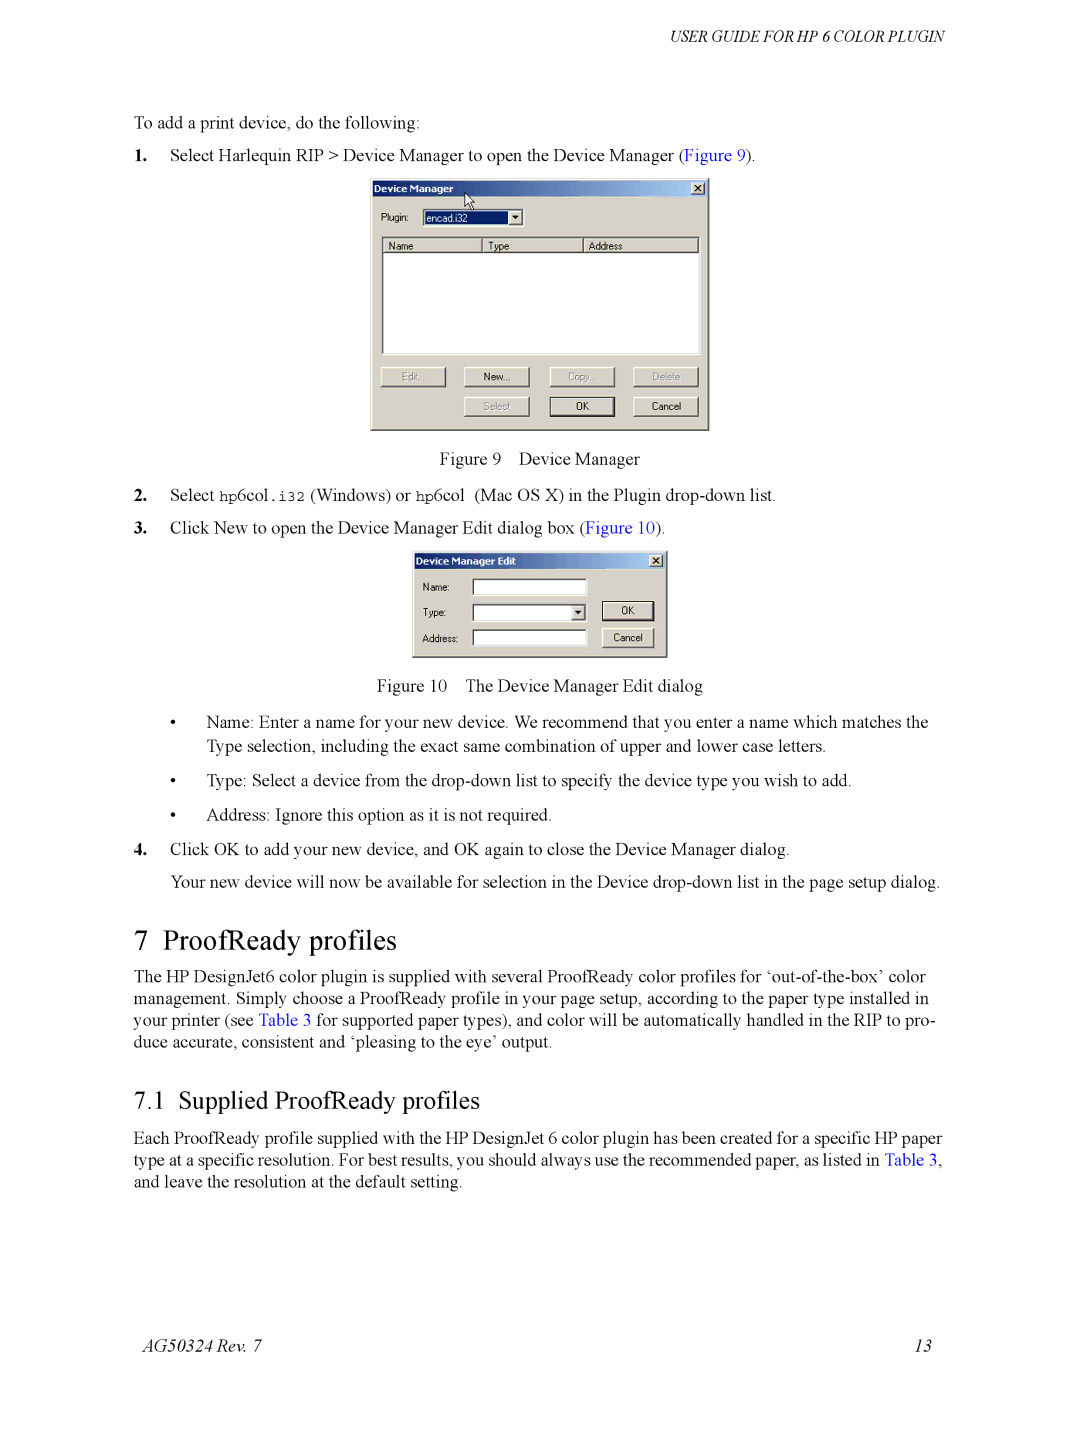
1.Select Harlequin RIP > Device Manager to open the Device Manager (Figure 9).
Figure 9 Device Manager
2.Select hp6col.i32 (Windows) or hp6col (Mac OS X) in the Plugin drop-down list.
3.Click New to open the Device Manager Edit dialog box (Figure 10).
Figure 10 The Device Manager Edit dialog
•Name: Enter a name for your new device. We recommend that you enter a name which matches the Type selection, including the exact same combination of upper and lower case letters.
•Type: Select a device from the drop-down list to specify the device type you wish to add.
•Address: Ignore this option as it is not required.
4.Click OK to add your new device, and OK again to close the Device Manager dialog.
Your new device will now be available for selection in the Device drop-down list in the page setup dialog.
7 ProofReady profiles
The HP DesignJet6 color plugin is supplied with several ProofReady color profiles for
7.1 Supplied ProofReady profiles
Each ProofReady profile supplied with the HP DesignJet 6 color plugin has been created for a specific HP paper type at a specific resolution. For best results, you should always use the recommended paper, as listed in Table 3, and leave the resolution at the default setting.
AG50324 Rev. 7 | 13 |