Overprinting
Because most media sheets are not precisely the same width from start to finish, and to accommodate any slight media drift that may occur the printer can be configured for a variable amount of overprinting.
In this context, “overprinting” indicates how wide of a print job beyond the initial measured width of the media the printer will accept. Ordinarily (i.e., without overprinting) the printer will reject any job sent from the print server that exceeds the printable area of the media. When an Overprinting area is specified, the printer will accept a print job that is the width of the media plus the overprinting amount.
The printer does not make any changes to the job; i.e., the printer does not automatically enlarge the job or add extra pixels to create the overprint. To take advantage of the overprint area, the job must be prepared prior to sending it through the RIP. In most cases, this preparation will consist of one of the following:
∙Size the job slightly larger than the media width. For example, if the media is 32 inches (81 cm) wide, then set an overprint area 0.125 inches (3 mm) and then size the job to 32.25 inches (81.9 cm). In most cases this will have a negligible effect on the rest of the image.
∙Create the job for “full bleed” so that the background, as designed, extends beyond the page boundary.
∙For images where there is a special detail at the edge of the page, for example a border line, make the border line thicker than usual to extend off the page.
∙To prevent a
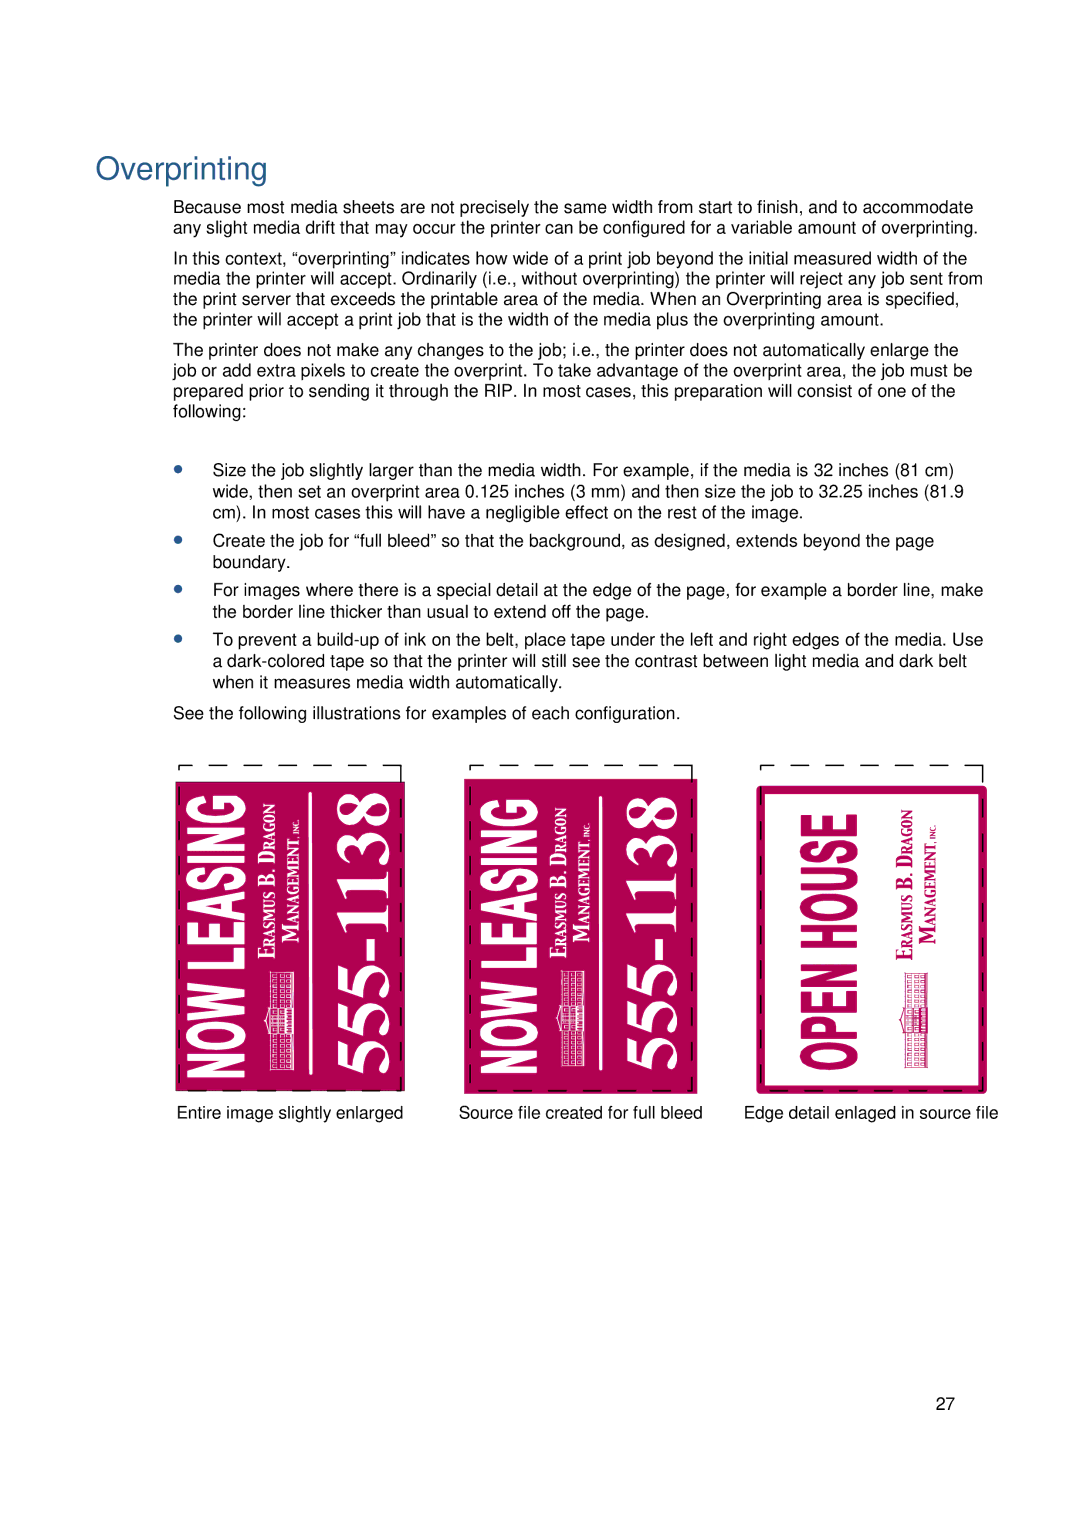
See the following illustrations for examples of each configuration.
Entire image slightly enlarged | Source file created for full bleed | Edge detail enlaged in source file |
27