Installing the Adapter
Installing the Adapter
To install the HBAs:
1.Check the motherboard and make any necessary configuration changes to accommodate the HBA.
2.Power down the peripherals, then turn off the computer.
3.Remove the computer cover and save the screws.
4.Choose any PCI bus slot that supports bus mastering.
5.Most motherboards automatically assign an IRQ level and interrupt line; if your motherboard does not, you must assign the IRQ level and use interrupt line A for this slot.
6.Remove the slot cover for the slot in which you will install the HBA.
7.Place the HBA in the slot. Carefully press the board into the slot until it seats firmly.
8.Secure the HBA to the chassis. Follow the PC manufacturer’s instructions.
9.Connect the appropriate cable from the devices to the corresponding
10.Carefully reinstall the computer cover. Insert and tighten the computer cover screws.
11.Power up all external FC devices, then power up the PC and observe the monitor.
The BIOS is disabled by default.
12.Enable the BIOS only if the boot device is attached to the HBA.
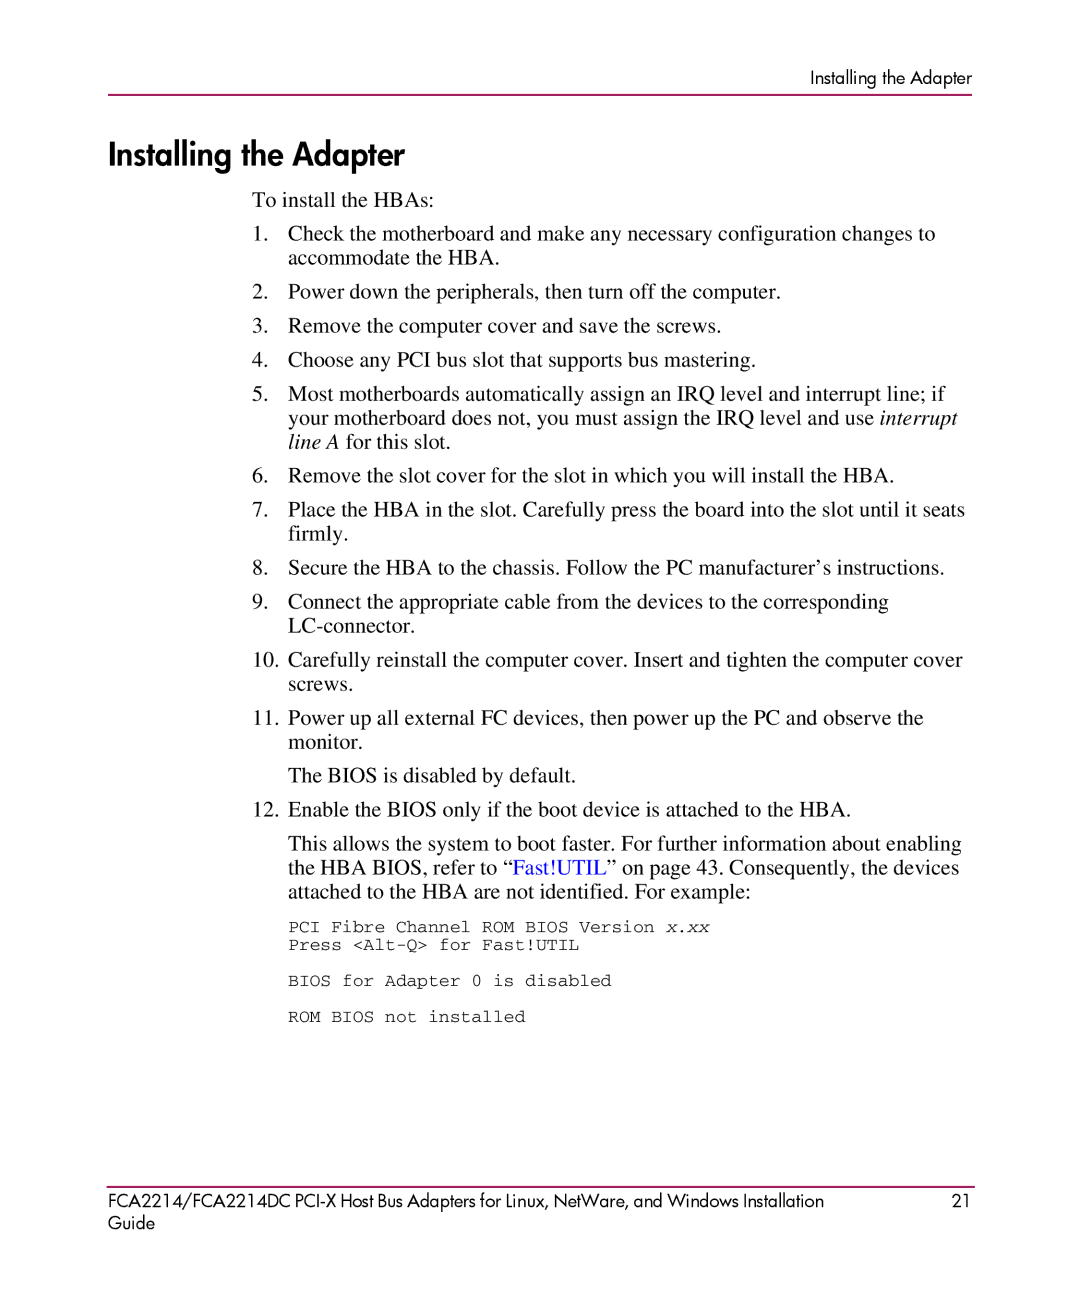
This allows the system to boot faster. For further information about enabling the HBA BIOS, refer to “Fast!UTIL” on page 43. Consequently, the devices attached to the HBA are not identified. For example:
PCI Fibre Channel ROM BIOS Version x.xx
Press
BIOS for Adapter 0 is disabled
ROM BIOS not installed
FCA2214/FCA2214DC | 21 |
Guide |
|
