HP iPAQ Glisten
Page
Table of contents
Send and receive email messages
Customize Settings
Set up your email accounts
Manage your HP iPAQ Glisten
Create and manage tasks
Set alarm clock Manage your calendar
Send and receive text messages and multimedia messages
Manage your contacts
Use productivity tools
Take notes
Page
Take photos and video
Use Wireless Manager 108
Browse the Internet 104
Synchronize your HP iPAQ Glisten 119
Connect to a Wi-Fi network 109
Use Bluetooth 112
Use AT&T Navigator and other GPS Applications 116
Data connection types over the mobile phone network 128
Advanced settings for data connections 130
Accessibility 137
Accessories 138 Tips and Tricks 141
Index 170
Frequently asked questions 146
Product Specifications 166
Troubleshoot your HP iPAQ Glisten 159
Xii
Welcome to your HP iPAQ Glisten
Product registration
Quickstart Important Product Information
Whats in the box?
Remove battery cover
Set up your HP iPAQ Glisten
Insert SIM card
Insert SIM card and optional microSD card
Insert optional microSD card
Replace battery cover
Insert the battery
Charge your HP iPAQ Glisten
Turn on your HP iPAQ Glisten
Configure your HP iPAQ Glisten
Transfer data from your old device optional
Getting started with your HP iPAQ Glisten
Earpiece Volume up/down
Power/sleep On/off Stylus
Start with the Today screen
Page
Numbers and symbols
Using your keyboard
Icon Status
Status icons
Password type list, select Simple PIN or Strong alphanumeric
PIN setup and lock screen
New email message Missed call New voicemail New text message
Answer a call
Make and receive phone calls
Make a call
Redial a number
Make emergency calls
Make calls using Speed Dial
Put a call on hold
Use Call Waiting
Make a call from a hyperlink phone number
Make a call from Contacts
Call voicemail
Use the speakerphone
Call history
Make calls using call history
Dial international numbers
Make a conference call
Change the call history view
Set up Call Forwarding
Set up Call Barring
View call details
All calls When roaming Off
Set up Caller ID
Voice Commander
Name your HP iPAQ Glisten
Customize Settings
Enter owner information
Customize ring tone and notification sounds
Change regional settings
Adjust volume
Set the time
On the Alignment tab, tap Align Screen
Press Start , and then tap Settings Sounds & Notifications
Press Start , and then tap Settings System Screen Text Size
Customize your screen
Customize your Today screen
Change the power management settings
Reinstall programs
Press Start , tap Settings System Remove Programs
Remove programs
PIN Security section, tap Change PIN
Manage your HP iPAQ Glisten
Secure your HP iPAQ Glisten
Change the SIM PIN Personal Identification Number
Lock the keyboard
Lock your HP iPAQ Glisten using a PIN
File Explorer
To…
Task Manager
SIM Manager
Update your phone using AT&T Updates
Backup your phone using Sprite Backup
Press Start , and then tap Settings System AT&T Updates
Battery saving tips
Then tap Settings System About
Set up IT managed corporate email
Set up your email accounts
Overview
Delete an account
Set up personal email
On the Messaging screen, tap Setup E-mail
On the Settings found for screen, tap Next
Tap Menu New
Send and receive email messages
Send an email message
Deleted Items Drafts Inbox Outbox Sent Items
Add an attachment to a message
Reply to or forward a message
Open attachments
Tap Menu Tools Options Signatures
Respond to meeting requests
Create or change a signature
Keyboard shortcuts
Send and receive text messages and multimedia messages
Send a text message
Press Start , and then tap E-mail Text/MMS Menu New MMS
Send a multimedia message
Tap Menu New Outlook Contact
Manage your contacts
Add contacts
Add an Outlook contact
Find a contact
Edit contact information
Delete a contact
Create and assign a category
Send an email to a contact
Send a text message to a contact
Tap Menu Send Text Message
Add a contact picture
Send a contacts information as a vCard
Assign a ring tone to a contact
Contact list tips
Create email and messaging groups
Tap E-mail Group or Messaging Group
Set alarm clock
Turn off alarm Tap Dismiss Turn on snooze
To disable an alarm
Schedule an appointment
Manage your calendar
Tap Menu New Appointment
Page
View your appointments by category
Tap Menu Tools Options
Change your calendar view based on your work week
Change calendar options
Cancel an appointment
Update an appointment
Tap Menu Delete
Tap Status, and select Not Completed or Completed
Create and manage tasks
Create a task
Tap Menu New Task
Create and manage tasks
View your tasks by category
Mark a task as complete
Show the start and due dates in the task list
Tap Menu Options
Overview Write a note
Take notes
Create a voice note
Create a copy of a note
Copy and paste content between notes
Rename notes
Take notes during a call
Delete notes
Open a file
Use productivity tools
Microsoft Office Mobile
Work with Office Mobile Documents
Create a template
Create a file
Tap Menu File Save As
Save a copy of a document or workbook
Create a document or workbook by using a template
Automatically save files on a storage card
Locate a file
Set the default Word template
Work with Word Mobile
Rename a file
Format text in a document
Open and view a Word document
Move or copy text in a document
Create a list in a document
Check spelling in a document
Align text in a document
Indent paragraphs in a document
Zoom in or out in a Word Mobile document
Get Started
Set the default Excel template
Work with Excel Mobile
Overview
Edit a value or text in a cell
Enter and edit data
Open and view an Excel spreadsheet
Enter a value or text in a cell
Tap Menu Copy or Cut
Copy and paste data
Tap Menu Copy
Tap Menu Insert Cells
Insert cells
Insert rows
Format numbers and text
Format Data
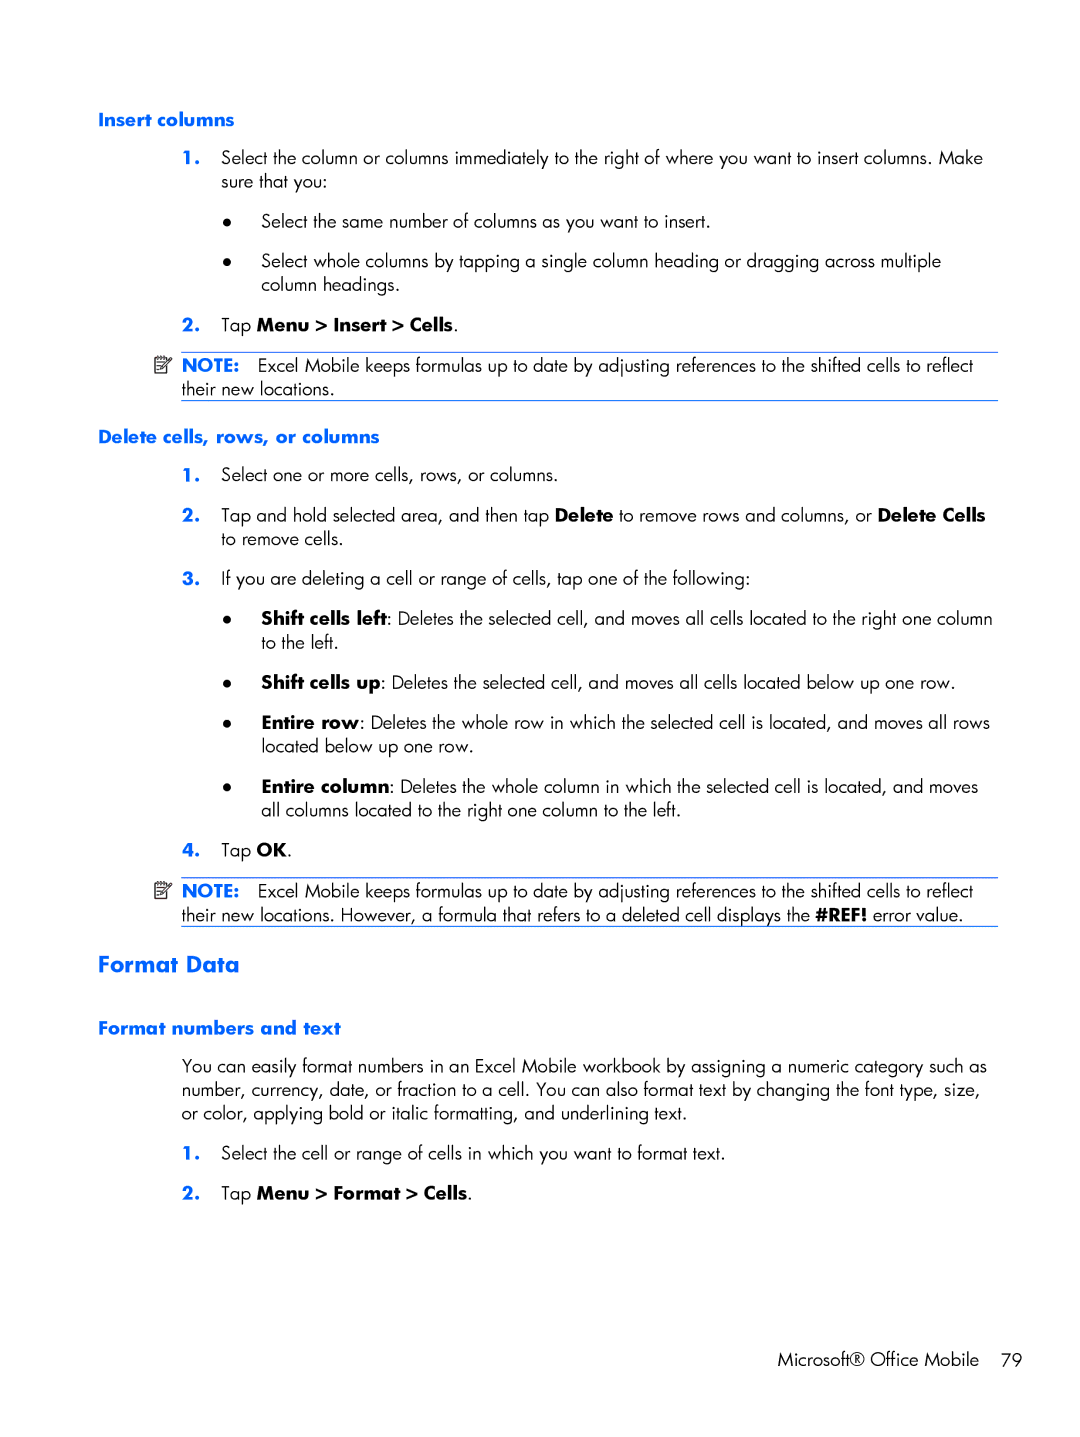
Insert columns
Delete cells, rows, or columns
Fit rows and columns to data
Adjust column widths and row heights
Adjust the view of the worksheet
View the data you want
Filter data in a worksheet
Zoom in or out
Hide and display rows or columns
Go to a cell or region
Add values automatically
Calculate
Sort data in a worksheet
Calculate values automatically
Enter a formula that contains a cell reference
Enter a simple formula
Enter a formula that contains a function
Create a chart
Work with charts
Overview
Change the chart type
Add titles to a chart
Tap Menu Format Chart
Add a legend to a chart
Delete a worksheet
Delete a chart
Work with worksheets
Insert a worksheet
Change the slide show orientation
Work with PowerPoint Mobile
Switch to another worksheet
Open and view a slide show presentation
Zoom in and out in a slide
Set slide show playback options
Navigate between slides
OneNote Mobile
Press Start , tap Apps Adobe Reader LE
Tap Menu Exit
Tap Tools Go To Page Number
Press Start , tap Tools JetCet Print Tap Add Network Printer
Print documents and information with JetCet Print
Tap Menu Help About. To close JetCet Print Tap Menu Exit
MSN Money
Press Start , tap Tools JetCet Print Tap Menu Go to
Press Start , tap Tools JetCet Print Tap Menu Tools
Camera capture modes
Take photos and video
Basic capture settings
Camera settings
Adjust brightness, saturation, and sharpness
Set the resolution
Adjust white balance
Set an effect
Capture photos
Capture videos
Use Multimedia Message
Use Bluetooth
View photos and videos
Transfer your media files
Attach a voice note to a picture
HP Photosmart Mobile
Tap Menu Open Folder
Tap Menu Print
Print pictures
View a slide show
Email pictures
Assign a picture to the Today screen background
Associate a contact with a picture
Upload photos to Snapfish
Tap Menu Tools Screen Saver
Enhance documents
Set the slide show screen saver
Tap Menu Tools Enhance Document
Tap Menu Organize
Organize images
Copy and paste an image
View videos
Internet Explorer
Browse the Internet
Navigate
Add a web page to your Favorites list
Tap Sign in to Windows Live Tap Accept
Windows Live
Overview
Sign in to Windows Live
Sign in as a different user
Tap Menu Account Options Switch Windows Live ID
Search for information
Check your email
Option All Wi-Fi Bluetooth Phone Description
Use Wireless Manager
Connect using AT&T Wi-Fi
Connect to a Wi-Fi network
Tap Menu Wi-Fi Settings
Open Wi-Fi settings
Connect to a Wi-Fi network
Manually connect to a Wi-Fi network
Tap the Network Adapters tab
Delete a Wi-Fi network
Tap Menu Remove Settings
Find your IP address
Create a Bluetooth partnership
Use Bluetooth
Open Bluetooth settings
Use a Bluetooth headset
Accept a Bluetooth partnership
Delete a Bluetooth partnership
Tap New Incoming Port or New Outgoing Port
Change the display name of a Bluetooth partnership
Connect to a computer using Bluetooth
Use your iPAQ as a wireless modem with Bluetooth
Turn off Bluetooth
Use AT&T Navigator and other GPS Applications
Login to AT&T Navigator
Global Positioning System GPS on your HP iPAQ Glisten
Get Directions
Find your initial position faster with GPS Data
Press Start , tap Settings Connections GPS Data
Troubleshoot frequent GPS signal loss and interference
Identify the COM port for your GPS receiver
Synchronize your HP iPAQ Glisten
Page
Copy files between your HP iPAQ Glisten and computer
Copy data from your previous device to your HP iPAQ Glisten
Troubleshoot synchronization issues
Page
Clear the Now Playing List
Update the library
Listen to music and watch videos
Windows Media Player
Press Start , tap Apps Streaming Player Tap Menu Open
ArcSoft Streaming Player
Tap Connect
AT&T Music
Mobile Video
Hsdpa
Data connection types over the mobile phone network
Page
Connect to intranet URLs
Advanced settings for data connections
Change an intranet URL
Set up a VPN server connection
Set up an automatic choice for connections
Tap Auto pick
End a connection
Press Start , tap Tools Remote Desktop
Remote Desktop Mobile
Tap Disconnect
Tap Menu New Folder
Java Applications
Connect to a computer using the USB sync cable
Use your HP iPAQ Glisten as a wireless modem
Press Start , tap Tools Internet Sharing
Click Start Control Panel Network Connections
Under Network Tasks, click View Bluetooth network devices
Turn on TTY Mode
Accessibility
Turn on T-Coil mode Hearing Aid Compliant
Power and Synchronization
Accessories
139
Other accessories
Start the Camera
Connect to a wireless network using the Wi-Fi button
Tips and Tricks
Lock the Keyboard
Use the Lock Screen
View your complete call history
Use Voice Commander with a headset
Quick access from the Today screen
Customize the Start menu
Assign a ring tone to contact
Add a photo to a contact
Today screen status icons
Add text quickly using My Text
Change wallpaper
Control music playback
Applications
Frequently asked questions
What is About?
What is Managed Programs?
Managed Programs What is Domain Enroll?
What is the Certificates Application?
Page
Audio and video
How do I update the library in Windows Media Player?
Why is my battery draining rapidly?
Battery
How long should it take to charge my battery?
How can I conserve power when not using the phone?
Press Start , and then tap Settings System Remove Programs
What Bluetooth profiles are supported by my device?
Bluetooth
How do I send a file using Bluetooth?
Page
Compatibility
What Bluetooth Accessories are supported by my device?
What Storage Cards are compatible with my iPAQ?
Page
Page
Page
Cannot use certain call functions. What should I do?
What do I do if my device shows No Service?
Connections
What bands does my device support?
Have trouble charging my battery. What should I do?
How can I improve the battery life on my iPAQ?
Troubleshoot your HP iPAQ Glisten
Connection
Why does the iPAQ sometimes drop calls?
Am unable to make or receive calls. How do I fix this?
Cannot hear calls clearly. How do I resolve this?
Have trouble connecting to the Internet. What should I do?
Cannot use certain call functions. What should I do?
Which factors degrade the GPS signal and affect accuracy?
Why do I hear noises in the background during a phone call?
Synchronization
Miscellaneous
Why does the iPAQ seem slow sometimes?
My iPAQ becomes very hot when I use it. What has happened?
How do I reset my iPAQ?
Page
System specifications
Product Specifications
System specifications
Physical specifications
Supported frequency bands
Operating environment
Index
Keyboard
VPN
SIM personal identification Number
USB