Installing the Switch 208/224
Installing the Switch 208/224
Installation Steps
5. Connect the Switch to a Power Source
1.(Optional.) This product supports use of the HP J2962A Redundant Power Supply (RPS), which can help ensure continuous switch operation in the event of a power failure. If you have this HP RPS, connect the RPS to the switch now and connect the RPS to an appropriate AC power source.
C a u t i o n | When installed, the RPS is used in place of the standard power cord, so make |
| sure you disconnect the standard power cord from the switch before you |
| connect the RPS. Using both the standard power cord and the RPS at the same |
| time could damage the switch’s components. |
|
|
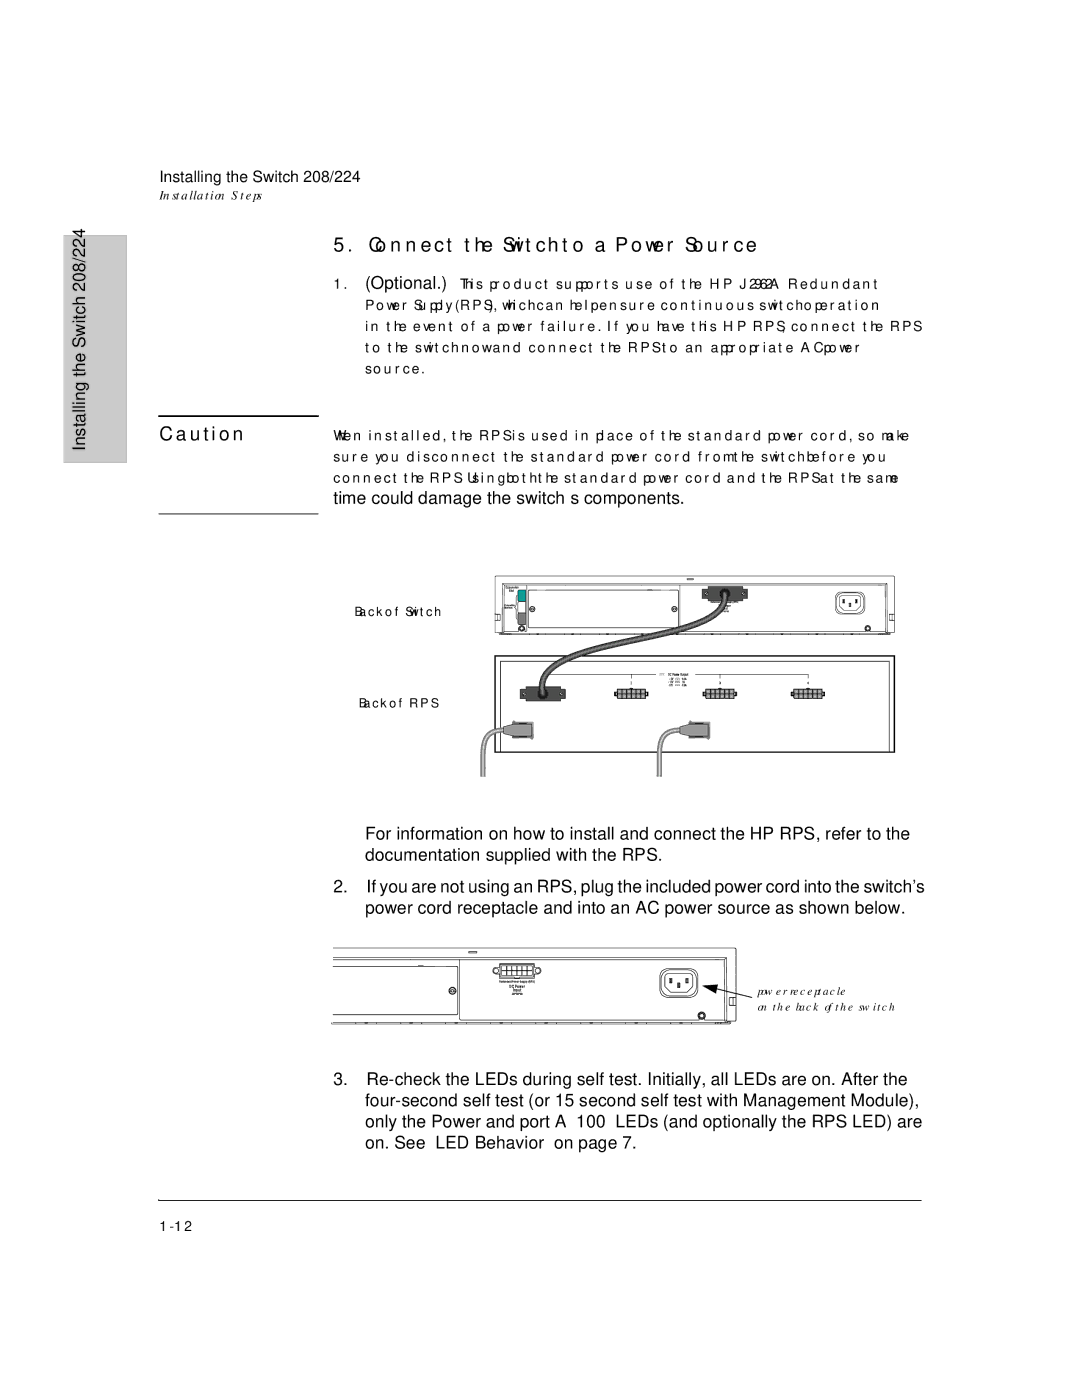
Back of Switch
Back of RPS
For information on how to install and connect the HP RPS, refer to the documentation supplied with the RPS.
2.If you are not using an RPS, plug the included power cord into the switch's power cord receptacle and into an AC power source as shown below.
power receptacle
on the back of the switch
3.