Microsoft Windows XP Media Center Edition
Page
Microsoft Windows XP Media Center Edition Reference Guide
USA
Table of Contents
Index 161
Welcome
Experience the Fun of Media Center
Using Media Center Features
Completing the setup wizard steps
Using Media Center
Setting Up Media Center
Getting the Most out of Media Center
Opening Media Center
Media Center Start Menu
EF G
Other menus not shown
Using Online Spotlight
Using More Programs in Media Center
Closing Media Center
Navigating Media Center
Select Start Sync
Synchronizing Media to a Portable Media Device
Viewing files on a portable media device
Using Media Center Help
Opening Media Center Help
Using Instant Messaging in Media Center
Media Center menu bars and PC control menu
Select More Programs,
Changing Media Center Settings
Logging in to your messenger account
Media Center settings categories
Finding Additional Media Center Information
Remote control cannot
Using the Remote Control
Remote control can
Remote Control Buttons Overview
Night and do not want to be disturbed PC will not
Guide opens the TV Guide
Clear deletes the last character entered
Using the Remote Control
Begin using your remote control
Remote Control Buttons
Shortcut buttons
Standby button
Recording in standby mode
Remote control LED and the remote sensor LED
Media playback buttons
HP Media Center PC Reference Guide
Navigation and other buttons
Alphanumeric Keypad and Print buttons
Watching and Recording TV Programs
Navigating My TV
Watching TV
Watching Live TV
Controlling TV playback
Using the remote control in My TV
Button Action
Using the Television Guide
Important information about the Television Guide
Viewing the Television Guide
Television Guide is not available in all countries/ regions
Setting up how Media Center downloads the Guide
Select Add Channel
Manually downloading the Guide
Adding missing channels to the Guide
Searching for TV Programs
Removing channels from the Guide
Searching for TV programs using categories
Recording icons
Recording TV Programs
Recording TV from the Guide
Recording TV without the Television Guide
Record by using the Record button
Recording manually
Recording TV from Search
Category search
Standby mode and scheduled recordings
Record icon in the taskbar
Recording TV tips
Important information about My TV and FM radio
Recording quality and hard disk drive storage space
Copying recorded TV programs to DVD or CD
Recorded to
Select View DVD or View CD
Using the More Information button with recorded TV programs
Playing Recorded TV Programs
Playing a recorded program on a non-Media Center PC
Locating recorded TV programs on your hard disk drive
About Recording Errors
Common recording errors
Viewing recording errors
Recording error Description of error
Select Record settings, and then Change settings
Resolving Recording Conflicts
Recording priority rules
Resolving a recording conflict
Deleting a recorded program or series
Deleting TV Programs
Deleting a scheduled program or series
Setting Parental Controls
Setting movie/DVD ratings
Changing parental control access code
Blocking unwanted TV programs and movies
Setting Caption Display
Displaying Teletext
About Teletext
Safeguarding Recorded TV Programs
Important information about recorded TV programs
Preparing the code key files
All Users\DRM\
Choose Restore files and settings, and then click Next
Making the backup CD
Using the code key backup CD after a system recovery
Using Two TV Tuner Cards
Recording two programs at the same time
Managing Hard Disk Drive Space
Increasing hard disk drive space
Adjusting TV recording and storage settings
Using the Disk Cleanup utility
Adjusting System Restore settings
Uninstalling software programs that are not needed
Deleting recorded TV programs
Content Protection Update
My Music
Playing Music Files
HP Tunes
Adding music files from a CD in iTunes
Using HP Tunes with Media Center
Adding Music to the iTunes music Library
Adding music files from your hard disk drive
Using supported music file types
Adding music files from the Internet
Playing CDs with HP Tunes
Creating a Playlist with iTunes
Changing song name, genre, artist, or album in iTunes
Select Playlists or Albums
Select Add to Now Playing List, and then select OK
Creating and Editing a New Playlist with HP Tunes
Creating Music CDs with iTunes
Using My Music with Media Center
My Music menu in Media Center
Adding Music to My Music Library
Select Add folders on this computer, and then select Next
My Music
Adding music files from a CD
Deleting music files from the My Music library
Playing Music Files in My Music
MP3
Playing an album in My Music
Playing a song in My Music
Creating a Queue List in My Music
Finding and Playing an Album in My Music
Creating a Playlist in My Music
Copying Music Files to CD in My Music
Select Create CD
Selecting a Visualization
Editing song and album information
Select Edit Info
Select Visualization Options
Working with Pictures
HP Image Zone Plus
My Pictures
Working with Digital Images
Using HP Image Zone Plus in Media Center
Organizing Pictures in HP Image Zone Plus
HP Image Zone Plus window Media Center
Creating your picture catalog in HP Image Zone Plus
Creating albums
Modifying a date assigned to your pictures
Assigning a keyword to your pictures
Album
Select HP Image Zone
Assigning a place to your pictures
Searching for pictures in HP Image Zone Plus
Viewing a slide show with music in HP Image Zone Plus
Viewing Pictures in HP Image Zone Plus
Viewing a slide show in HP Image Zone Plus
Updating edited picture files in Media Center
Editing Pictures in HP Image Zone Plus
Changing view and slide-show options
Using supported picture file types with HP Image Zone Plus
Printing Pictures in HP Image Zone Plus
Using My Pictures in Media Center
Adding picture files from your hard disk drive
Organizing Pictures in My Pictures
Adding Pictures to My Pictures
Select My Pictures
Viewing Pictures in My Pictures
Viewing pictures as a slide show
Viewing a slide show with music in My Pictures
Zooming into and panning across your pictures
Sorting pictures
Select Sort by date or select Sort by name
Changing picture settings
Turning photo captions on or off
Fixing red eye or contrast
Using supported picture file types in My Pictures
Editing Pictures in My Pictures
Cropping pictures in My Pictures
Rotating pictures
Setting up your printer
Printing Pictures in My Pictures
Using the Desktop for Some Picture Tasks
Copying Pictures to CDs and DVDs
Media Center, all pictures are copied to CDs as .jpg files
Select More Programs
Playing Videos
Select My Videos
Using Supported Video File Types
Playing Digital Videos in Media Center
Transferring and Recording Video Files
Creating a CD/DVD from Video Files
Recording an analog video file
Recording a digital video file
Organizing Videos
Creating a Desktop Background from a Video File
Playing a Video Stored on Removable Media
Changing the Display for Better Image Quality
Adding Digital Videos to My Videos
Using the More Information Button with My Videos
HP Media Center PC Reference Guide
Playing DVDs
Playing DVD movies in Media Center
About playing DVDs
Changing DVD Audio Settings
Changing the DVD Movie Language
Stopping a DVD movie
Watching DVD in the inset window or in a resized window
Programming Remote Control Buttons for DVD
Playing a DVD movie already in your drive
Listening to FM Radio
Playing FM Radio Stations
Using the FM Radio and the TV Signal at the Same Time
Organizing Pre-set Radio Stations
HP Media Center PC Reference Guide
Copying a TV program to CD/DVD using Media Center
Recording TV Programs to DVDs
Copying Recorded TV Programs to DVD
Copy a recorded TV program to a DVD with other programs
Watching Recorded TV Programs on DVD
Using Double-Layer Technology and Media
Signal Method Source Record Encrypt Playback
Digital Media Copy Protection
Copy protection for DVD movies
Macrovision
Playing CDs and DVDs
Playing Music CDs with iTunes
Setting Media Center as the automatic CD or DVD player
Playing DVD Movies with InterVideo WinDVD
Playing Video CDs VCD with InterVideo WinDVD
Using country/region codes
Select Play DVD movie using InterVideo WinDVD, and click OK
Creating Burning CDs and DVDs
Creating Burning CDs and DVDs with RecordNow
Creating music CDs with RecordNow
Disc, thus the term burning
Creating CDs to play in your car or home CD players
Creating CDs to play on your PC
Select Audio CD for Car or Home CD Player
Projects tab Select Jukebox CD
Storing Files on a DVD or CD
Creating a music CD
Storing data files on disc
Select Exact Copy
Copying a DVD or CD
Erasing a DVD or CD
Removing Files in RecordNow
Removing Files from a Recorded Data Disc
Click Start , choose All Programs , Sonic
RecordNow! , and then click RecordNow
Saving an Image
Archiving Files on a CD or DVD
Creating an Image File
Recording Video Files
Using Disc Labels Creating Recovery CDs/DVDs for the PC
Burning an Image
Using Compatibility Information
Video quality Minutes on a Setting GB/Hour GB DVD
Layer
Identifying Disc Feature and Compatibility
Double
Using the Optical Drive Quick Reference Table
Using the Software Quick Reference Table
Software With this program you can
HP Media Center PC Reference Guide
Using InterVideo WinDVD Creator
Importing, Editing, and Burning Videos
Using the Preview window in WinDVD Creator
Getting Started with WinDVD Creator
Using the Media Library in WinDVD Creator
Using the Storyboard in WinDVD Creator
Capturing Digital Camcorder Video with WinDVD Creator
Click the Capture video into hard disk button
Capturing Analog Video with WinDVD Creator
Drop
Capturing a Still Image
Editing Video Files with WinDVD Creator
Adding images with WinDVD Creator
Adding audio effects with WinDVD Creator
Authoring Your DVD with WinDVD Creator
Adding transition effects with WinDVD Creator
Adding title effects with WinDVD Creator
Adding video filters with WinDVD Creator
Making a movie with WinDVD Creator
Recording VHS Files Direct to DVD with WinDVD Creator
Converting Recorded TV to VCD or DVD Format
Using muvee autoProducer unPlugged
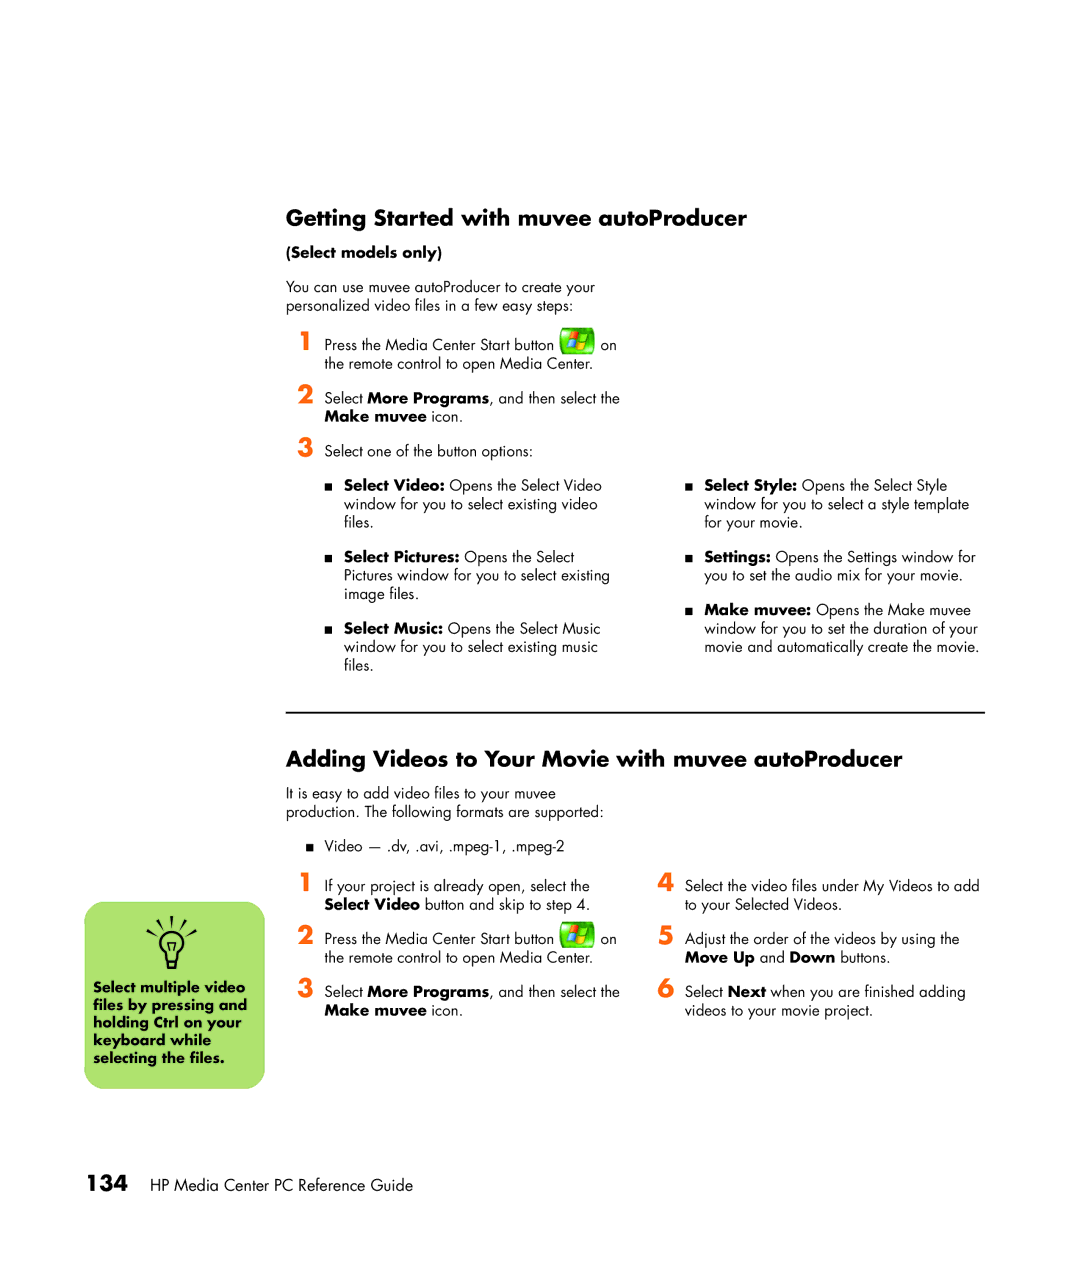
Getting Started with muvee autoProducer
Adding Videos to Your Movie with muvee autoProducer
Adding Pictures to Your Movie with muvee autoProducer
Adding Music to Your Movie with muvee autoProducer
Setting the Style in muvee autoProducer
Changing the Settings in muvee autoProducer
Making the Movie with muvee autoProducer
Select Create CD/DVD with existing video file
HP Media Center PC Reference Guide
Using an HP Personal Media Drive
HP Personal Media Drive is sold separately
Locating the Drive After Installation
Assigning a Drive Letter to the HP Personal Media Drive
Viewing and Storing Files
Click My Computer
Playing music files with Windows Media Player
Playing Media Files
Playing Music Files
Viewing Picture Files
Playing Video Files
About Recording TV to the HP Personal Media Drive
Click Settings, TV, Recorder, Recorder Storage
Watching TV Programs Stored on the HP Personal Media Drive
Recording TV programs to the HP Personal Media Drive
Changing the TV recording path to the local hard disk drive
Disconnecting the HP Personal Media Drive Safely
Changing Disk Allocation
Using an HP Personal Media Drive
HP Media Center PC Reference Guide
Troubleshooting
Troubleshooting Problems and Finding Solutions
PC Hardware, Operating System, and Other Hardware
Select More Programs, and then select Sync to Device
Problem Possible solution Cannot remove a CD or DVD
Turn Off Computer, and then click Restart
Problem Possible solution My songs will not
Codec errors are occurring when I play certain files
Music
Play
My CD titles are missing they say Track 1, Track 2, etc
Problem Possible solution My songs do
Not appear
Television, Guide, Recording TV
Problem Possible solution Postal code results
Settings, TV, Guide and then select Add Missing Channels to
Error message
Do not match my
Another
Problem Possible solution
Cannot burn live TV to DVD
Troubleshooting
Video/DVD Video or Display Problems or Errors
Problem Possible solution My PC is experiencing video errors
Pictures
Burning CDs or DVDs
Index
Hard disk drive space increasing
Add missing channels to Guide 29 advanced recording options
RealOne Player features 120 recorded TV
Recording TV without the Television Guide
VCD
Page
Hewlett-Packard Development Company, L.P