6 For this step, you must use the mouse and keyboard. Select the arrows under the picture to move the picture side to side or up or down. Select the magnifying glass to move the cropping tool in or out. Select the rotate tool to move the cropping tool to a vertical or horizontal position.
7 After you select the options you want to fix, select Save or Save As. Once saved, you cannot revert to the original picture.
8 Select Yes to save changes and replace the original picture file if you selected Save in the previous step.
Or
Select Yes to create a different version of the original file if you selected Save As in the previous step.
Rotating pictures
If your picture appears horizontally or vertically and you want to change the orientation, you can change it in Media Center:
1 Press the Media Center Start button ![]() on the
on the
remote control, or, with your mouse, click
Start ![]() on the taskbar, and then click Media Center.
on the taskbar, and then click Media Center.
2 Select My Pictures.
3 Select the picture you want to rotate.
4
5 Select Rotate, and then press the Enter key on the keyboard or press the OK button on the remote control. Rotation occurs in 90° increments.
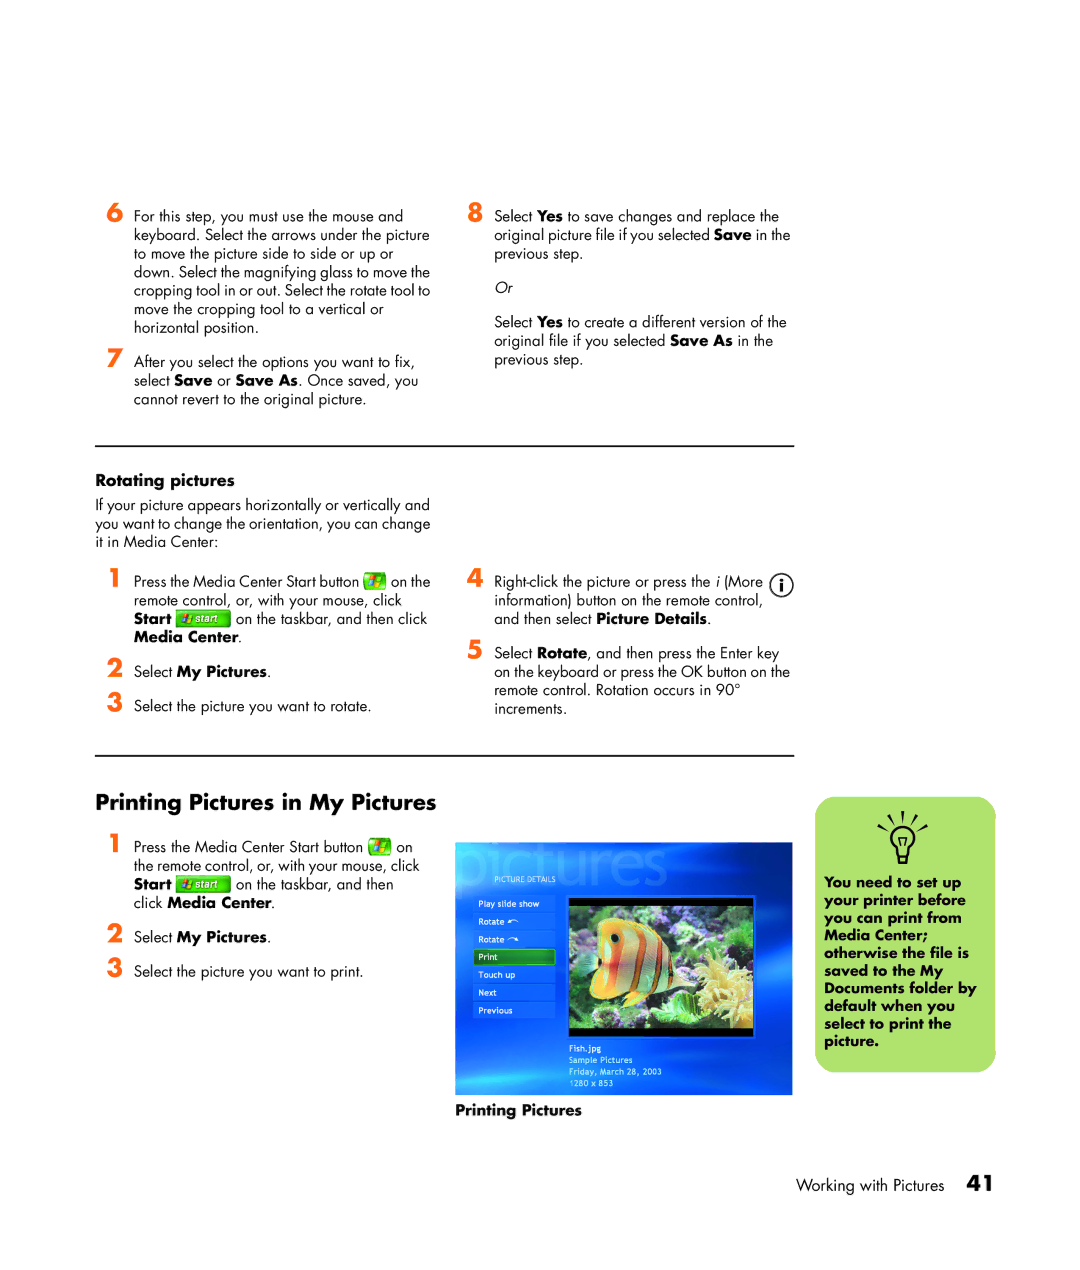
Printing Pictures in My Pictures
1 Press the Media Center Start button ![]() on the remote control, or, with your mouse, click
on the remote control, or, with your mouse, click
Start ![]() on the taskbar, and then click Media Center.
on the taskbar, and then click Media Center.
2 Select My Pictures.
3 Select the picture you want to print.
Printing Pictures
n
You need to set up your printer before you can print from Media Center; otherwise the file is saved to the My Documents folder by default when you select to print the picture.