HP VF52 manual Adjusting the OSD Display Submenu, Adjusting the Factory Recall

Models: VF52

1 26
Download 26 pages 24.23 Kb
Page 18
Image 18

Adjusting the “OSD Display” Submenu

To adjust the OSD H and V, positions you should follow the steps below:

1Bring-up the OSD “Main Menu”.

2Use the ‘+’ or ‘—’ button to move (forward or backward) to the OSD display icon and highlight it.

3Use ‘Select’ button to enter the “OSD Display” submenu. It will show two items for your further adjustment.

If ‘H. Position’ is selected, you may use the ‘+’ or ‘—’ buttons to adjust the setting of H. position of the OSD display. The fullness of the graphic bar as well as the numerical value at the right corner is changed accordingly.

If ‘V. Position’ is selected, you may use the ‘+’ or ‘—’ buttons to adjust the setting of V. position of the OSD display. The fullness of the graphic bar as well as the numerical value at the right corner is changed accordingly.

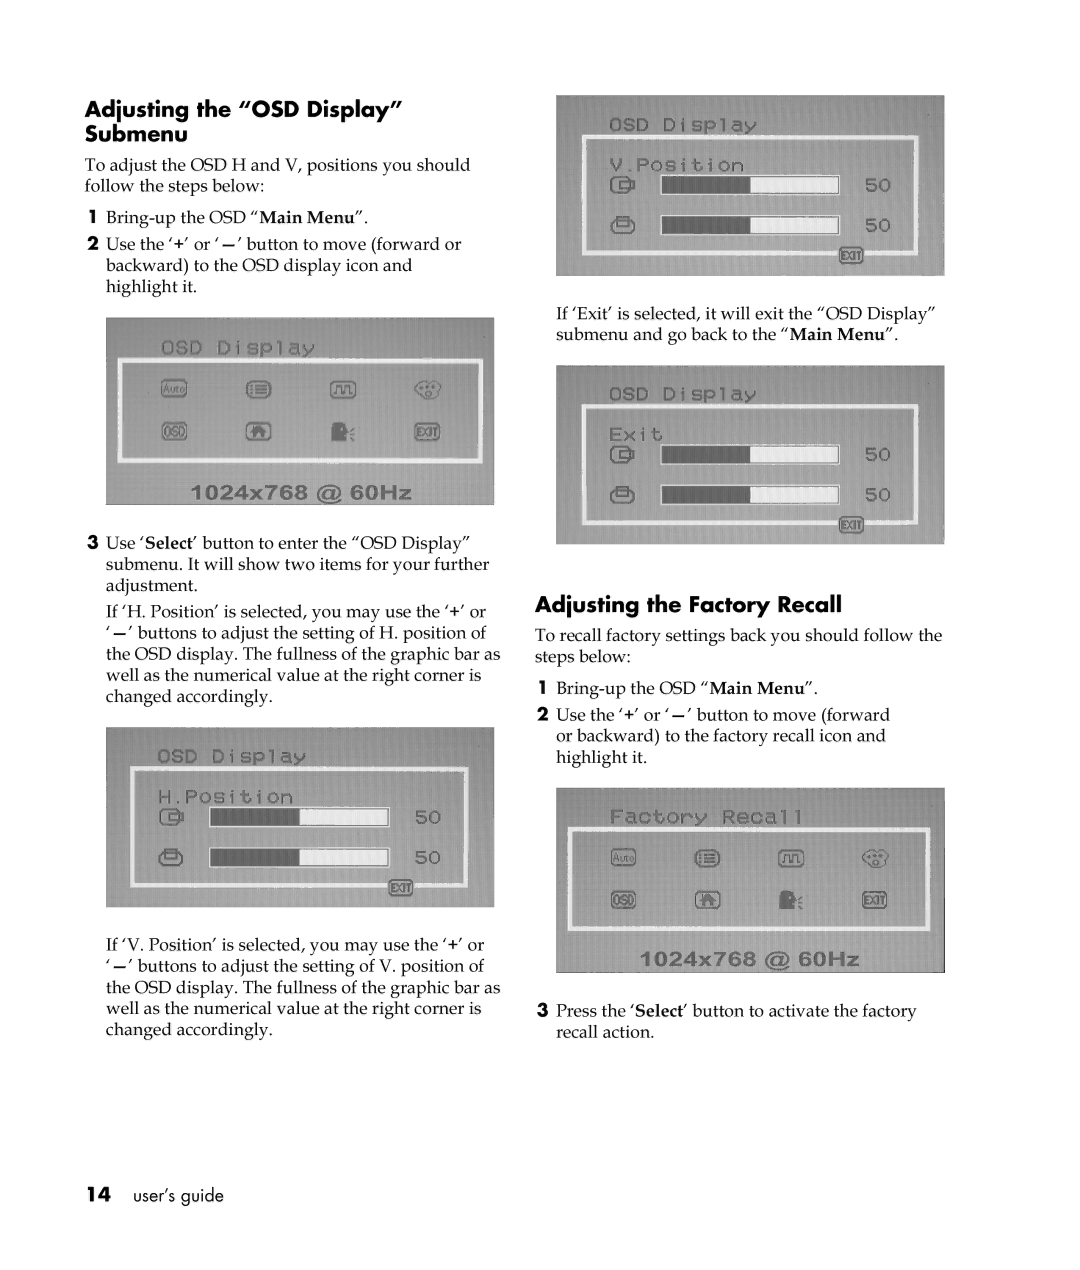
If ‘Exit’ is selected, it will exit the “OSD Display” submenu and go back to the “Main Menu”.

Adjusting the Factory Recall

To recall factory settings back you should follow the steps below:

1Bring-up the OSD “Main Menu”.

2Use the ‘+’ or ‘—’ button to move (forward or backward) to the factory recall icon and highlight it.

3Press the ‘Select’ button to activate the factory recall action.

14user’s guide

Page 18
Image 18
HP VF52 manual Adjusting the OSD Display Submenu, Adjusting the Factory Recall