Configuring the DPC-8.5—Continued
|
|
|
| |
| 4 | 5 | 6 |
|
|
|
|
| Random |
| 7 | 8 | 9 |
|
|
|
|
| Display |
| +10 | 0 | Clear |
|
| Top Menu |
|
| Menu |
Enter |
| Enter |
| |
/ |
|
| ||
Return |
|
| Setup | |
|
|
|
| Setup |
| Audio | Angle | Subtitle |
|
| Stop | Play | Pause | |
| FR | FF | Down | Up |
| Disc 1 | Disc 2 | Disc 3 | Step/Slow |
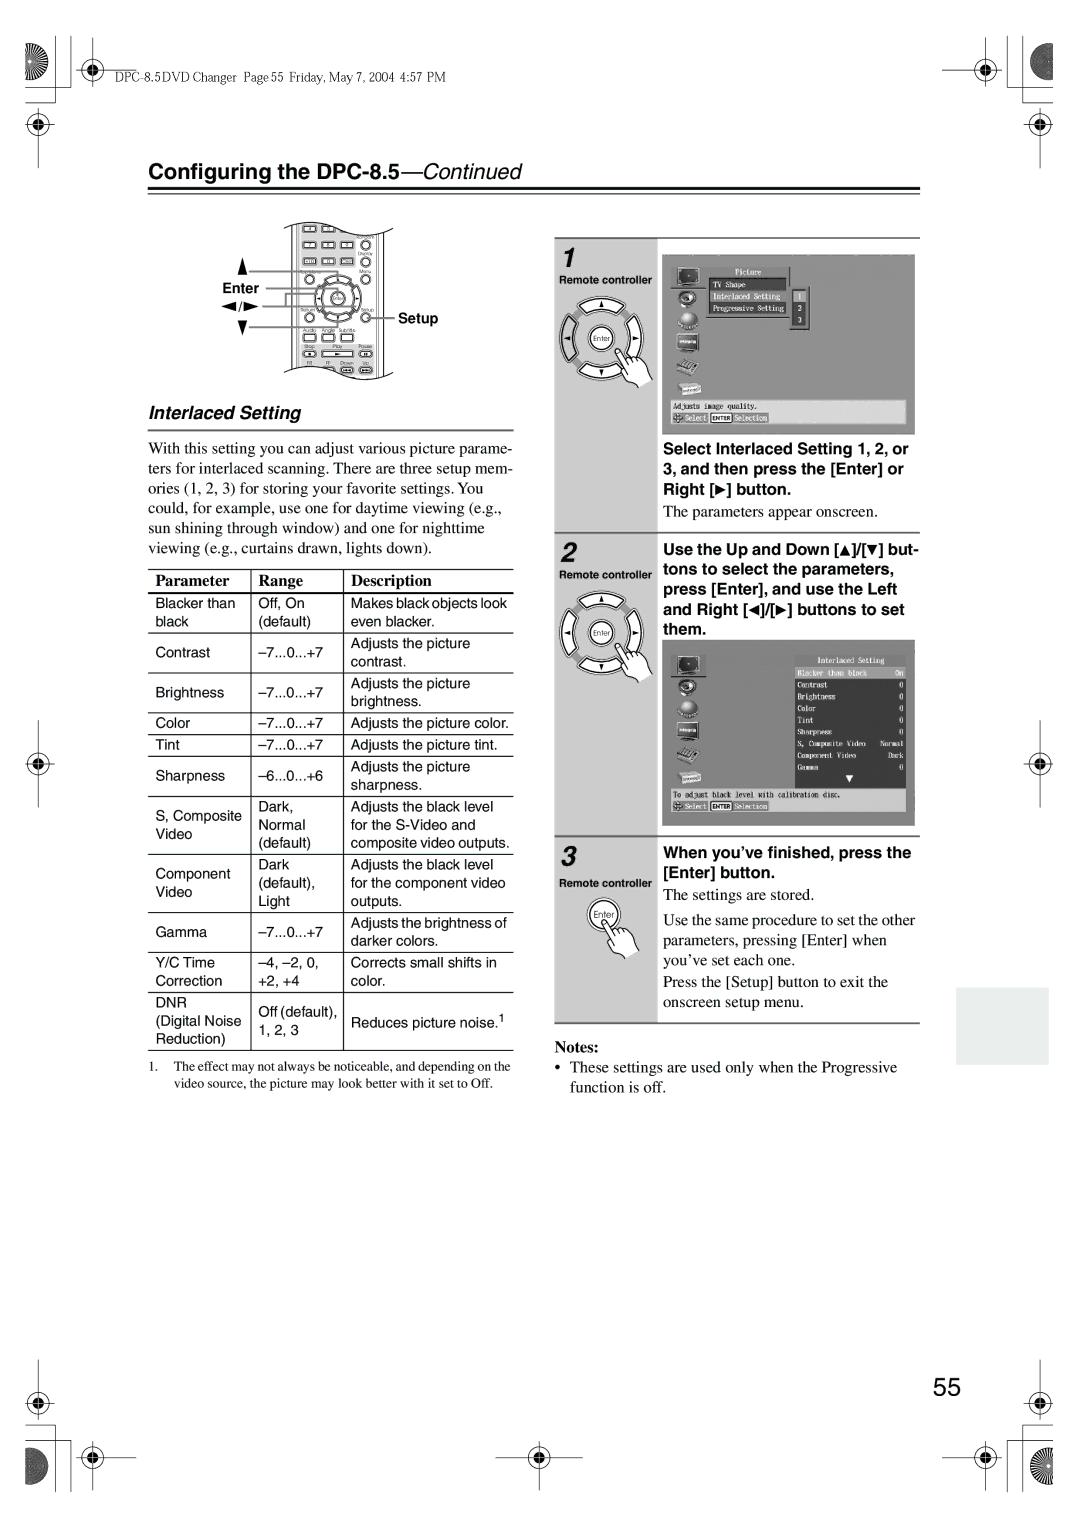
Interlaced Setting
With this setting you can adjust various picture parame- ters for interlaced scanning. There are three setup mem- ories (1, 2, 3) for storing your favorite settings. You could, for example, use one for daytime viewing (e.g., sun shining through window) and one for nighttime viewing (e.g., curtains drawn, lights down).
Parameter | Range | Description | |
|
|
| |
Blacker than | Off, On | Makes black objects look | |
black | (default) | even blacker. | |
|
|
| |
Contrast | Adjusts the picture | ||
contrast. | |||
|
| ||
|
|
| |
Brightness | Adjusts the picture | ||
brightness. | |||
|
| ||
|
|
| |
Color | Adjusts the picture color. | ||
|
|
| |
Tint | Adjusts the picture tint. | ||
|
|
| |
Sharpness | Adjusts the picture | ||
sharpness. | |||
|
| ||
|
|
| |
S, Composite | Dark, | Adjusts the black level | |
Normal | for the | ||
Video | |||
(default) | composite video outputs. | ||
| |||
|
|
| |
Component | Dark | Adjusts the black level | |
(default), | for the component video | ||
Video | |||
Light | outputs. | ||
| |||
|
|
| |
Gamma | Adjusts the brightness of | ||
darker colors. | |||
|
| ||
|
|
| |
Y/C Time | Corrects small shifts in | ||
Correction | +2, +4 | color. | |
|
|
| |
DNR | Off (default), |
| |
(Digital Noise | Reduces picture noise.1 | ||
1, 2, 3 | |||
Reduction) |
| ||
|
| ||
|
|
|
1.The effect may not always be noticeable, and depending on the video source, the picture may look better with it set to Off.
1
Remote controller
Enter
| Select Interlaced Setting 1, 2, or |
| 3, and then press the [Enter] or |
| Right [ ] button. |
| The parameters appear onscreen. |
2 | Use the Up and Down [ ]/[ ] but- |
Remote controller | tons to select the parameters, |
| press [Enter], and use the Left |
| and Right [ ]/[ ] buttons to set |
Enter | them. |
3 | When you’ve finished, press the | |
| ||
Remote controller | [Enter] button. | |
The settings are stored. | ||
| ||
Enter | Use the same procedure to set the other | |
| ||
| parameters, pressing [Enter] when | |
| you’ve set each one. | |
| Press the [Setup] button to exit the | |
| onscreen setup menu. | |
|
|
Notes:
•These settings are used only when the Progressive function is off.
55