VPN Tunnel Example 1
Change the range of IP addresses used by the DHCP server
Once you change the IP address of the router, you must change the range of IP addresses assigned by the DHCP server in the router. The range should be on the same subnet as the new IP address for the LAN 1 port. Find out what range to use from the system administrator of the remote peer device on the tunnel.
1From the Configuration menu, select DHCP Server Setup.
2Select the Enable DHCP Server check box.
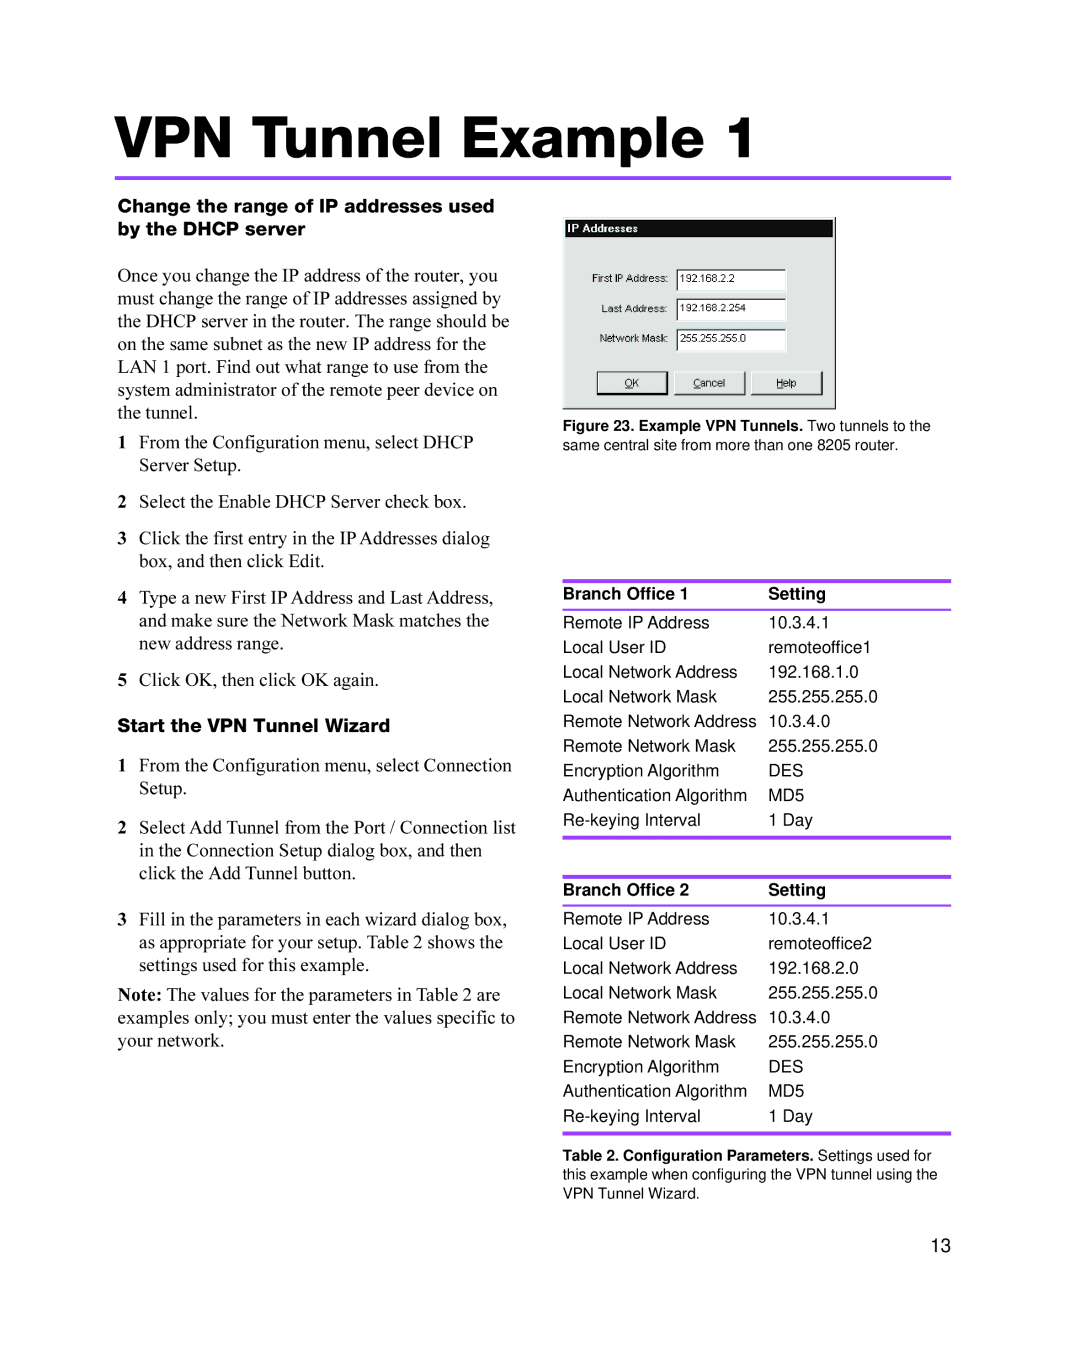
3Click the first entry in the IP Addresses dialog box, and then click Edit.
4Type a new First IP Address and Last Address, and make sure the Network Mask matches the new address range.
5Click OK, then click OK again.
Start the VPN Tunnel Wizard
1From the Configuration menu, select Connection Setup.
2Select Add Tunnel from the Port / Connection list in the Connection Setup dialog box, and then click the Add Tunnel button.
3Fill in the parameters in each wizard dialog box, as appropriate for your setup. Table 2 shows the settings used for this example.
Note: The values for the parameters in Table 2 are examples only; you must enter the values specific to your network.
Figure 23. Example VPN Tunnels. Two tunnels to the
same central site from more than one 8205 router.
Branch Office 1 | Setting |
Remote IP Address | 10.3.4.1 |
Local User ID | remoteoffice1 |
Local Network Address | 192.168.1.0 |
Local Network Mask | 255.255.255.0 |
Remote Network Address | 10.3.4.0 |
Remote Network Mask | 255.255.255.0 |
Encryption Algorithm | DES |
Authentication Algorithm | MD5 |
1 Day | |
|
|
Branch Office 2 | Setting |
Remote IP Address | 10.3.4.1 |
Local User ID | remoteoffice2 |
Local Network Address | 192.168.2.0 |
Local Network Mask | 255.255.255.0 |
Remote Network Address | 10.3.4.0 |
Remote Network Mask | 255.255.255.0 |
Encryption Algorithm | DES |
Authentication Algorithm | MD5 |
1 Day | |
|
|
Table 2. Configuration Parameters. Settings used for
this example when configuring the VPN tunnel using the VPN Tunnel Wizard.
13
