SECTION 5: SERVICE PROCEDURES
VACUUM BREAKER REPAIR PARTS KIT (CONTINUED)
9. Pick up the cap and examine it. With a soft towel, remove any grit, grime or debris that may have gotten caught in the threads of both the cap retainer or the vacuum breaker body. There is an
10. With the new
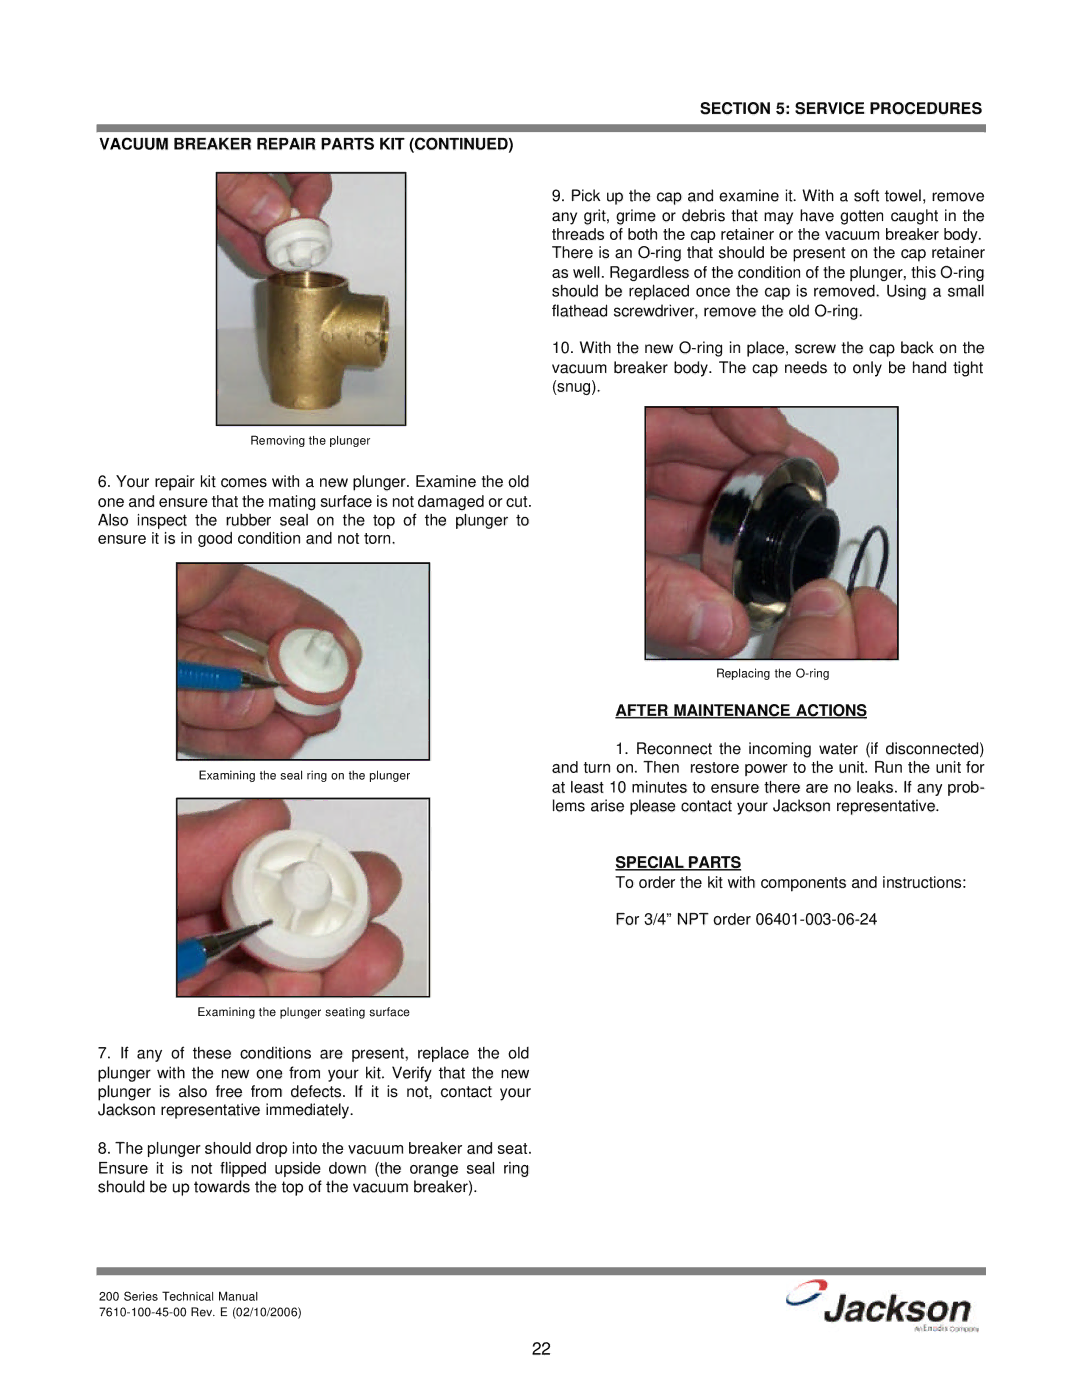
Removing the plunger
6.Your repair kit comes with a new plunger. Examine the old one and ensure that the mating surface is not damaged or cut. Also inspect the rubber seal on the top of the plunger to ensure it is in good condition and not torn.
Examining the seal ring on the plunger
Replacing the
AFTER MAINTENANCE ACTIONS
1.Reconnect the incoming water (if disconnected) and turn on. Then restore power to the unit. Run the unit for at least 10 minutes to ensure there are no leaks. If any prob- lems arise please contact your Jackson representative.
SPECIAL PARTS
To order the kit with components and instructions:
For 3/4” NPT order
Examining the plunger seating surface
7.If any of these conditions are present, replace the old plunger with the new one from your kit. Verify that the new plunger is also free from defects. If it is not, contact your Jackson representative immediately.
8.The plunger should drop into the vacuum breaker and seat. Ensure it is not flipped upside down (the orange seal ring should be up towards the top of the vacuum breaker).
200 Series Technical Manual
22