SECTION 5: SERVICE PROCEDURES
RINSE REGULATING THERMOSTAT REPLACEMENT
Many dishmachines comes with integral booster tanks to ensure proper temperature of the final rinse. Jackson has predominantly used two manufacturers of thermostats, EGO and Stemco. These instructions are for use with kit
Jackson offers all of the repair parts necessary for performing this task.
The instructions provided here are for maintenance personnel only. Unauthorized persons should not attempt any of the steps contained in these instructions.
Warning: many of the instructions and steps within this document require the use of tools. Only autho- rized personnel should ever perform any maintenance procedure on the dishmachine!
PREPARATION
1.Power must be secured to the unit at the service breaker. Tag or lock out the service breaker to prevent acci- dental or unauthorized energizing of the machine.
2.Ensure that incoming water to the machine is secured either by use of a
3.The unit must be drained completely with the drain stopper removed (if applicable).
4.Remove any and all access covers.
TOOLS REQUIRED
The following tools may be needed to perform this maintenance evolution:
1.3/8” Nutdriver
2.7/16” Combination Wrench
3.Needlenose Pliers
4.Phillipshead Screwdriver
5.Flathead Screwdriver
6.Ratchet with 1/2” Socket
TIME REQUIRED
It is estimated that it will take (1) person sixty minutes to perform this task, not including all of the items indicated in the section entitled “PREPARATION”.
IMPORTANT NOTES
1.Read these instructions thoroughly before attempting this maintenance task. Become familiar with the parts and what actions need to be taken. This will save time in the long run!
2.These instructions are shown using a Tempstar model dishmachine. However the steps provided should work for models such as the 200B as well.
STEPS
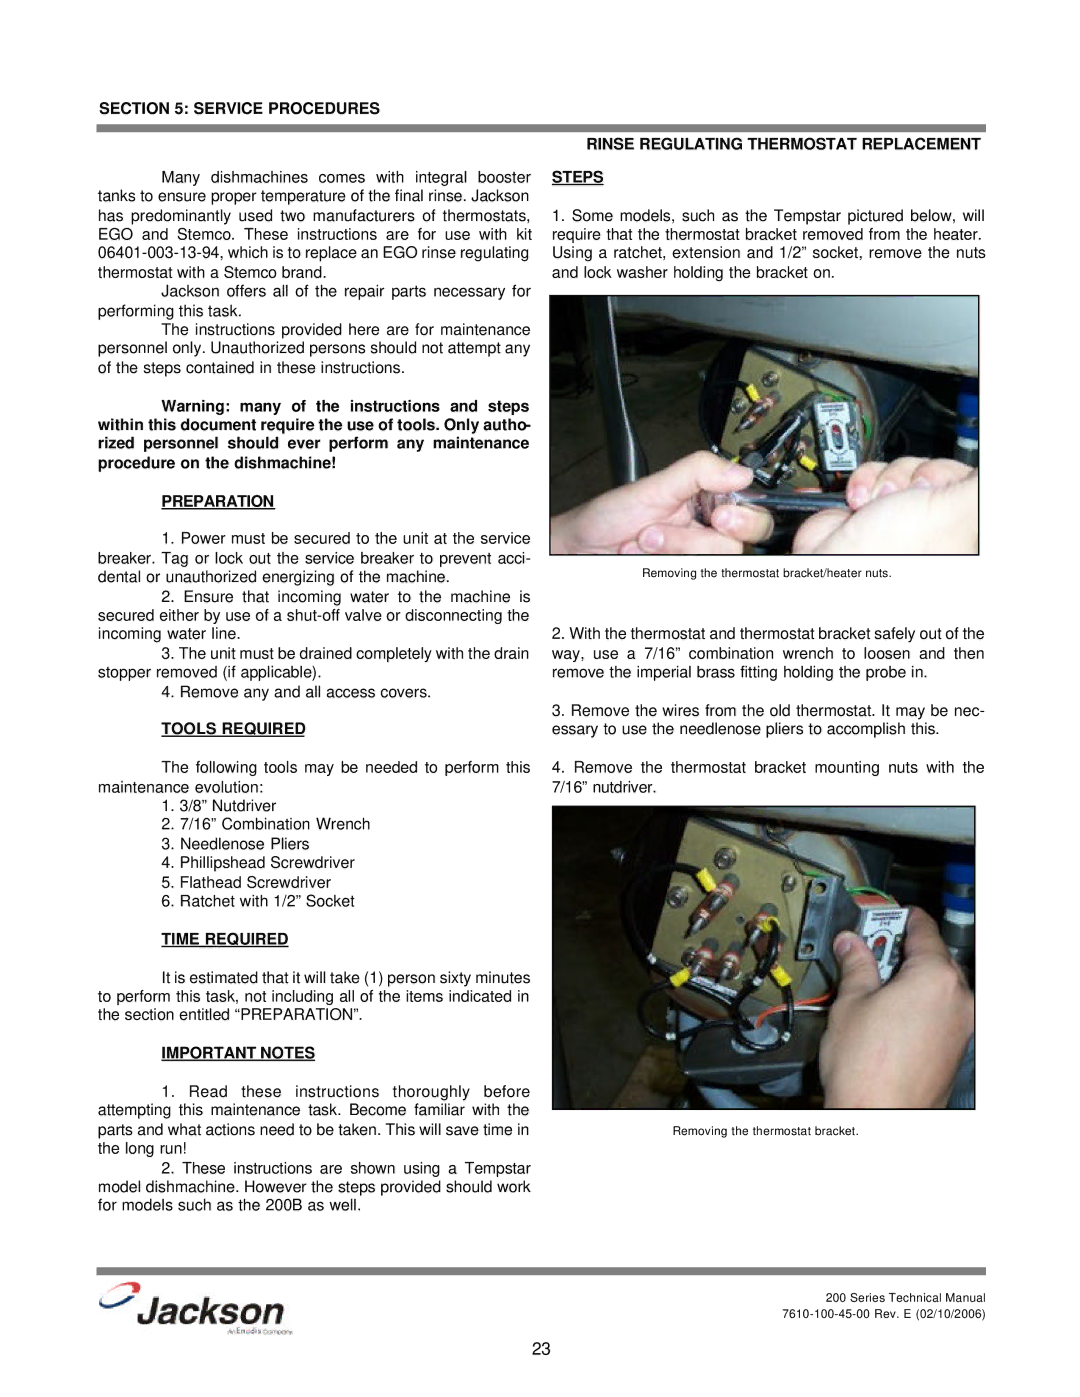
1.Some models, such as the Tempstar pictured below, will require that the thermostat bracket removed from the heater. Using a ratchet, extension and 1/2” socket, remove the nuts and lock washer holding the bracket on.
Removing the thermostat bracket/heater nuts.
2.With the thermostat and thermostat bracket safely out of the way, use a 7/16” combination wrench to loosen and then remove the imperial brass fitting holding the probe in.
3.Remove the wires from the old thermostat. It may be nec- essary to use the needlenose pliers to accomplish this.
4.Remove the thermostat bracket mounting nuts with the 7/16” nutdriver.
Removing the thermostat bracket.
200 Series Technical Manual
23