Standard Recording
English
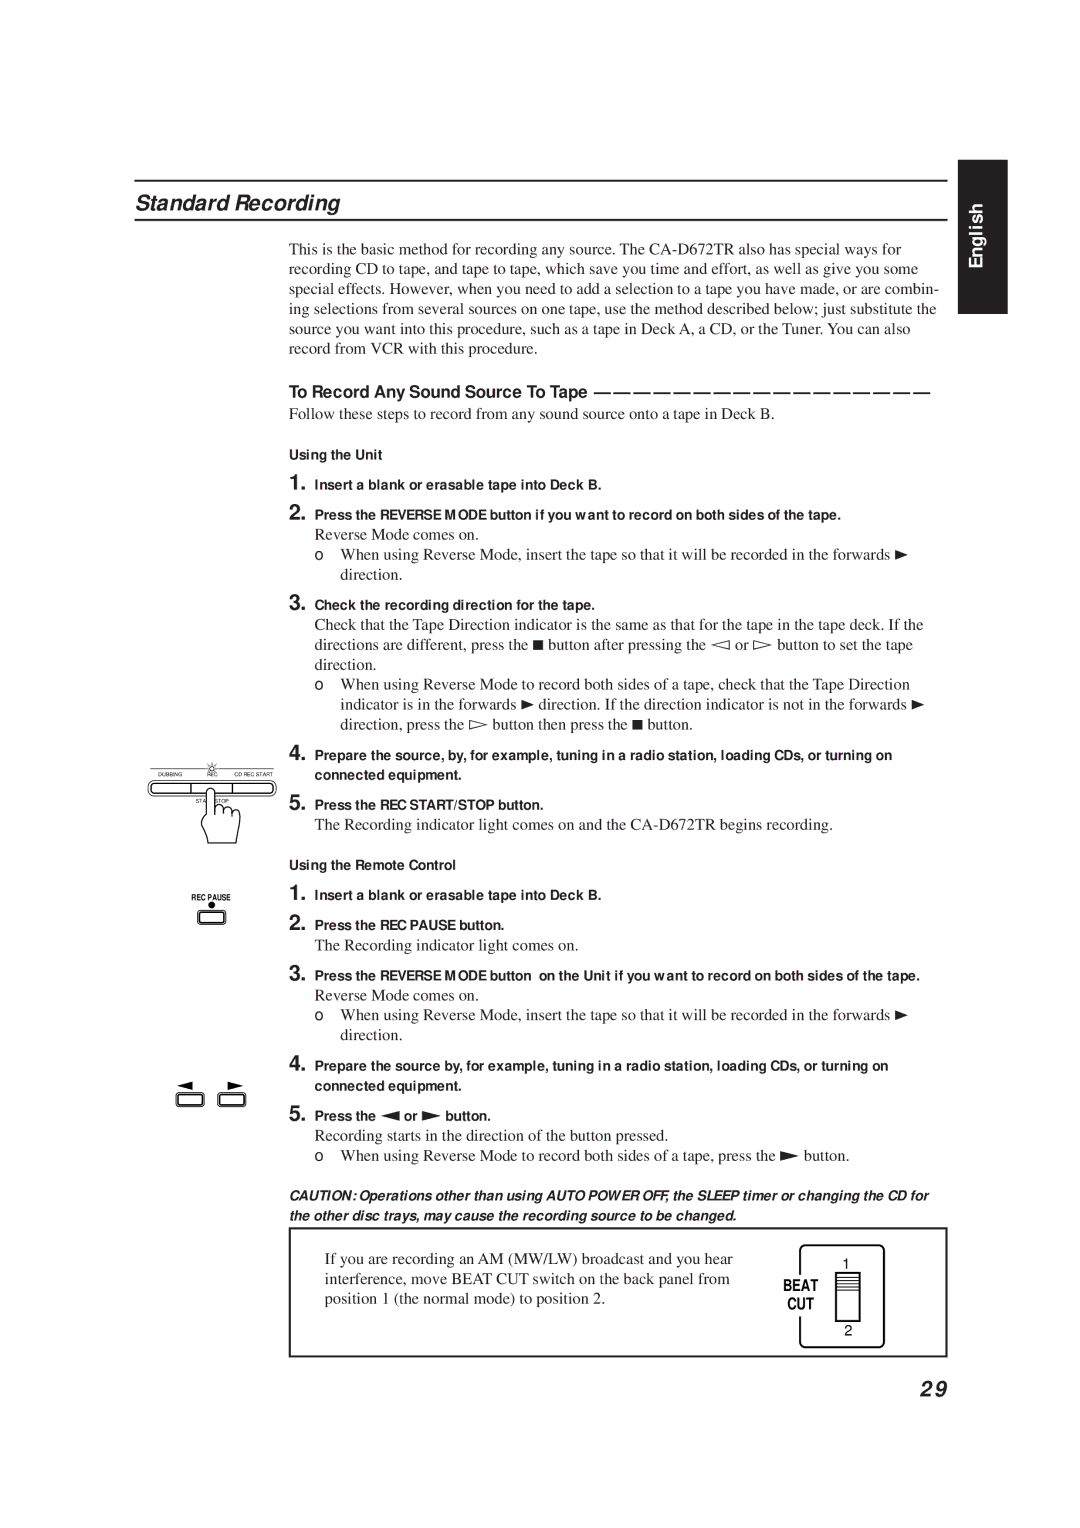
DUBBING | REC | CD REC START |
START/STOP
REC PAUSE
This is the basic method for recording any source. The
To Record Any Sound Source To Tape —————————————————
Follow these steps to record from any sound source onto a tape in Deck B.
Using the Unit
1. Insert a blank or erasable tape into Deck B.
2. Press the REVERSE MODE button if you want to record on both sides of the tape.
Reverse Mode comes on.
❏When using Reverse Mode, insert the tape so that it will be recorded in the forwards 3 direction.
3.Check the recording direction for the tape.
Check that the Tape Direction indicator is the same as that for the tape in the tape deck. If the directions are different, press the 7button after pressing the Û or Ü button to set the tape direction.
❏When using Reverse Mode to record both sides of a tape, check that the Tape Direction indicator is in the forwards 3direction. If the direction indicator is not in the forwards 3 direction, press the Übutton then press the 7button.
4.Prepare the source, by, for example, tuning in a radio station, loading CDs, or turning on connected equipment.
5.Press the REC START/STOP button.
The Recording indicator light comes on and the
Using the Remote Control
1. Insert a blank or erasable tape into Deck B.
2. Press the REC PAUSE button.
The Recording indicator light comes on.
3. Press the REVERSE MODE button on the Unit if you want to record on both sides of the tape.
Reverse Mode comes on.
❏When using Reverse Mode, insert the tape so that it will be recorded in the forwards 3 direction.
4.Prepare the source by, for example, tuning in a radio station, loading CDs, or turning on connected equipment.
5.Press the ªor £button.
Recording starts in the direction of the button pressed.
❏When using Reverse Mode to record both sides of a tape, press the £button.
CAUTION: Operations other than using AUTO POWER OFF, the SLEEP timer or changing the CD for the other disc trays, may cause the recording source to be changed.
If you are recording an AM (MW/LW) broadcast and you hear | 1 |
| |
interference, move BEAT CUT switch on the back panel from |
| ||
BEAT |
|
| |
|
| ||
|
| ||
position 1 (the normal mode) to position 2. |
|
| |
|
| ||
CUT | |||
| 2 |
| |
|
|
|
|
29