Auto Edit Recording
Using Auto Edit, you can record the CD tracks to fit the tape, so a selection isn’t cut off. Auto Edit is one of the best ways to copy all of a CD onto a tape.
Auto Edit programs the CD tracks in numerical order. To prevent the end of the last track on the front side from being cut off, the last track on the front side is selected to fit on the remaining tape length.
| 1. | Prepare CDs. (See page 19.) |
EDIT | 2. | Press the EDIT button on the Unit. |
|
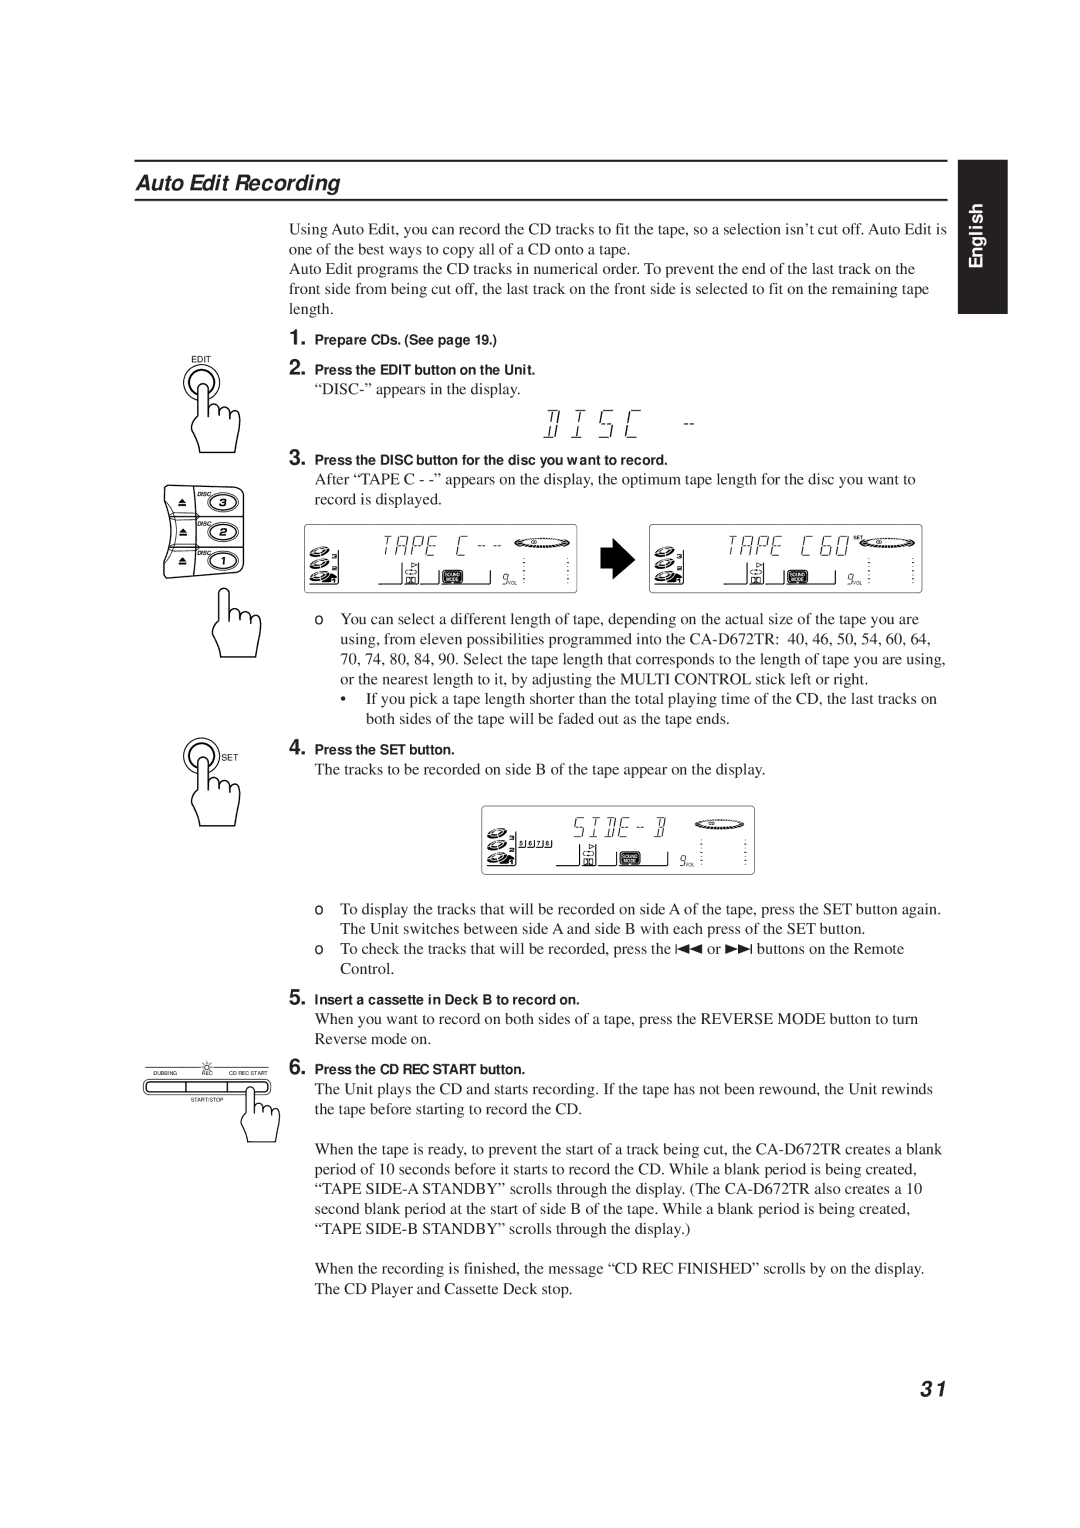
3. Press the DISC button for the disc you want to record.
After “TAPE C -
DISC | record is displayed. |
|
English
DISC
DISC
SET
| SET |
CD | CD |
SOUND | SOUND |
MODE | MODE |
VOL | VOL |
❏ You can select a different length of tape, depending on the actual size of the tape you are using, from eleven possibilities programmed into the
•If you pick a tape length shorter than the total playing time of the CD, the last tracks on both sides of the tape will be faded out as the tape ends.
4. Press the SET button.
The tracks to be recorded on side B of the tape appear on the display.
CD
5 6 7 8
SOUND
MODE
![]() VOL
VOL
❏To display the tracks that will be recorded on side A of the tape, press the SET button again. The Unit switches between side A and side B with each press of the SET button.
❏To check the tracks that will be recorded, press the 4 or ¢ buttons on the Remote Control.
5.Insert a cassette in Deck B to record on.
When you want to record on both sides of a tape, press the REVERSE MODE button to turn Reverse mode on.
DUBBING REC CD REC START 6. Press the CD REC START button.
The Unit plays the CD and starts recording. If the tape has not been rewound, the Unit rewinds
START/STOP
the tape before starting to record the CD.
When the tape is ready, to prevent the start of a track being cut, the
When the recording is finished, the message “CD REC FINISHED” scrolls by on the display. The CD Player and Cassette Deck stop.
31