English
Notes for using Reverse Mode for recording
When recording in Reverse Mode, the
To Pause at Any Time During the Recording Process
Press the REC PAUSE button on the Remote Control. Then press either the ª or £button on the Remote Control or REC START/STOP button on the Unit to restart recording.
To Stop at Any Time During the Recording Process
Press the REC START/STOP button on the Unit again, or press the 7button.
CD Direct Recording
Everything on the CD goes onto the tape in the order it is on the CD, or according to the order you have set in a program.
1. Prepare CDs. (See page 19.)
Check that the CD Player is not playing a CD.
2. Insert a cassette in Deck B to record on.
❏When you want to record on both sides of a tape, press the REVERSE MODE to turn Reverse Mode on. Check that the recording direction for the tape and the Tape Direction indicator are correct. (See “Notes for using Reverse Mode for recording” earlier on this page.)
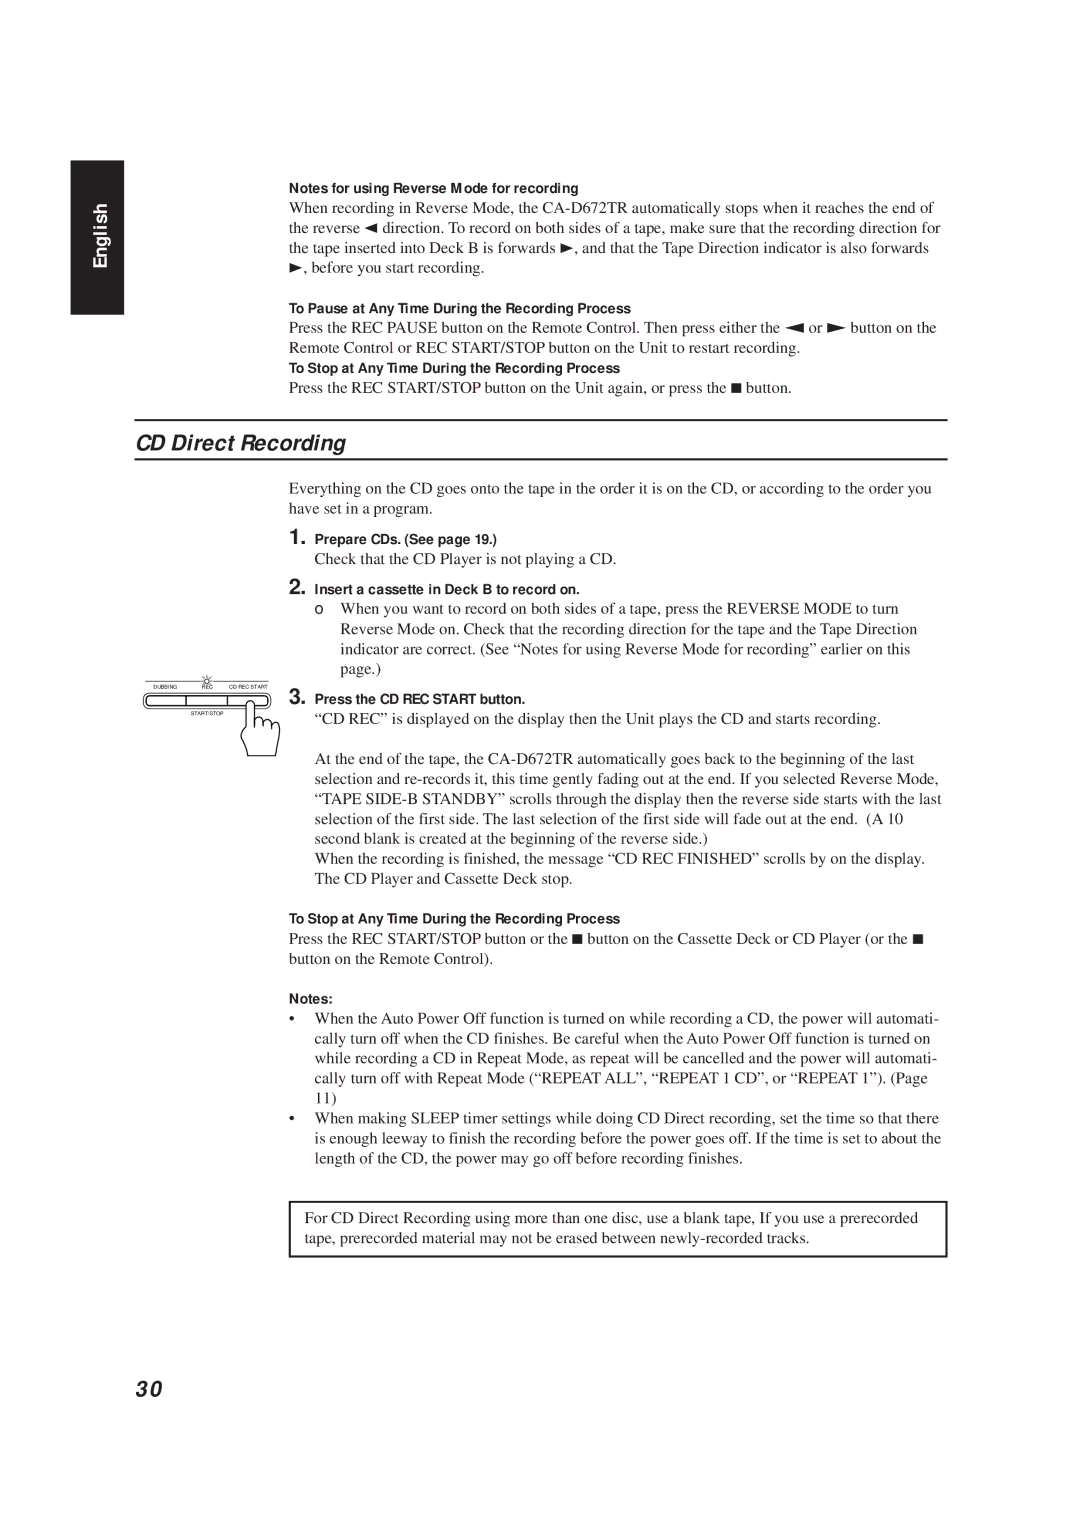
DUBBING REC CD REC START 3. Press the CD REC START button.
START/STOP
“CD REC” is displayed on the display then the Unit plays the CD and starts recording.
At the end of the tape, the
When the recording is finished, the message “CD REC FINISHED” scrolls by on the display. The CD Player and Cassette Deck stop.
To Stop at Any Time During the Recording Process
Press the REC START/STOP button or the 7button on the Cassette Deck or CD Player (or the 7 button on the Remote Control).
Notes:
•When the Auto Power Off function is turned on while recording a CD, the power will automati- cally turn off when the CD finishes. Be careful when the Auto Power Off function is turned on while recording a CD in Repeat Mode, as repeat will be cancelled and the power will automati- cally turn off with Repeat Mode (“REPEAT ALL”, “REPEAT 1 CD”, or “REPEAT 1”). (Page 11)
•When making SLEEP timer settings while doing CD Direct recording, set the time so that there is enough leeway to finish the recording before the power goes off. If the time is set to about the length of the CD, the power may go off before recording finishes.
For CD Direct Recording using more than one disc, use a blank tape, If you use a prerecorded tape, prerecorded material may not be erased between
30
