Continued
5 Press the MD number button (MD 1 to MD 3) corresponding to the slot number where you insert the MD.
Only the selected MD number lamps continues flashing.
6 Start playing the source on the external equipment.
•Refer to the manual supplied with the external equipment.
7 Press #/ 8 on MD deck B (or MD B 6 on the remote control).
The REC PAUSE lamp and the MD number lamp stop flashing and remain lit, and recording starts.
To stop recording, press 7for MD deck B.
To stop recording temporarily, press REC PAUSE (or MD REC PAUSE on the remote control) again.
To resume recording, press #/ 8on MD deck B (or MD B
6on the remote control) again.
To remove the MD, press 0 for MD deck B.
Various Recording Functions
You have 5 powerful and convenient recording methods. Among them, only Long Recording method can be used for any sound source; while the others can be used for CD or MD.
•Synchronized Recording — Records the entire CD or MD (or the program you have made).
•First Track Recording — Records the first track of each CD.
•Triple Recording — Records 3 CDs onto 3 MDs.
•Listening Edit Recording — Allows you to make a program while listening to the CD or MD.
•Long Recording — Records a long radio program or another source continuously on 3 MDs.
While recording CD using the recording methods listed above, you can listen to MD deck A, cassette deck, and AUX. While the left jog dial is flashing slowly, rotate it to change the source. In this case, you cannot use the left jog dial to operate the MD deck A.
Synchronized Recording
This is the easiest way of CD and MD recording.
MD to MD Synchronized Recording
You can play back an MD in MD deck A and record it onto another MD in MD deck B.
•Using the following method allows you only analog recording.
•Before you start recording in the following steps, you can —
–cancel the setting, press REC MODE.
–go back to the previous steps, press CANCEL.
On the unit ONLY:
1 Insert a source MD into the MD A loading slot.
2 Insert a blank or recordable MD into the MD B loading slot.
3 Press REC MODE.
“MD 3MD REC?” appears in the main display. The MD 3MD lamp lights.
4 Press SET.
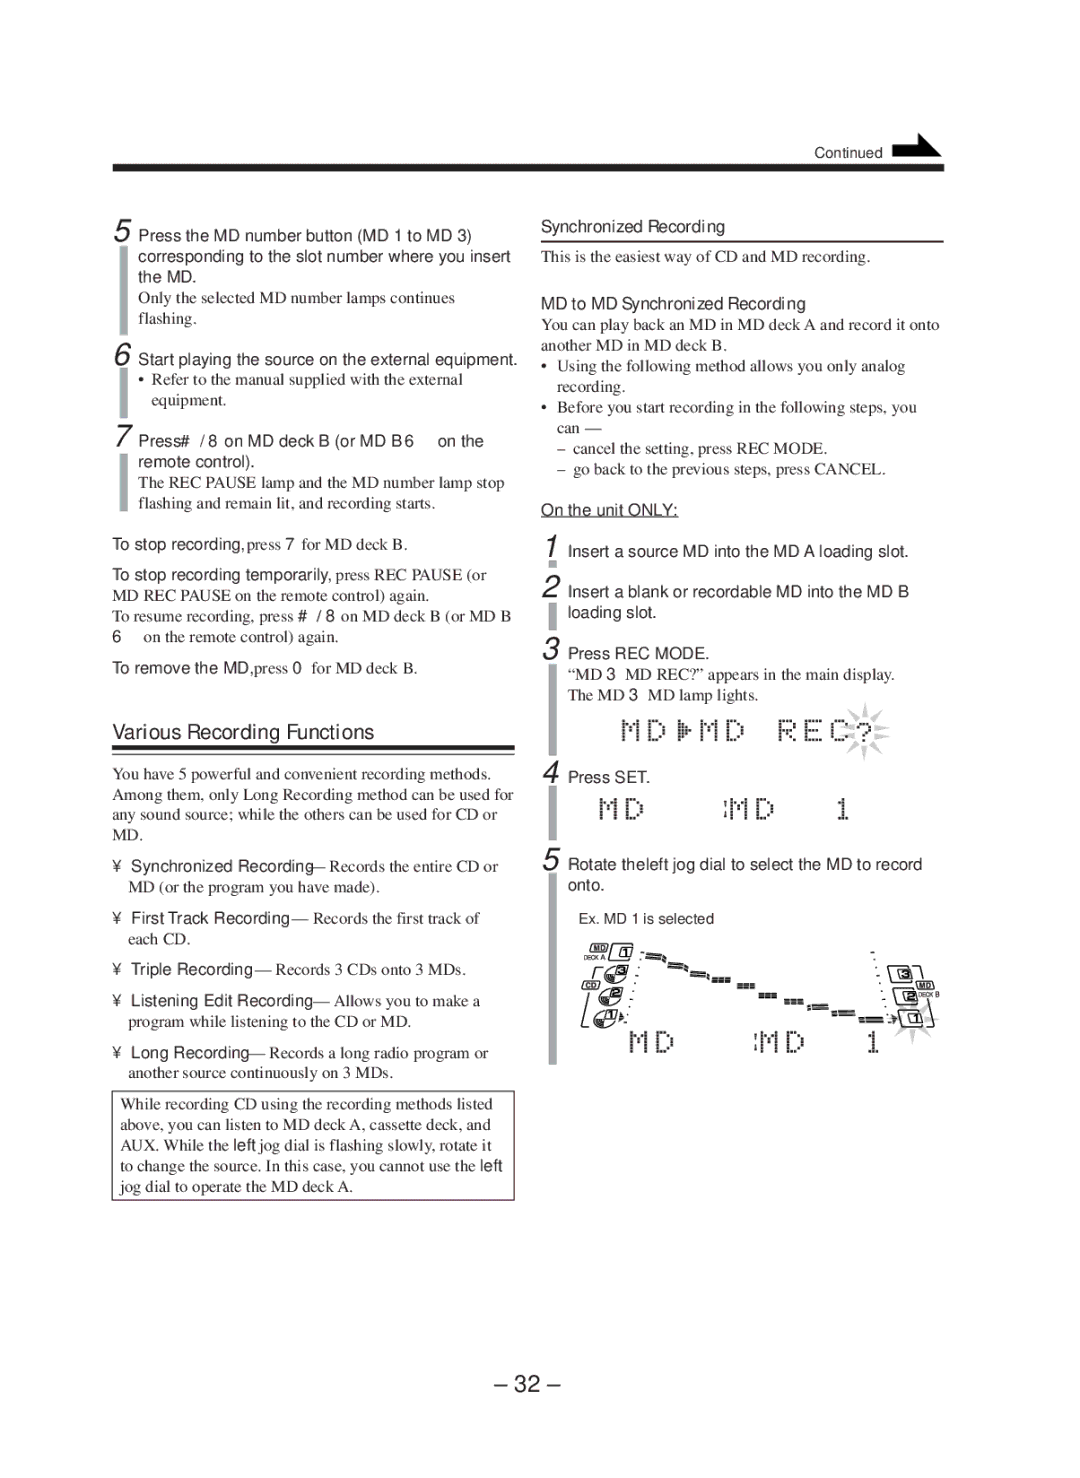
5 Rotate the left jog dial to select the MD to record onto.
Ex. MD 1 is selected
– 32 –