6 Press START (ENTER).
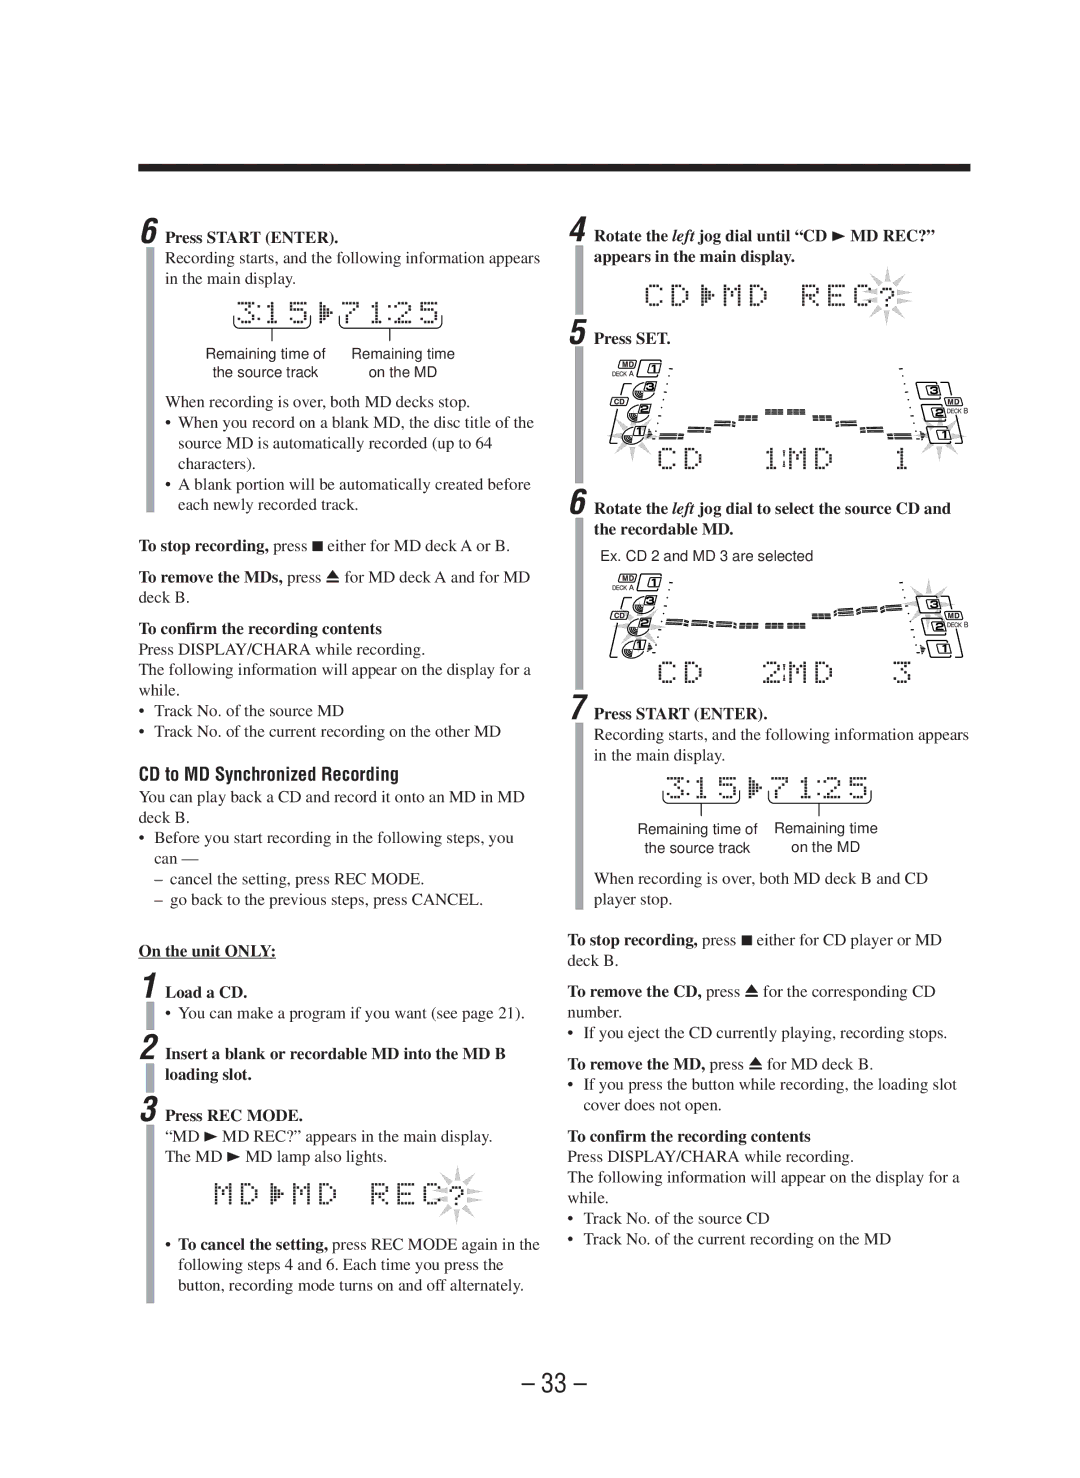
Recording starts, and the following information appears in the main display.
Remaining time of | Remaining time |
the source track | on the MD |
When recording is over, both MD decks stop.
•When you record on a blank MD, the disc title of the source MD is automatically recorded (up to 64 characters).
•A blank portion will be automatically created before each newly recorded track.
To stop recording, press 7either for MD deck A or B.
To remove the MDs, press 0 for MD deck A and for MD deck B.
To confirm the recording contents
Press DISPLAY/CHARA while recording.
The following information will appear on the display for a while.
•Track No. of the source MD
•Track No. of the current recording on the other MD
CD to MD Synchronized Recording
You can play back a CD and record it onto an MD in MD deck B.
•Before you start recording in the following steps, you can —
–cancel the setting, press REC MODE.
–go back to the previous steps, press CANCEL.
On the unit ONLY:
1 Load a CD.
• You can make a program if you want (see page 21).
2 Insert a blank or recordable MD into the MD B loading slot.
3 Press REC MODE.
“MD 3MD REC?” appears in the main display. The MD 3MD lamp also lights.
•To cancel the setting, press REC MODE again in the following steps 4 and 6. Each time you press the button, recording mode turns on and off alternately.
4 Rotate the left jog dial until “CD 3MD REC?” appears in the main display.
5 Press SET.
6 Rotate the left jog dial to select the source CD and the recordable MD.
Ex. CD 2 and MD 3 are selected
7 Press START (ENTER).
Recording starts, and the following information appears in the main display.
Remaining time of | Remaining time |
the source track | on the MD |
When recording is over, both MD deck B and CD player stop.
To stop recording, press 7either for CD player or MD deck B.
To remove the CD, press 0for the corresponding CD number.
• If you eject the CD currently playing, recording stops.
To remove the MD, press 0for MD deck B.
•If you press the button while recording, the loading slot cover does not open.
To confirm the recording contents
Press DISPLAY/CHARA while recording.
The following information will appear on the display for a while.
•Track No. of the source CD
•Track No. of the current recording on the MD
– 33 –
