When using the remote control, make sure that it is ready for MD operations.
•Pressing MD 1, MD 2, MD 3, MD A 6, or MD B 6 on the remote control makes the remote control ready for MD operations.
About the MD number lamps (MD 1 to MD 3 buttons) while recording
•It lights red during recording.
•It flashes during recording pause.
Recording FM/AM (MW/LW) Broadcasts or from the Cassette Deck – Standard Recording
You can record FM/AM (MW/LW) broadcasts or sounds from the equipment connected to the TAPE jacks on the rear.
1 Insert a blank or recordable MD into the MD B
loading slot.
2 When recording a broadcast program, press FM/ AM, then tune into a station you want.
• See “Tuning in a station” on page 14.
When recording from the cassette deck, press TAPE.
3 Press REC PAUSE on the unit (or MD REC PAUSE on the remote control).
The REC PAUSE lamp and the disc number lamps, if MDs are inserted into the corresponding slots, start flashing red.
4 Press the MD number button (MD 1 to MD 3) corresponding to the slot number where you insert the MD.
Only the selected MD number lamps continues flashing.
5 When recording from the cassette deck, start playing a tape.
• Refer to the manual supplied with the cassette deck.
6 Press #/ 8 on MD deck B (or MD B 6 on the remote control).
The REC PAUSE lamp and the disc number lamp stop flashing and remain lit, and recording starts.
To stop recording, press 7for MD deck B.
To stop recording temporarily, press REC PAUSE (or MD REC PAUSE on the remote control) again.
To resume recording, press #/ 8on MD deck B (or MD B
6on the remote control) again.
To remove the MD, press 0for MD deck B.
To check the remaining time
Press DISPLAY/CHARA while recording.
The remaining recording time of the MD appears for a while.
Recording the External (AUX) Equipment – AUX Recording
Both analog and digital recording is possible from the external equipment connected to the AUX jacks.
For digital recording: Connect;
• Between the optical digital output terminal on the other equipment and the AUX DIGITAL IN OPTICAL terminal, by using an optical digital cord (not supplied).
• Between the audio output jacks on the other equipment and the AUX jacks, by using an audio cord (not supplied). Without connecting the audio cord, you cannot listen to the source sound while recording.
1 Insert a blank or recordable MD into the MD B loading slot.
2 Press AUX once.
3 Press REC PAUSE on the unit (or MD REC PAUSE on the remote control).
The REC PAUSE lamp and the disc number lamps, if MDs are inserted into the corresponding slots, start flashing red.
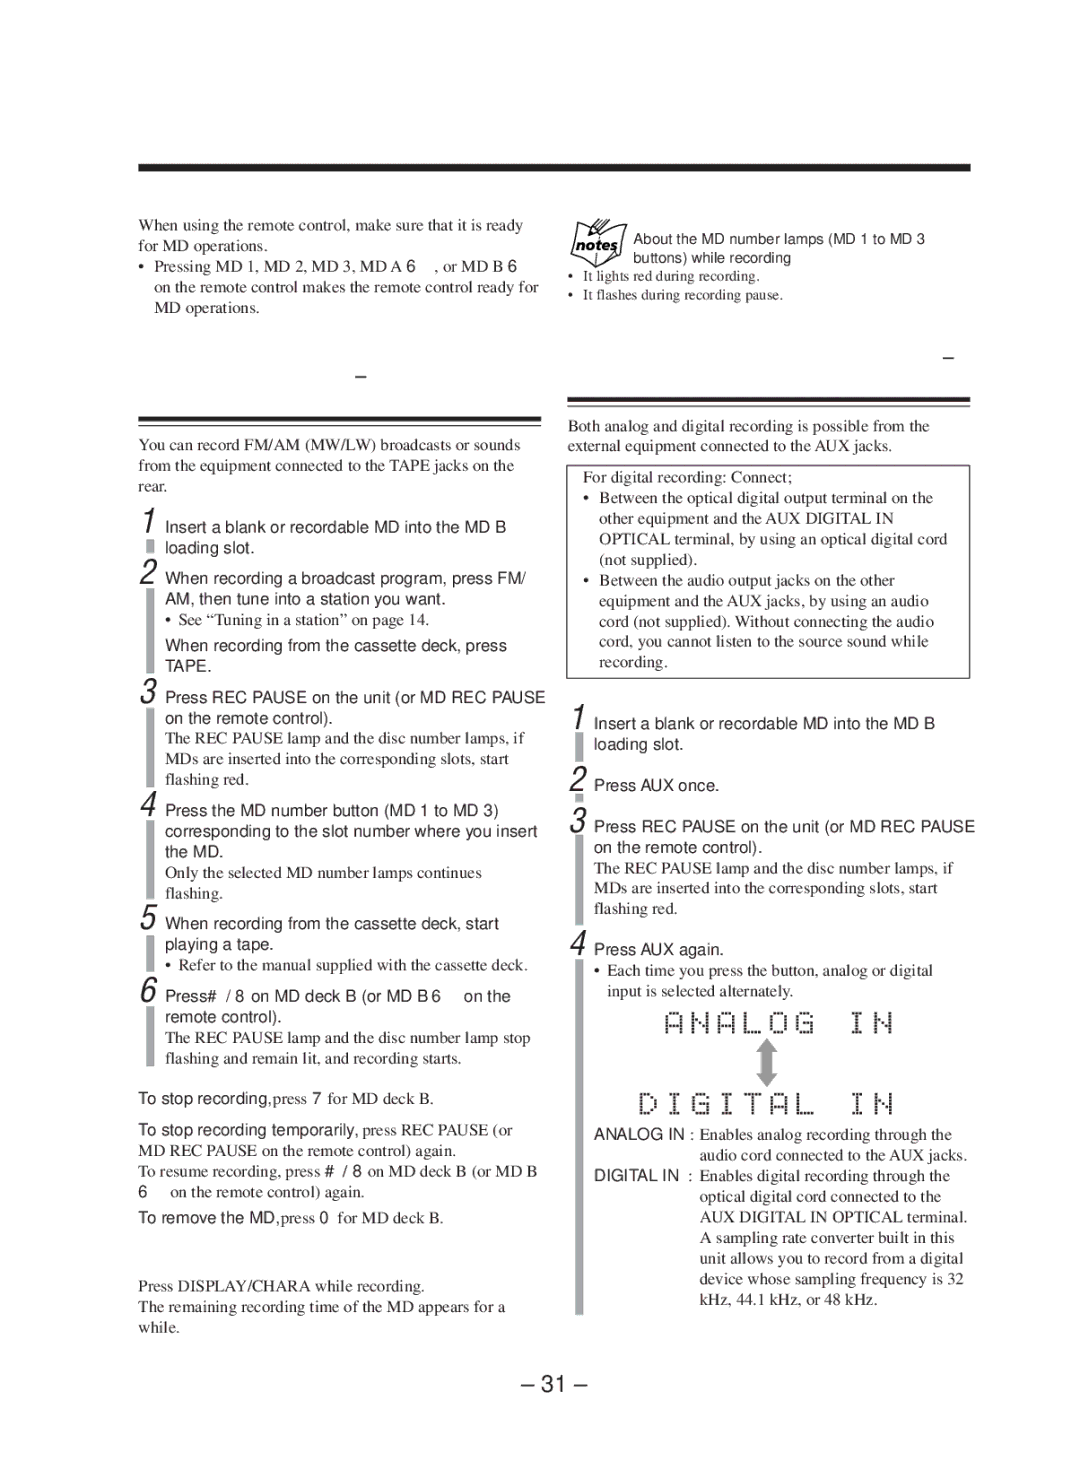
4 Press AUX again.
•Each time you press the button, analog or digital input is selected alternately.
ANALOG IN: Enables analog recording through the audio cord connected to the AUX jacks.
DIGITAL IN: Enables digital recording through the optical digital cord connected to the AUX DIGITAL IN OPTICAL terminal. A sampling rate converter built in this unit allows you to record from a digital device whose sampling frequency is 32 kHz, 44.1 kHz, or 48 kHz.
– 31 –