|
|
|
|
|
|
| Continued |
|
|
|
|
|
|
|
|
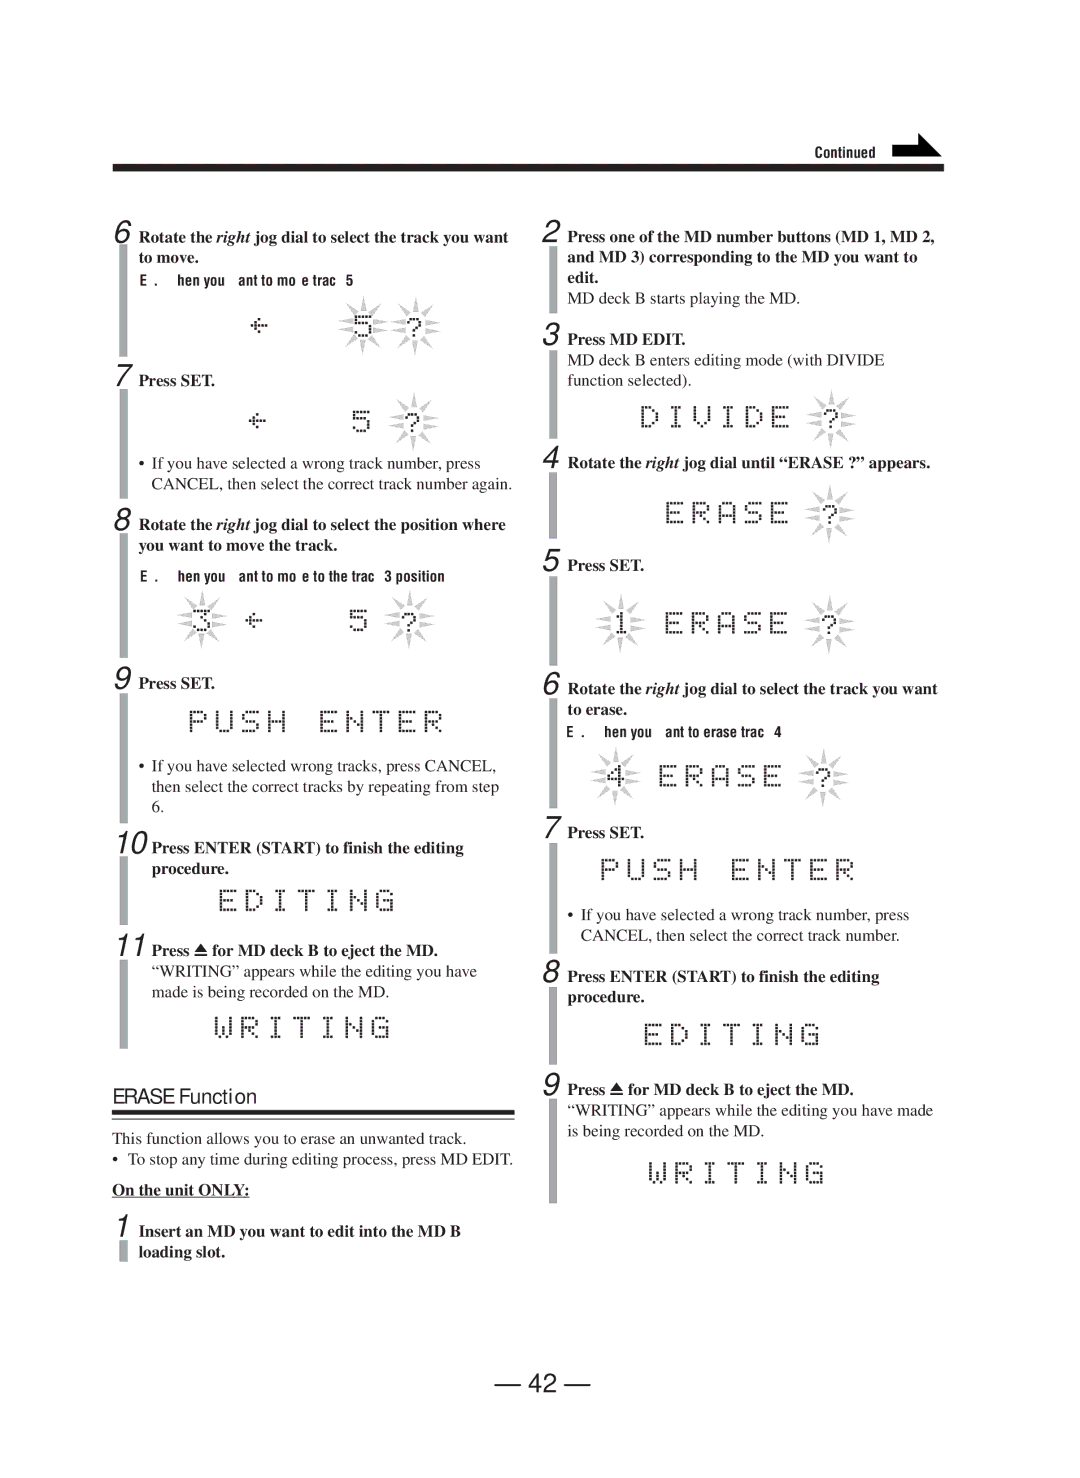
6 | Rotate the right jog dial to select the track you want | 2 | Press one of the MD number buttons (MD 1, MD 2, | ||||
|
|
| to move. |
|
|
| and MD 3) corresponding to the MD you want to |
|
|
| Ex.: When you want to move track 5 |
|
|
| edit. |
|
|
|
|
|
|
| MD deck B starts playing the MD. |
|
|
|
|
|
|
|
|
|
|
|
| 3 |
| Press MD EDIT. | |
7 | Press SET. |
|
|
| MD deck B enters editing mode (with DIVIDE | ||
|
|
| function selected). | ||||
• If you have selected a wrong track number, press | 4 Rotate the right jog dial until “ERASE ?” appears. |
CANCEL, then select the correct track number again.
8 Rotate the right jog dial to select the position where you want to move the track.
Ex.: When you want to move to the track 3 position
9 Press SET.
•If you have selected wrong tracks, press CANCEL, then select the correct tracks by repeating from step 6.
10 Press ENTER (START) to finish the editing procedure.
11 Press 0for MD deck B to eject the MD.
“WRITING” appears while the editing you have made is being recorded on the MD.
ERASE Function
This function allows you to erase an unwanted track.
• To stop any time during editing process, press MD EDIT.
On the unit ONLY:
1 Insert an MD you want to edit into the MD B loading slot.
5 Press SET.
6 Rotate the right jog dial to select the track you want to erase.
Ex.: When you want to erase track 4
7 Press SET.
•If you have selected a wrong track number, press CANCEL, then select the correct track number.
8 Press ENTER (START) to finish the editing procedure.
9 Press 0for MD deck B to eject the MD.
“WRITING” appears while the editing you have made is being recorded on the MD.
– 42 –