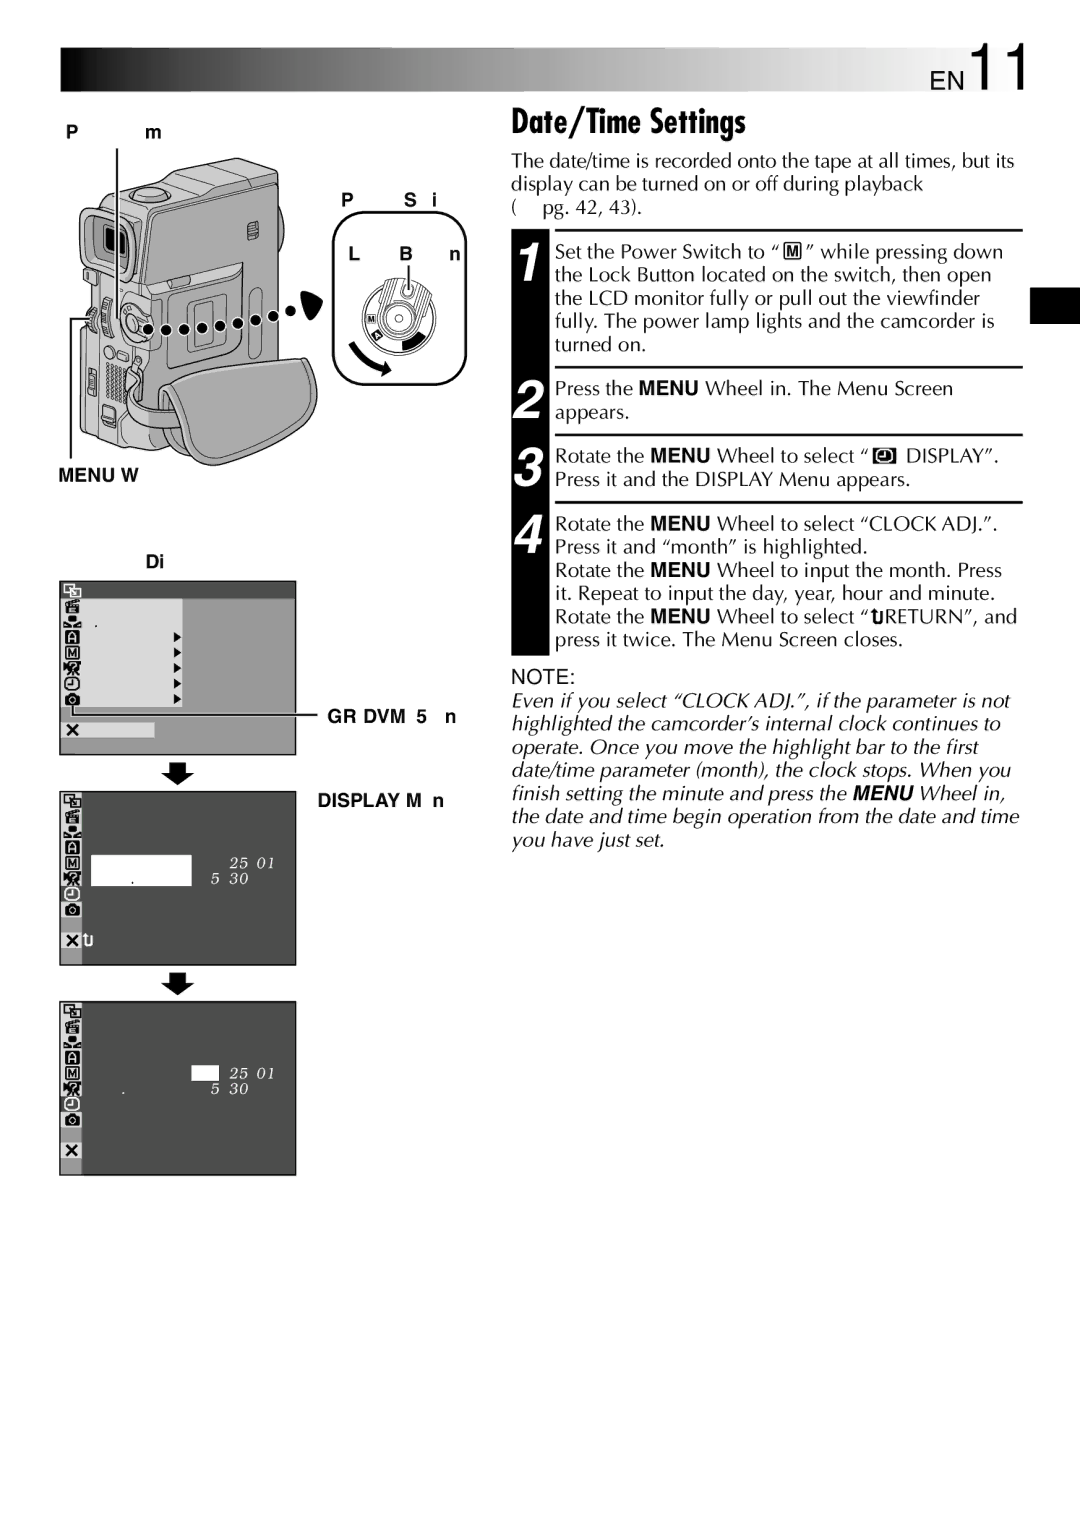
GR-DVM75 specifications
The JVC GR-DVM75 is a digital camcorder that represents a significant leap forward in home video technology at its launch. Designed for both amateur videographers and enthusiasts, this model integrates a variety of features and technologies that enhance the shooting experience while ensuring high-quality video output.One of the standout aspects of the GR-DVM75 is its 690,000 pixel CCD sensor, which delivers impressive image clarity and detail. This camcorder offers a 16:9 aspect ratio for widescreen shooting, allowing users to capture cinematic-style footage that is well suited for modern viewing formats. The camcorder's 10x optical zoom lens lets users get close to their subjects without sacrificing image quality, while a digital zoom feature extends this range up to 800x, providing flexibility in different shooting environments.
The GR-DVM75 is equipped with JVC's proprietary Digital Image Stabilization technology, which minimizes the effects of camera shake, resulting in smoother video playback. This feature is particularly useful in handheld shooting scenarios or when capturing moving subjects. Additionally, the camcorder supports various recording formats, including MiniDV, ensuring compatibility with a wide range of playback devices.
The model also boasts a swivel LCD screen, allowing for easy framing of shots from various angles. This 2.5-inch screen is bright and clear, providing a reliable visual reference for users. Moreover, the camcorder incorporates a viewfinder for traditional shooting styles, catering to diverse preferences among users.
Connectivity is another crucial aspect of the GR-DVM75. The camcorder features Firewire (IEEE 1394) and USB ports that facilitate fast data transfer for easy editing and sharing of videos. This functionality is vital in today's digital age, where content creation and sharing on various platforms have become commonplace.
In terms of audio capabilities, the JVC GR-DVM75 is equipped with a built-in stereo microphone that captures clear sound, supplemented by audio input options for external microphones. This feature is especially beneficial for users looking to enhance their sound quality, whether for interviews or ambient sound capture.
Overall, the JVC GR-DVM75 combines cutting-edge technology with user-friendly features, making it an excellent choice for anyone looking to capture high-quality home videos. Its blend of image stabilization, versatility in recording, and robust connectivity options set it apart as a reliable tool for creative expression. Whether someone is documenting family events, creating travel vlogs, or exploring artistic videography, the GR-DVM75 provides a solid foundation for captivating storytelling.

