50EN
PLAYBACK Advanced Features For D.S.C. (cont.)
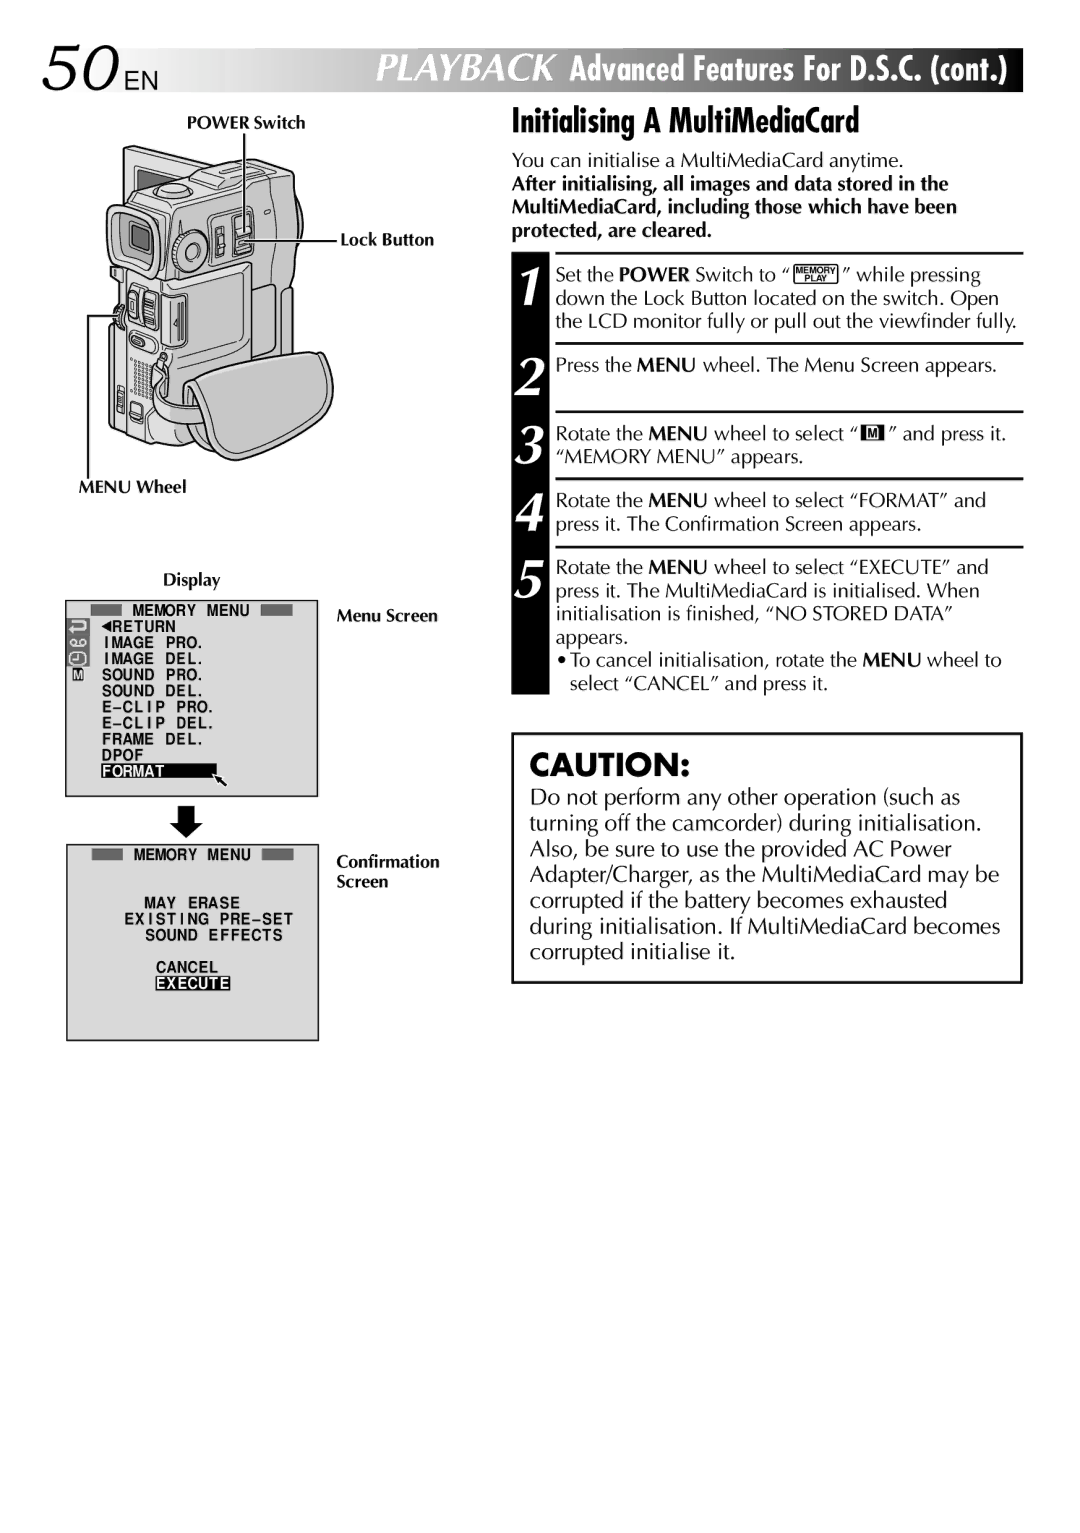
POWER Switch
MENU Wheel
Display
![]() MEMORY MENU 1RE TURN
MEMORY MENU 1RE TURN
I MAGE PRO. I MAGE DE L . SOUND PRO. SOUND DE L .
E – CL I P PRO.
E – CL I P DEL .
FRAME DE L . DPOF FORMAT
MEMORY MENU
MAY ERASE
EX I S T I NG PRE – SET
SOUND E F F ECT S
CANCEL
EXECUT E
Lock Button
Menu Screen
Confirmation Screen
Initialising A MultiMediaCard
You can initialise a MultiMediaCard anytime.
After initialising, all images and data stored in the MultiMediaCard, including those which have been protected, are cleared.
1 Set the POWER Switch to “ MEMORY ” while pressing PLAY
down the Lock Button located on the switch. Open the LCD monitor fully or pull out the viewfinder fully.
2 Press the MENU wheel. The Menu Screen appears.
3 Rotate the MENU wheel to select “ ![]() ” and press it. “MEMORY MENU” appears.
” and press it. “MEMORY MENU” appears.
4 Rotate the MENU wheel to select “FORMAT” and press it. The Confirmation Screen appears.
5 Rotate the MENU wheel to select “EXECUTE” and press it. The MultiMediaCard is initialised. When initialisation is finished, “NO STORED DATA” appears.
•To cancel initialisation, rotate the MENU wheel to select “CANCEL” and press it.
CAUTION:
Do not perform any other operation (such as turning off the camcorder) during initialisation. Also, be sure to use the provided AC Power Adapter/Charger, as the MultiMediaCard may be corrupted if the battery becomes exhausted during initialisation. If MultiMediaCard becomes corrupted initialise it.