GY-DV301, GY-DV300 specifications
The JVC GY-DV300 and GY-DV301 are part of JVC's renowned D-Series of professional camcorders, known for their impressive video quality and user-friendly features. Launched in the early 2000s, these models gained widespread recognition for their reliability and versatility in various broadcasting and filmmaking environments.Both camcorders utilize a 1/3-inch CCD sensor that delivers high-quality images with a resolution of up to 720 x 480 pixels in standard definition. The GY-DV300 is particularly notable for its innovative pixel shift technology, which enhances image resolution and detail by shifting the sensor pixels to improve clarity and reduce artifacts. This feature is especially beneficial for capturing finer details in dynamic scenes, making it suitable for both documentary filmmaking and news reporting.
One of the standout features of the GY-DV301 is its advanced lens system, which provides a 16x optical zoom with a focal length range that allows for excellent versatility in framing shots. The Fujinon lens used in these models is well-regarded for its superior optical performance, ensuring crisp, vibrant images in various lighting conditions. Additionally, both camcorders come equipped with a built-in ND (neutral density) filter, enabling filmmakers to control light exposure creatively without compromising on depth of field.
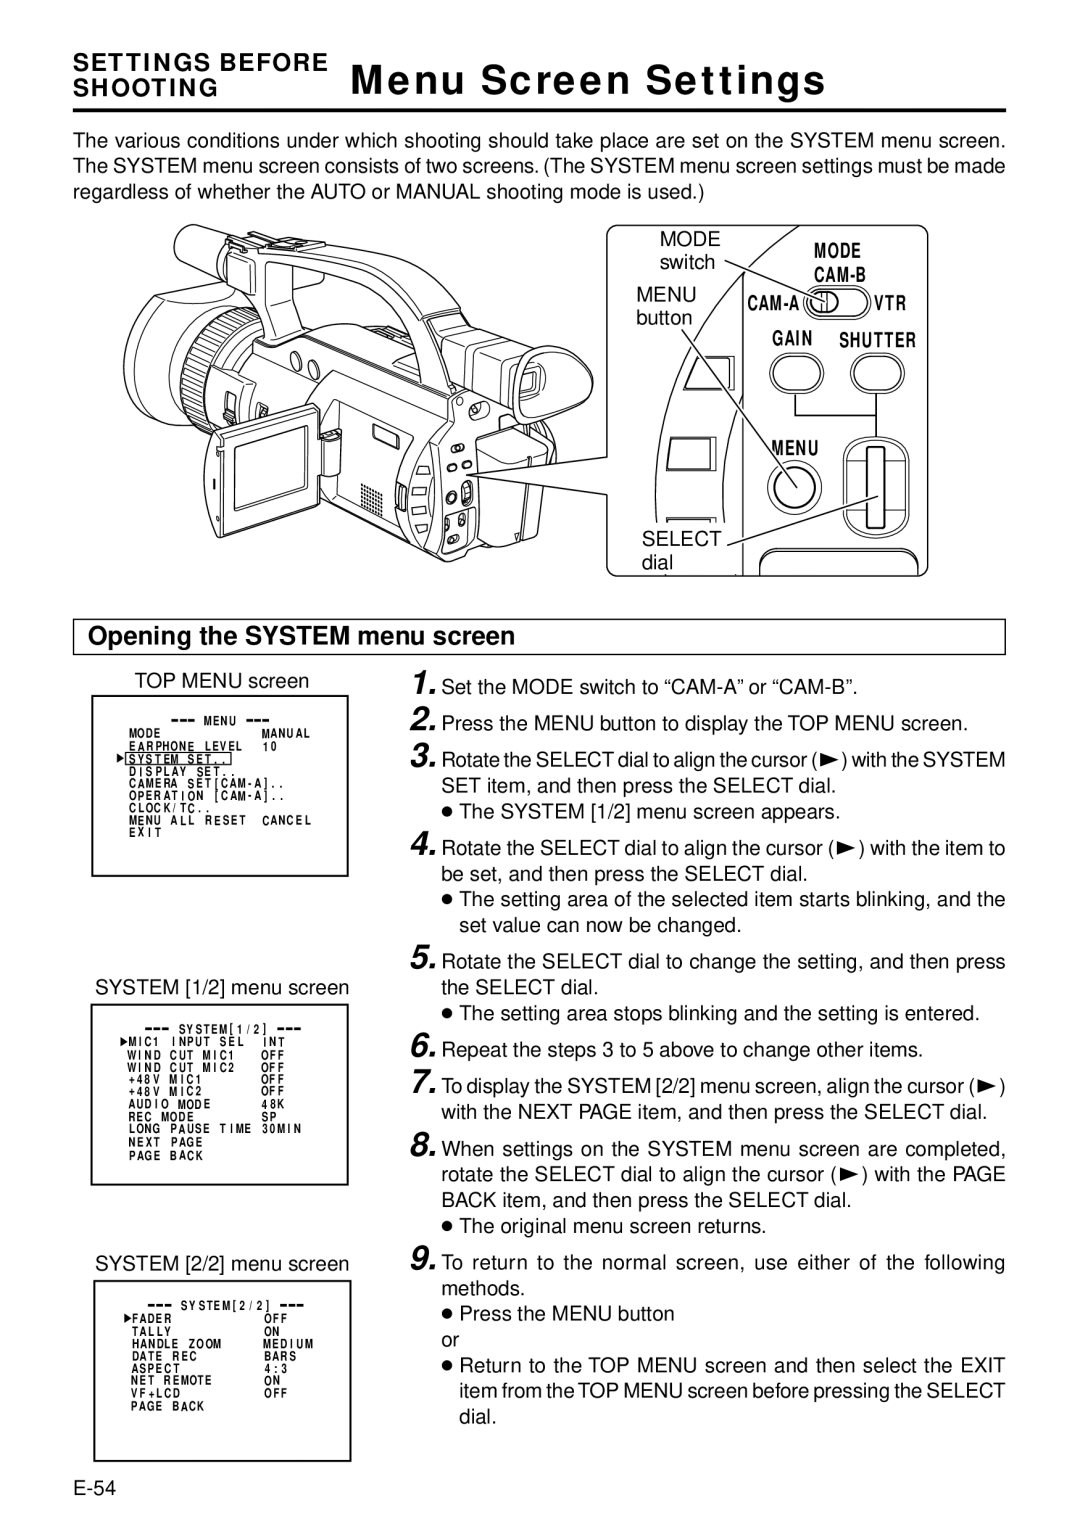
The user interface of the GY-DV300 and GY-DV301 is designed with professionals in mind. The camcorders offer manual controls for focus, iris, and white balance, allowing users to have precise control over their shooting parameters. The ergonomic design ensures that the camcorders are comfortable to use over extended periods, with a range of customizable buttons and settings readily accessible.
In terms of recording formats, the GY-DV300 and GY-DV301 support DV format recording, which offers high-quality digital video suitable for editing and broadcast. They also feature multiple connectivity options, including FireWire and composite outputs, making them compatible with a wide array of editing systems and broadcasting equipment.
Overall, the JVC GY-DV300 and GY-DV301 represent a significant step forward in video technology during their time, merging advanced imaging capabilities with robust professional features. Their blend of quality, flexibility, and an intuitive operational design has made them enduring choices for videographers and broadcasters alike, solidifying JVC's reputation in the professional video market.

