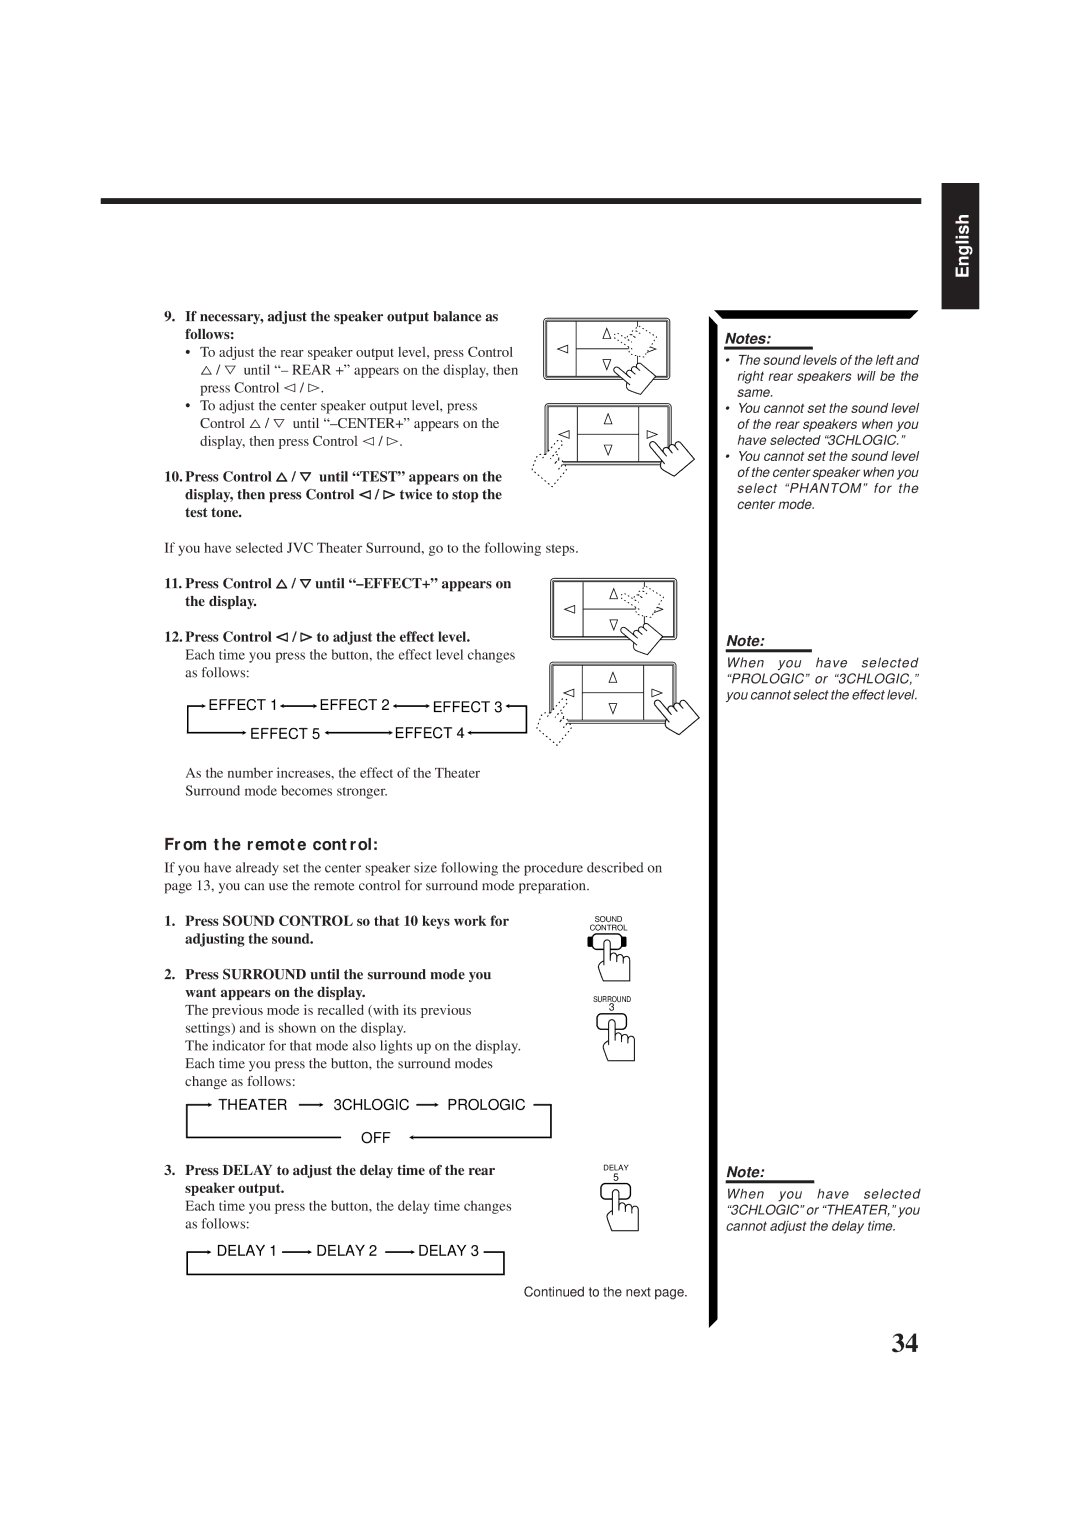
9.If necessary, adjust the speaker output balance as follows:
• To adjust the rear speaker output level, press Control
%/ Þ until “– REAR +” appears on the display, then press Control @ / #.
•To adjust the center speaker output level, press Control %/ Þ until
display, then press Control @/ #.
10.Press Control %/ Þ until “TEST” appears on the display, then press Control @ / #twice to stop the test tone.
If you have selected JVC Theater Surround, go to the following steps.
11. Press Control %/ Þuntil
12. Press Control @ / #to adjust the effect level.
Each time you press the button, the effect level changes as follows:
 EFFECT 1
 EFFECT 2
 EFFECT 3
EFFECT 5 | EFFECT 4 |
As the number increases, the effect of the Theater
Surround mode becomes stronger.
From the remote control:
If you have already set the center speaker size following the procedure described on page 13, you can use the remote control for surround mode preparation.
English
Notes:
•The sound levels of the left and right rear speakers will be the same.
•You cannot set the sound level of the rear speakers when you have selected “3CHLOGIC.”
•You cannot set the sound level of the center speaker when you select “PHANTOM” for the center mode.
Note:
When you have selected “PROLOGIC” or “3CHLOGIC,” you cannot select the effect level.
1.Press SOUND CONTROL so that 10 keys work for adjusting the sound.
2.Press SURROUND until the surround mode you want appears on the display.
The previous mode is recalled (with its previous settings) and is shown on the display.
The indicator for that mode also lights up on the display. Each time you press the button, the surround modes change as follows:
![]() THEATER
THEATER ![]() 3CHLOGIC
3CHLOGIC ![]() PROLOGIC
PROLOGIC
OFF
3.Press DELAY to adjust the delay time of the rear speaker output.
Each time you press the button, the delay time changes as follows:
 DELAY 1
  DELAY 2
  DELAY 3
SOUND
CONTROL
SURROUND
3
DELAY
5
Note:
When you have selected “3CHLOGIC” or “THEATER,” you cannot adjust the delay time.
Continued to the next page.
34
