Adjusting the sound parameters for the Surround and DSP modes

You can adjust the Surround and DSP sound parameters to your preference. (For Surround and DSP modes, see pages 42 to 49.)

7Adjustable parameters

You can adjust the following parameters:

For Surround and DSP modes (when the center speaker is connected)

This setting is common to all Surround modes, and is memorized separately for DSP modes.

CTR TONE Adjust the center tone. As the number increases, the dialogue becomes clearer so that the human voices change from soft to sharp.

(Adjustable range: 1 to 5. “3” is the initial setting, and normally select this.)

For DAP modes and Mono Film

Once you have made an adjustment, it is memorized for each mode.

EFFECT

Adjust the effect level. As the number


increases, the effect becomes stronger.


(Adjustable range: 1 to 5. “3” is the initial


setting, and normally select this.)


ROOMSIZE

Adjust the virtual room size. As the number


increases, the interval between reflections


increases so that you will feel as if you were


in a larger room.


(Adjustable range: 1 to 5. “3” is the initial


setting, and normally select this.)


LIVENESS

Adjust the liveness effect. As the number


increases, the attenuation level of reflections


over time decreases so that acoustics change


from “Dead” to “Live.”


(Adjustable range: 1 to 5. “3” is the initial


setting, and normally select this.)


For Pro Logic IIx Music and Pro Logic II Music

PNRM CNTRL Select “ON” to add “wraparound” sound effect with side-wall image. (Initial setting: “OFF.”)

CNTR WIDTH Adjust the center channel localization between the center speaker and the left/right front speakers. As the number increases, the center channel sound moves toward the left and right speakers. (Adjustable range: OFF and 1 to 7. “3” is the initial setting, and normally select this.)

DIMENSION Adjust the sound localization position. As the number increases, the sound localization moves towards forward from backward. (Adjustable range: 1 to 7. “4” is the initial setting, and normally select this.)

For Neo:6 Music only

CNTR GAIN Adjust the sound localization of the center channel. As the number increases, center channel will be localized clearly.

(Adjustable range: 0 to 1.0. “0.3” is the initial setting, and normally select this.)

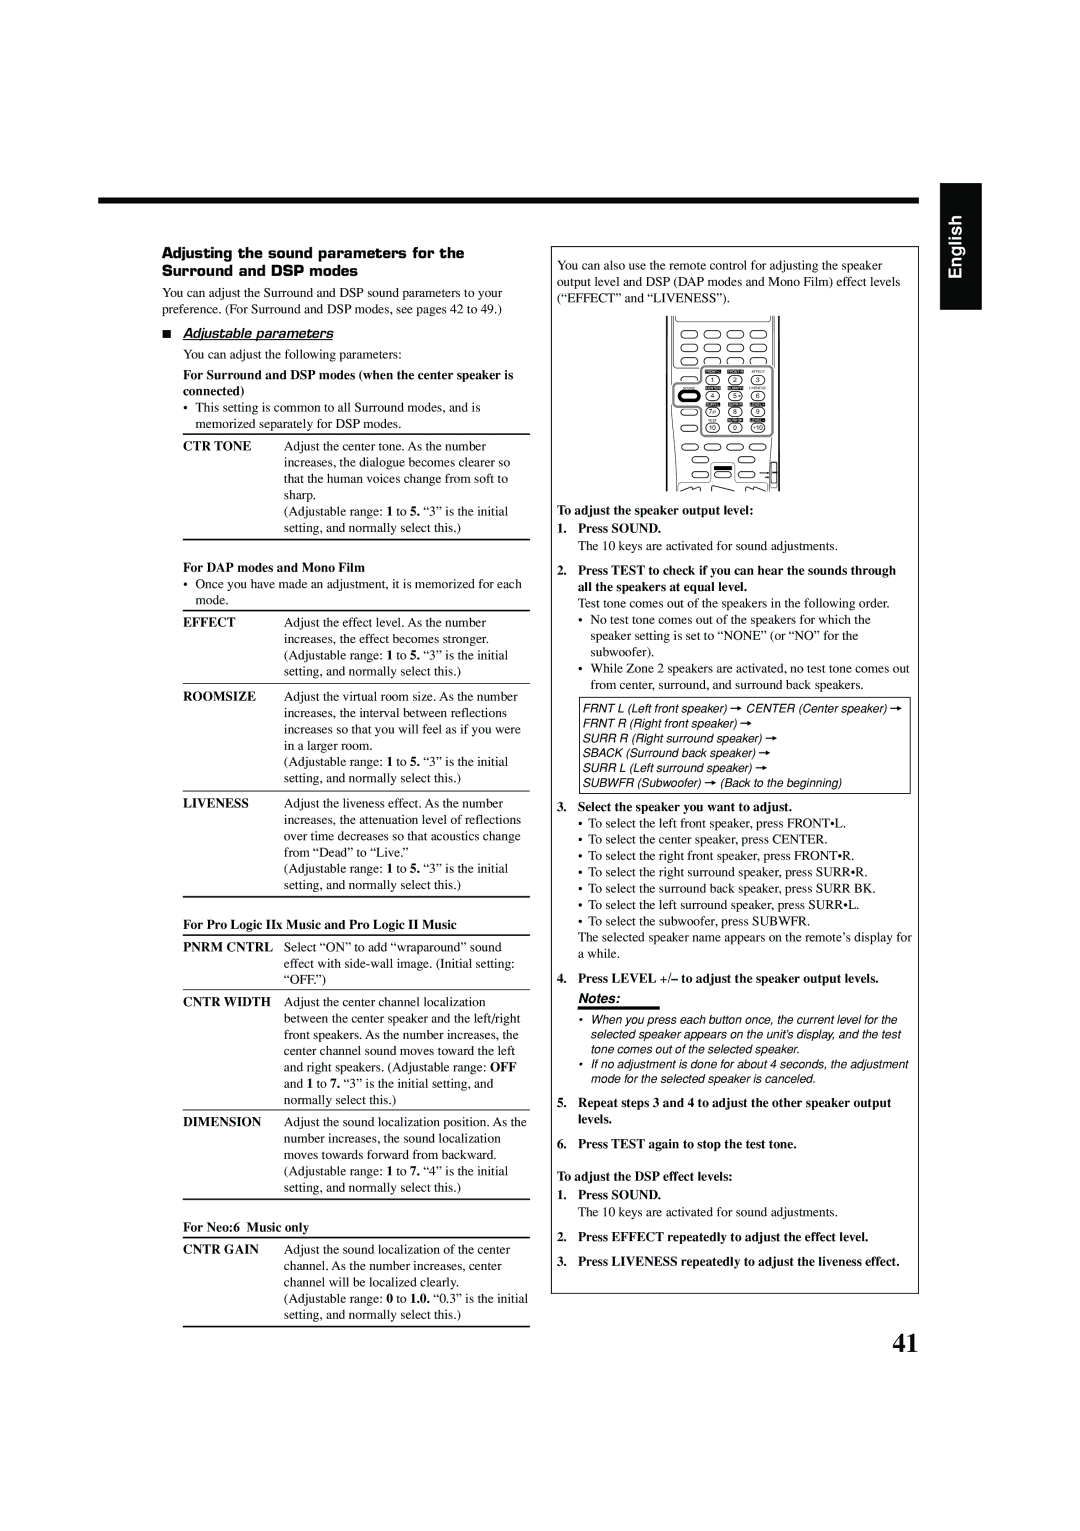
You can also use the remote control for adjusting the speaker output level and DSP (DAP modes and Mono Film) effect levels (“EFFECT” and “LIVENESS”).


EFFECT

1

2

3

SOUND


LIVENESS

4

5

6

7/P 8 9

TEST

10 0 +10

To adjust the speaker output level:

1.Press SOUND.

The 10 keys are activated for sound adjustments.

2.Press TEST to check if you can hear the sounds through all the speakers at equal level.

Test tone comes out of the speakers in the following order.

No test tone comes out of the speakers for which the speaker setting is set to “NONE” (or “NO” for the subwoofer).

While Zone 2 speakers are activated, no test tone comes out from center, surround, and surround back speakers.

FRNT L (Left front speaker) = CENTER (Center speaker) = FRNT R (Right front speaker) =

SURR R (Right surround speaker) = SBACK (Surround back speaker) = SURR L (Left surround speaker) =

SUBWFR (Subwoofer) = (Back to the beginning)

3.Select the speaker you want to adjust.

To select the left front speaker, press FRONT•L.

To select the center speaker, press CENTER.

To select the right front speaker, press FRONT•R.

To select the right surround speaker, press SURR•R.

To select the surround back speaker, press SURR BK.

To select the left surround speaker, press SURR•L.

To select the subwoofer, press SUBWFR.

The selected speaker name appears on the remote’s display for

a while.

4.Press LEVEL +/– to adjust the speaker output levels.

Notes:

• When you press each button once, the current level for the selected speaker appears on the unit’s display, and the test tone comes out of the selected speaker.

• If no adjustment is done for about 4 seconds, the adjustment mode for the selected speaker is canceled.

5.Repeat steps 3 and 4 to adjust the other speaker output levels.

6.Press TEST again to stop the test tone.

To adjust the DSP effect levels:

1.Press SOUND.

The 10 keys are activated for sound adjustments.

2.Press EFFECT repeatedly to adjust the effect level.

3.Press LIVENESS repeatedly to adjust the liveness effect.

English

41

Page 113
Image 113
JVC RX-8040B manual Effect

RX-8040B specifications

The JVC RX-8040B is a versatile home theater receiver that combines impressive audio performance with advanced technology, making it a popular choice for music and movie enthusiasts alike. Designed to meet the demands of modern home entertainment systems, this receiver is packed with features that enhance user experience and provide connectivity options for various devices.

One of the standout features of the RX-8040B is its multi-channel amplification capability. The receiver drives multiple speakers with high clarity and power, offering 100 watts per channel across all five channels. This ensures that both dialogue and music are delivered with excellent fidelity, allowing users to enjoy a surround sound experience that brings movies and concerts to life. The receiver supports both Dolby Digital and DTS surround sound formats, making it suitable for a wide range of audio sources.

In terms of connectivity, the JVC RX-8040B is equipped with multiple inputs and outputs, including HDMI, optical, and coaxial connections. The HDMI ports support 4K video passthrough, making it compatible with modern video sources and capable of delivering stunning visuals on high-definition displays. Additionally, the receiver includes analog audio inputs, enabling users to connect their legacy devices. The availability of a dedicated phono input is a significant advantage for vinyl enthusiasts, allowing for direct hookup of turntables.

The RX-8040B also features a built-in AM/FM tuner, offering access to a wide array of radio stations. The tuner includes 30 programmable presets, allowing users to save their favorite channels for easy access. Additionally, the receiver’s user-friendly interface and remote control facilitate effortless navigation through various settings and configurations.

Another noteworthy characteristic of the JVC RX-8040B is its advanced audio processing technology. The receiver features a variety of sound modes and equalization settings, allowing users to tailor their audio experience according to their preferences. With features like Night Mode, distortion is minimized even at lower volume levels, ensuring a pleasant listening experience without compromising sound quality.

In conclusion, the JVC RX-8040B is a robust home theater receiver that offers an impressive combination of power, connectivity, and audio performance. Its ability to support multiple formats and technologies makes it a great addition to any home entertainment setup, providing an immersive auditory experience for all types of media. Whether hosting movie nights or enjoying music playlists, the RX-8040B stands out as a reliable choice for quality sound.