Attenuating the Input Signal
When the input level of the analog source is too high, the sounds will be distorted. If this happens, you need to attenuate the input signal level to prevent the sound distortion.
•You have to make this adjustment for each analog source.
Notes:
• Some progressive TVs and |
compatible with this system. When the unnatural picture is played |
back, change the scanning mode to “INTERLACE.” To check the |
compatibility of your TV, contact your dealer. |
All JVC progressive TVs and |
compatible with this system respectively. |
English
On the front panel ONLY
INPUT
ANALOG/DIGITAL
INPUT ATT.
• When you select “PROGRESSIVE” as the scanning mode, the |
picture does not come out correctly through composite video and |
* 480p and 480i indicate the number of scanning lines and scanning |
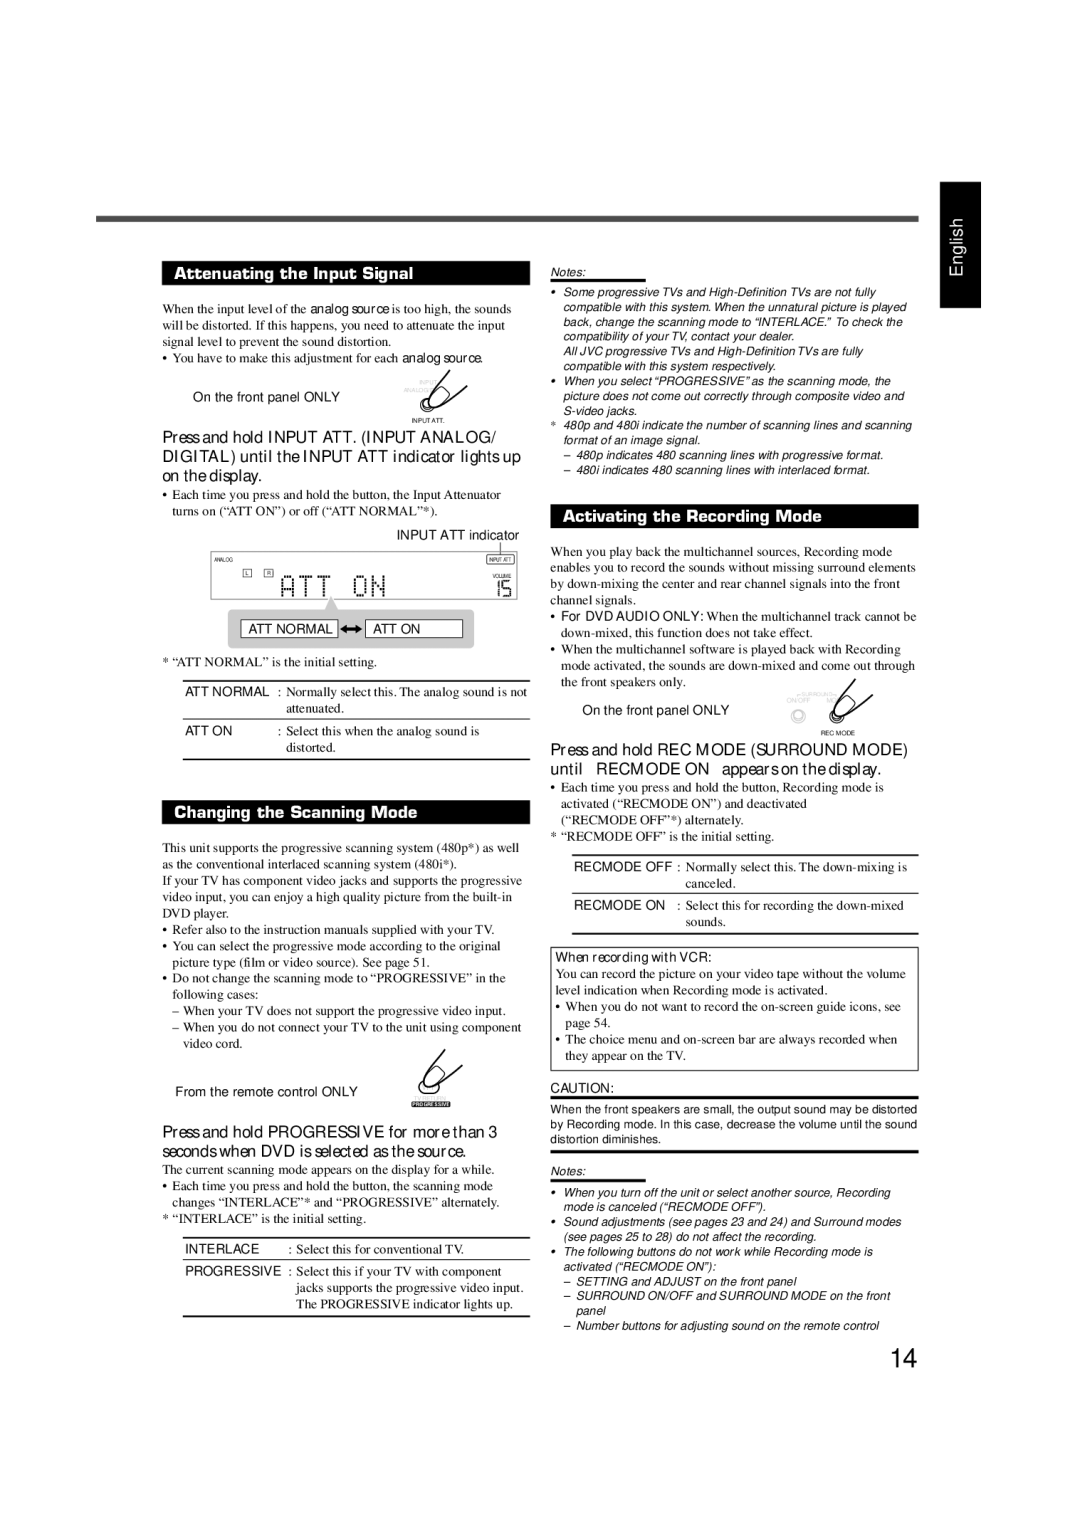
Press and hold INPUT ATT. (INPUT ANALOG/ DIGITAL) until the INPUT ATT indicator lights up on the display.
•Each time you press and hold the button, the Input Attenuator turns on (“ATT ON”) or off (“ATT NORMAL”*).
|
| INPUT ATT indicator | |
|
|
| |
ANALOG |
| INPUT ATT |
|
L | R | VOLUME |
|
|
|
| |
|
|
|
|
ATT NORMAL 


 ATT ON
* “ATT NORMAL” is the initial setting.
ATT NORMAL : Normally select this. The analog sound is not attenuated.
ATT ON : Select this when the analog sound is distorted.
Changing the Scanning Mode
This unit supports the progressive scanning system (480p*) as well as the conventional interlaced scanning system (480i*).
If your TV has component video jacks and supports the progressive video input, you can enjoy a high quality picture from the
•Refer also to the instruction manuals supplied with your TV.
•You can select the progressive mode according to the original picture type (film or video source). See page 51.
•Do not change the scanning mode to “PROGRESSIVE” in the following cases:
–When your TV does not support the progressive video input.
–When you do not connect your TV to the unit using component video cord.
From the remote control ONLY | VFP | |
TV RETURN | ||
| ||
| PROGRESSIVE |
Press and hold PROGRESSIVE for more than 3 seconds when DVD is selected as the source.
The current scanning mode appears on the display for a while.
•Each time you press and hold the button, the scanning mode
changes “INTERLACE”* and “PROGRESSIVE” alternately. * “INTERLACE” is the initial setting.
INTERLACE : Select this for conventional TV.
PROGRESSIVE : Select this if your TV with component jacks supports the progressive video input. The PROGRESSIVE indicator lights up.
format of an image signal. | |
– | 480p indicates 480 scanning lines with progressive format. |
– | 480i indicates 480 scanning lines with interlaced format. |
Activating the Recording Mode
When you play back the multichannel sources, Recording mode enables you to record the sounds without missing surround elements by
•For DVD AUDIO ONLY: When the multichannel track cannot be
•When the multichannel software is played back with Recording mode activated, the sounds are
![]() SURROUND
SURROUND![]()
ON/OFF MODE
On the front panel ONLY
REC MODE
Press and hold REC MODE (SURROUND MODE) until “RECMODE ON” appears on the display.
•Each time you press and hold the button, Recording mode is activated (“RECMODE ON”) and deactivated
(“RECMODE OFF”*) alternately.
* “RECMODE OFF” is the initial setting.
RECMODE OFF : Normally select this. The
RECMODE ON : Select this for recording the
When recording with VCR:
You can record the picture on your video tape without the volume level indication when Recording mode is activated.
•When you do not want to record the
•The choice menu and
CAUTION:
When the front speakers are small, the output sound may be distorted by Recording mode. In this case, decrease the volume until the sound distortion diminishes.
Notes:
•When you turn off the unit or select another source, Recording mode is canceled (“RECMODE OFF”).
•Sound adjustments (see pages 23 and 24) and Surround modes (see pages 25 to 28) do not affect the recording.
•The following buttons do not work while Recording mode is activated (“RECMODE ON”):
–SETTING and ADJUST on the front panel
–SURROUND ON/OFF and SURROUND MODE on the front panel
–Number buttons for adjusting sound on the remote control
14